What Should Be in a Horse First Aid Kit? (A Complete Checklist)
Hello fellow equestrians! That moment you spot a new scrape on your horse’s leg or hear an odd rumble from their stall can make your heart drop. I know the worry-facing a late-night vet call without the right supplies is stressful, expensive, and hard on your horse.
Let’s fix that. This guide will help you build a kit that’s ready for anything. We’ll cover the absolute essentials for treating wounds and spotting colic early, smart organization tips so you’re not fumbling in a crisis, and my personal stable hacks for items that save time and stress.
I’ve leaned on this knowledge for years in the barn, from cleaning Pipin’s cleverly acquired scratches to having the right wrap on hand when Luna needed it.
The Basics: What Makes an Equine First Aid Kit Different?
You can’t just scale up a human or pet first aid kit and call it good. A horse’s size, skin, and sheer power create a unique set of needs. My human kit has tiny band-aids; my horse’s size requires entire rolls of gauze and tape meant to stay put over moving muscle.
Why a Horse Isn’t a Big Dog
Their physiology and reactions are fundamentally different. A dog might lick a wound; a horse’s instinct is to flee, which can turn a small puncture into a major tear. A dog can be muzzled for safety; with a horse, your safety depends on your tools and your ability to keep them calm. To prepare for a safe, calm vet examination, set up a quiet space and practice gentle handling. This helps make the upcoming exam smoother for both horse and clinician. The core purpose of your equine first aid kit is not to diagnose or cure, but to safely stabilize the situation until your veterinarian arrives.
I learned this with Rusty last spring. He got a superficial scrape on his fetlock from a rogue fence board. It was minor, but it was dirty. Having my kit meant I could clean it thoroughly with the right solution right then, preventing a simple scrape from becoming a cellulitis case. It was the difference between a vet call for peace of mind and a vet call for an emergency.
The Core Checklist: Non-Negotiable Items for Every Kit
Think of this as the bare minimum. These are the items you will reach for constantly, for everything from a loose shoe nail to a trail-side mishap.
Wound Care Essentials: For Cleaning and Covering
This is where most of your action will be. You want to flush, protect, and wrap without causing more harm. The sharp, clean scent of antiseptic should signal calm readiness, not panic.
- Sterile Saline Solution: Your first line of defense. Used for flushing debris from eyes and wounds without damaging delicate tissue. It’s gentler than water from a hose.
- Non-Adherent Dressings: These pads, like Telfa, go directly on the wound. They won’t stick to healing flesh, preventing you from ripping off new skin cells when you change the bandage.
- Rolled Gauze: This creates the padding layer over the non-adherent pad. It absorbs drainage and cushions the area. Buy it in bulk.
- Self-Adhesive Bandage Tape (Vetrap/Coban): The workhorse of the kit. It sticks to itself, not hair, and provides light pressure. Always apply it in the direction of hair growth to avoid painful pulls and irritation.
- Dilute Povidone-Iodine or Chlorhexidine Solution: A trusted antiseptic for cleaning skin around a wound. Note: Hydrogen peroxide is not for open wounds; it destroys healthy cells and can impede healing.
Tools of the Trade: Your Hands-On Helpers
These items extend your reach and your senses. The definitive snip of a sharp blade or the rrrrrip of vetwrap tearing are sounds of taking competent action.
- Blunt-Tip Bandage Scissors: Essential for safely cutting bandages off a leg. The blunt tip slides underneath without poking your horse’s skin.
- Fine-Point Tweezers: For removing small splinters, debris, or the dreaded “horse hair worm” (technically a habronema) from a wound.
- Digital Thermometer with a String Attachment: Know your horse’s normal. A temperature over 101.5°F is your signal to call the vet. The string stops a surprise tail-swish from becoming a search mission in the shavings.
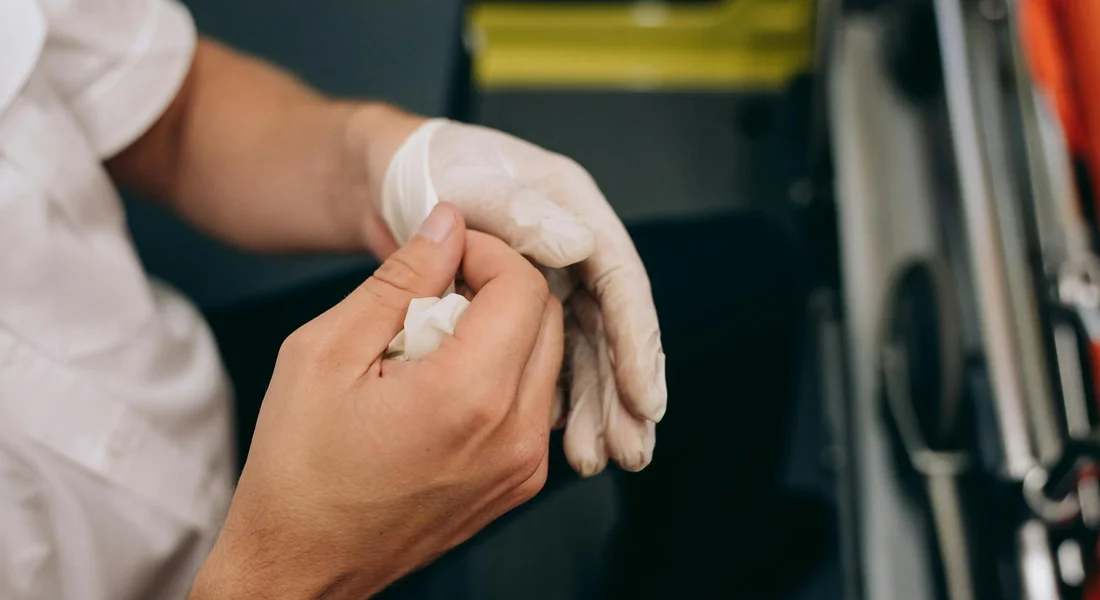
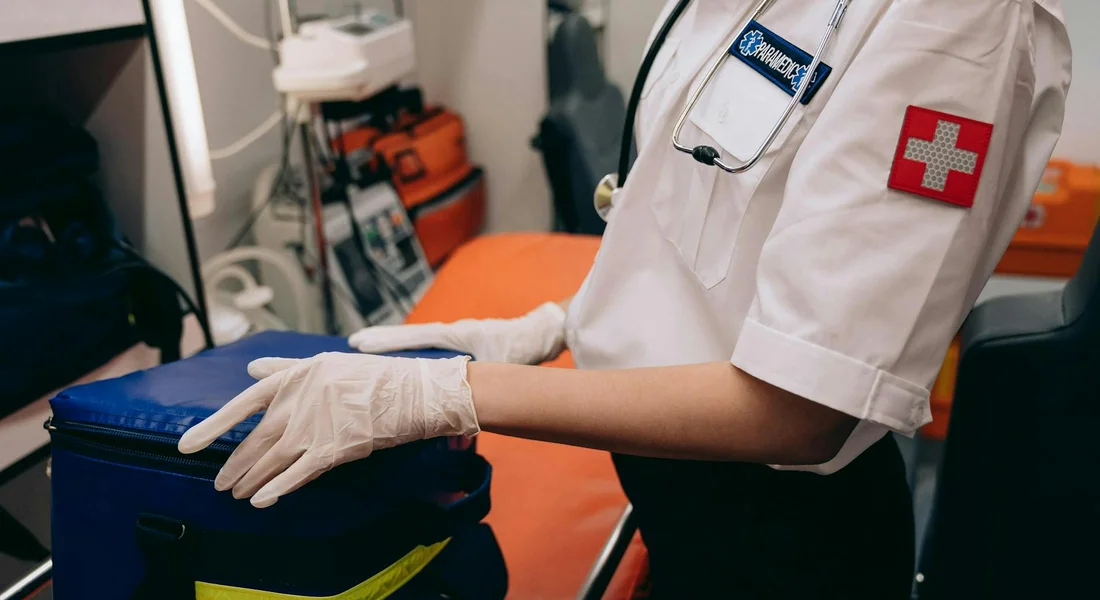
- Disposable Gloves (Multiple Pairs): Keep your hands clean and protect the wound from your own bacteria. Stash several pairs; they get torn or dirty quickly.
Support and Stabilization: For Legs and Swelling
This is about managing the structure while you wait for professional help. It’s the difference between containing a problem and letting it escalate.
- Reusable Cold Pack/Hot-Cold Therapy Boot: For immediate treatment of acute swelling or heat in a leg. I keep one in the barn freezer at all times, right next to the popsicles, so it’s always ready to go.
- Stable Bandages or Standing Wraps with Padding: These provide even pressure and support for a stocked-up leg or to secure a wound dressing overnight. They are not for riding.
- A Thick, Firm Leg Wrap or Splint Material: In a true emergency, like a suspected fracture, this can be used with padding to immobilize a leg for transport. Remember: the goal is stabilization and pressure, never a tourniquet.
Beyond the Bandages: The Paperwork and Plans You Need
Bandages and salves are visible, but the real backbone of any crisis response is the plan you can’t see. I realized this watching a vet fumble for a contact number while Luna bled from a fence cut. Paperwork provides the calm direction your hands need when your mind is racing with worry.
Treat this part of your kit with the same reverence you give a well-fitted saddle. It supports everything else.
Your Emergency Action Plan
Your emergency action plan functions like the girth on your saddle. A loose girth leads to a dangerous slip, and a missing phone number creates frantic delays. This document is your first point of control, so store it in a waterproof sleeve right on top of your supplies.
Here is exactly what to write down and keep updated:
- Your primary veterinarian’s phone number, with clear after-hours instructions.
- A second, backup emergency vet clinic number for holidays or long distances.
- Your horse’s normal vital signs: resting temperature, pulse, and respiration rates.
- A signed treatment authorization form that includes your financial limit.
I check and record Rusty’s baseline vitals every few months, as his aging joints can affect his pulse. Knowing these numbers by heart lets you give the vet precise information the moment they answer the call.
Practical Barn Hacks for Crisis Moments
The smell of fresh hay can’t mask the metallic scent of blood in a panic. Your kit must be second nature. Drill your response until finding the tweezers feels as automatic as buckling a halter.
Follow these three steps to build muscle memory for those heart-thumping moments:
- Keep the kit in one consistent, obvious location. Mine lives in a bright red toolbox by the feed room, visible from the alleyway.
- Practice retrieving critical items with winter gloves on. Feel for the roll of cotton without looking.
- Teach a barn buddy where it is and how to use it. Show them the quick-release buckle on the box.
I once had the vet’s number taped to the lid, and Pipin the pony decided it was a tasty snack. Laminating your emergency sheet protects it from weather, dirt, and mischievous ponies who find paper delicious.
Customizing Your Kit: Trail Riding vs. Barn Use
Think of your horse first aid supplies like your own shoes: you need different pairs for a hike versus working around the house. If you’re a first-time horse owner, knowing which items are truly essential helps you prepare with confidence. A simple starter list of essential supplies first time owner keeps you from overpacking or missing the basics. Building separate kits for the trail and the barn saves precious time and prevents you from lugging unnecessary weight on a ride.
The Saddlebag Savvy Kit
Space is premium in your saddle bags, and a bulky kit can throw off your balance. I keep mine lean and mean. Every item must earn its place by being multi-purpose, lightweight, and fast to deploy. This philosophy was forged on trails with Luna, my sensitive Thoroughbred, who interprets a clumsy fumble with a big kit as reason for alarm.
Your goal here is simple: stop the bleeding, clean the wound, and get home safely. Here is the minimalist lineup I rely on:
- Compact Self-Adhesive Vet Wrap: One small roll. It sticks only to itself, so you can secure a pad without tapes or pins.
- One Non-Stick Pad: Tefla or similar. It protects the injury and won’t rip away new scabs when changed.
- Prepackaged Antiseptic Wipes: Saline or chlorhexidine. Single-use keeps everything sterile and requires no water.
- A Sharp, Reliable Hoof Pick: The most critical trail tool. A lodged stone can cause immediate lameness.
Pack these in a small, waterproof pouch that clips to your D-ring. With a high-strung horse like Luna, the speed and simplicity of this kit helps me stay calm, which keeps her calm too.
The Home Station: Your Barn’s Command Center
This is your operational base. You have room for the extras that allow for proper wound management and monitoring. I strongly recommend having two barn kits: one detailed kit in the tack room (which you can audit regularly with a checklist) and a stripped-down version in a waterproof ammo can by the pasture gate. The gate kit has proven invaluable when Pipin the pony finds new ways to get a scratch during turnout.
This kit builds on your trail basics. Here are the supplemental items that turn a basic box into a command center:
- Veterinary-Grade Wound Spray or Gel: A larger bottle with antimicrobial and soothing properties for continued care.
- Extra Leg Wraps and Padding: Include standing bandages, quilted wraps, and absorbent sheet cotton for support or holding cold packs.
- A Powerful Flashlight or Headlamp: For examining eyes, deep cuts, or hoof abscesses in shadowy stalls.
- A Basic Stethoscope: Learning to listen to gut sounds is a powerful skill for early colic detection.
Use a clear, lidded tub so you can inventory supplies at a glance. When Rusty came in from the field with a deep kick, having this organized station meant I could clean, wrap, and monitor him without a frantic search for supplies.
How to Use Your First Aid Kit Safely and Effectively
Having a kit is one thing. Knowing how to use it without causing more stress is the real skill. I’ve fumbled through my share of panicked moments with Luna spooking at the rustling bandage wrapper. Let’s get you feeling confident.
Assessing the Situation: Your First Three Steps
Before you even touch that kit, your first job is to manage the scene. Your calmness is the most powerful tool you have.
- Ensure your safety and calm your horse. Take a deep breath yourself. Speak in a low, steady voice. Secure your horse if it’s safe to do so; a lead rope looped over a solid fence post is better than nothing. Listen for the steady thud of a settled hoof versus the frantic scramble of panic. If the horse is wildly uncontrollable, your safety comes first-wait for help.
- Perform a quick visual check from head to hoof. Start at the nose, work your way back. Look for obvious bleeding, swelling, or misaligned limbs. Check for sweat patterns that indicate pain and look for any debris stuck in a hoof. This “once-over” gives you the big picture before you focus on a specific wound.
- Take vital signs if possible. If your horse is standing quietly, feel for the digital pulse in the pastern-a strong, bounding pulse here often signals foot pain. Watch the flank for respiratory rate. Knowing these basics gives your vet priceless information over the phone. Your initial assessment is not a diagnosis, but a report you will give to your professional.
When to Use It and When to Wait for the Vet
The hardest judgment call is knowing when your help is enough. This kit buys crucial time and prevents minor issues from becoming major, but it is not a substitute for a veterinary degree. Think of yourself as a skilled first responder, not the surgeon.
| You Can Likely Handle This (With Your Kit) | Stop and Call the Vet Immediately |
|---|---|
| A superficial scrape or shallow cut with minimal bleeding. | Any wound over a joint, tendon, or eye. Deep punctures anywhere. |
| Picking out a stone lodged in the hoof with no lameness. | Sudden, significant lameness (non-weight bearing). Heat and a strong digital pulse in the hoof. |
| Applying a sterile wrap to protect a clean wound from dirt until the vet arrives. | Signs of colic: repeated lying down and rolling, looking at the flank, lack of gut sounds. |
| Using saline to flush a bit of dust or a small foreign object from the eye. | Profuse bleeding that doesn’t slow with direct pressure. |
| Applying fly spray or ointment to prevent irritation on a healed area. | Difficulty breathing, staggering, or signs of allergic reaction (hives, swelling). |
The most important item in your kit isn’t a tool, but your vet’s phone number, saved in your mobile and posted on the kit’s lid. When in doubt, make the call. I’ve never had a vet chastise me for being cautious, but I have regretted waiting too long on a quiet evening with Rusty that turned into a colic emergency.
Maintaining Your Kit: Keep It Ready for Action

The Seasonal Check-Up
Think of your first aid kit like a winter blanket. You wouldn’t pull a muddy, torn turnout rug out of storage and toss it on your horse, right? The same logic applies here. A kit stuffed with expired ointments and crumpled bandages is just a box of false security when you’re facing a real crisis. I make it a habit to review my kits every spring and fall, right alongside cleaning their tack and turning out seasonal gear. It’s a quiet, mindful task that pays off when you hear the quick thud of a hoof against a stall door and need to act fast.
- Audit Expiry Dates Twice a Year. Every equinox, I empty the tote onto a clean bench. I check every tube, bottle, and packet. Antiseptic solutions and steroid creams lose their potency. I once found a tube of wound gel in Pipin’s pony kit that had solidified into a weird brick-useless for his clever fence-scraping escapades. Toss anything questionable and write a new shopping list immediately.
- Restock the Moment You Use Something. Do not wait. If you use a roll of vet wrap on Luna’s delicate leg after a spirited turnout, replace it before you close the kit lid. I keep a sticky note on my fridge for this very purpose. When Rusty needed his thrush treatment last month, I jotted it down and grabbed a new bottle on my next feed run. Your future self will thank you during the next emergency.
- Choose a Dedicated, Waterproof Home. A dusty cardboard box won’t cut it. Invest in a solid, plastic tote with a solid latch. I keep ours in the feed room, safe from moisture and curious rodents. A clean, organized kit means you can find the cotton gauze without fumbling, even with a flashlight clenched in your teeth. Wipe out the tote interior during your seasonal check to keep everything fresh and ready.
This routine takes less time than mucking one stall. By tying it to the familiar rhythm of checking blankets and rotating hay, it becomes second nature, not a chore. That proactive care is a quiet promise to your horse that you’re prepared, so they can just be a horse. In winter, this approach fits with the ultimate winter horse care guide, covering blanket care, feeding, and safe exercise. It keeps routines simple and helps your horse stay balanced through cold months.
FAQ: What Should Be in a Horse First Aid Kit?
Where can I take horse first aid classes to better prepare for emergencies?
Look for classes offered by local equine veterinary clinics, agricultural extension offices, or reputable riding associations. Online courses from certified equine health organizations also provide flexible, in-depth training on emergency care. These classes build confidence in using your first aid kit and making critical decisions before the vet arrives, which can be especially valuable given the emergency vet costs for horses.
Is a horse first aid worksheet PDF useful, and where can I find one?
A worksheet PDF helps you consistently track your horse’s vital signs, injuries, and treatments for accurate vet communication. Many equine welfare groups and veterinary websites offer free, downloadable templates tailored to horse care. Storing a printed copy in your kit ensures you have a ready log during stressful situations.
What should I consider when buying a pre-made horse first aid kit from sellers like Amazon?
Always verify that the kit includes core items like sterile dressings, antiseptics, and tools from standard equine first aid lists. Check customer reviews for feedback on item quality, expiration dates, and suitability for your horse’s needs. Remember that pre-made kits may need supplements, such as horse-specific medications or your vet’s contact information, to be fully effective.
From My Tack Room to Yours
Keep your first aid kit organized, accessible, and tailored to your horse’s common needs. The most critical step is to practice using its contents before an emergency strikes, so you’re not fumbling with wrappers when seconds count.
Good horsemanship means pairing your prepared kit with a calm, observant mind. Your horse’s behavior is the most honest gauge of their comfort, so always let that guide your hands. Handling a horse safely is essential to building that trust and understanding.
Further Reading & Sources
- Basic first aid kit for horses | Extension Horses
- BANDAGE MATERIALS 3” Elastikon 4” Vetrap 14” Combine roll Brown gauze
- The Professional Equine First Aid Kit – Rx Equine
- Everything You Need in Your Horse First Aid Kit
At Horse and Hay, we are passionate about providing expert guidance on all aspects of horse care, from nutrition to wellness. Our team of equine specialists and veterinarians offer trusted advice on the best foods, supplements, and practices to keep your horse healthy and thriving. Whether you're a seasoned rider or new to equine care, we provide valuable insights into feeding, grooming, and overall well-being to ensure your horse lives its happiest, healthiest life.
Health