
How to Put a Halter on Your Horse and Tie a Quick Release Knot: A Safe, Simple Guide
Hello fellow equestrians! That fumble with the halter buckle or the doubt as you tie a knot-it’s not just awkward, it’s a real safety risk. A poorly fitted halter or a jammed knot can lead to a spooked horse, a broken tie, or worse, a costly injury.
Let’s fix that for good. In this guide, I’ll walk you through my barn-tested methods for:
- Picking a halter that fits without pinching or rubbing.
- Putting the halter on smoothly, even with a head-shy or distracted horse.
- Tying a foolproof quick-release knot that never lets you down.
- Building safe tying habits that protect both you and your horse.
I’ve spent years as a barn manager and trainer, from tacking up steady Rusty to patiently working with flighty Luna, and I know that confidence starts with these basics.
Safety and Preparation Before You Even Touch the Halter
The thud of hooves on bedding and the quiet munching of hay are my favorite barn sounds, but they also tell me the mood of the herd. Never rush this first step. Your horse’s mind is the most important piece of safety gear you have.
Assess Your Horse and Environment
Check Your Horse’s Demeanor
Walk up slowly and greet your horse verbally. Look at their eyes, their ears, and the tension in their neck. Is Luna staring intently at a flapping tarp with her head high? Is Pipin doing his famous “I’m innocent” face while standing suspiciously near the undone gate latch? Reading your horse’s energy before you enter the stall or paddock prevents most accidents. A distracted or nervous horse needs your calm, patient attention before you even think about the halter.
Scan the Tying Area for Hazards
Look for anything your horse could step on, get tangled in, or spook at. I check for three things every single time: loose boards with nails, hanging ropes or tools, and slick patches on the floor. Your tying spot must be solid, safe, and have a properly installed tie ring or post, never just a fence board or a door hinge. That quick release knot won’t help if the entire rail pulls loose. These checks are part of avoiding common horse stable setup mistakes. More tips on what to avoid will follow in the next steps.
Gather Your Tools and Mindset
Have your halter and lead rope ready, untangled, with the crownpiece unbuckled. Fumbling with knotted leather in the moment builds frustration for you and uncertainty for your horse. Your mindset should be calm and deliberate; your movements should be smooth and predictable. Take a deep breath of that hay-scented air. This isn’t a race. It’s the first conversation of your time together.
Knowing Your Halter: Parts, Types, and Perfect Fit
Just like a well-fitted saddle, a proper halter is a tool of communication, not just restraint. Knowing its parts is your first step to using it kindly.
Identifying Halter Components: From Noseband to Throat Latch
- Crownpiece: The strap that goes over the poll behind the ears. This is a key pressure point.
- Cheekpieces: Connect the crownpiece to the noseband on each side.
- Noseband: Circles the nose. Its placement is critical for comfort and control.
- Throat Latch: The strap that runs from the crownpiece under the jaw. It should be loose enough to fit your entire hand sideways.
- Buckle or Tie: Where the crownpiece fastens, usually on the left side.
- Lead Rope Attachment Ring: The sturdy ring under the jaw where you clip or tie your rope.
Choosing Between a Rope Halter and a Nylon Halter
I keep both in my tack room, because they are different tools. A flat nylon or leather halter is my default for everyday tying, grooming, and turnout. Flat halters distribute pressure more evenly and are gentler for long-term wear. My rope halter, with its thinner diameter and specific knots, is for focused ground training. The knots apply more direct pressure for nuanced cues, but they are not meant for tying or leaving on. Choose based on the task, not just looks.
How to Check Halter Fit for Comfort and Control
A poorly fitted halter can rub, pinch, or fail when you need it. Here’s my barn-fit checklist:
- The noseband should sit two finger-widths below the prominent cheekbone. Any higher interferes with facial nerves.
- The throat latch must be loose. You should easily slide your hand flat between it and your horse’s jaw.
- The crownpiece should not press tightly into the back of the ears or dig into the poll.
- The cheekpieces should lie flat without twisting. You should be able to fit two fingers between the halter and your horse’s face all the way around. A halter that’s too tight is a bridle of constant annoyance.
The Calm Approach: Step-by-Step to Haltering Your Horse
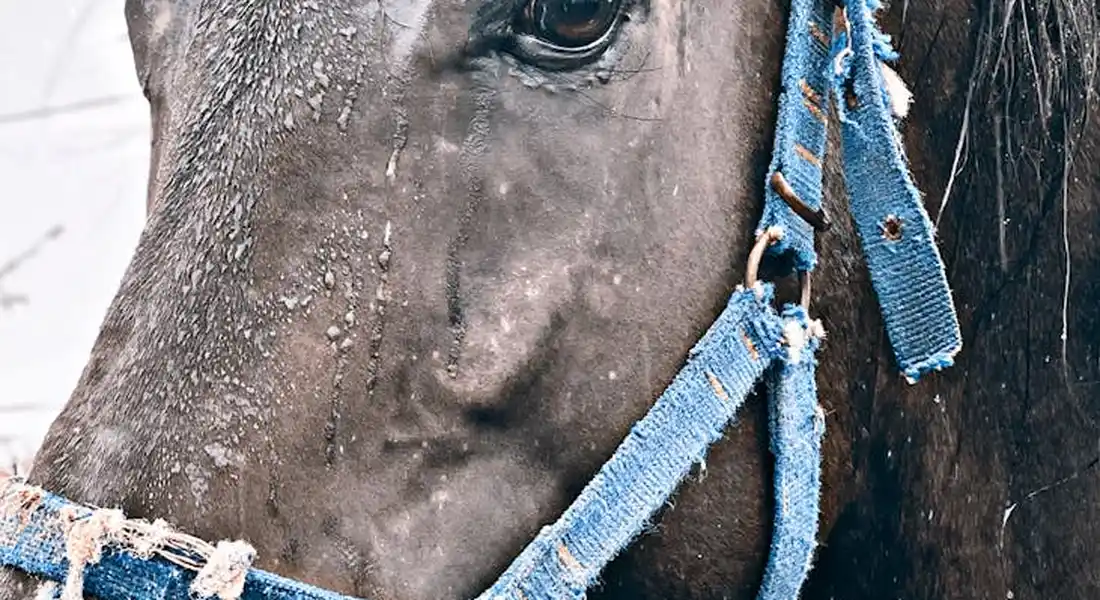
Haltering should feel like a quiet conversation, not a wrestling match. I’ve spent years in the barn with everything from steady Rusty to spooky Luna, and the key is always the same: move with purpose, but without hurry. Your horse reads your energy before you even touch the buckle.
Positioning Yourself and the Lead Rope
Always approach your horse at their shoulder, never head-on. Standing at the neck lets you be seen without invading their personal space. Slip the lead rope over their neck first-this gentle “anchor” gives you control if they step away. This simple act of securing the lead rope before the halter is your first safety net, keeping you both connected. For beginners, this is the kind of foundational step you’ll see in a handle horse safely beginners guide. The guide also covers safer handling from ground work to haltering.
Keep your body to the side, not directly under their head. Hold the coiled excess rope in your outside hand, never wrapped around your fingers. With a clever pony like Pipin, I learned to keep my feet light; that food-motivated sneak can pivot faster than you can blink!
Sliding the Noseband On and Securing the Headstall
Unbuckle the halter and drape it over your arm. With your free hand, gently guide the noseband over the muzzle. It should slide on like a loose bracelet, not a tight cuff. If your horse lifts its head, wait patiently; pushing up against them only creates a battle of wills.
- Guide the noseband up until it rests about two finger-widths below the cheekbone.
- Bring the headstall up behind the ears, smoothing the mane flat as you go.
- Fasten the buckle at the side of the face, not under the jaw. You should hear a satisfying click, not a struggle.
For a tall horse, I’ll often rest my elbow on their withers for balance-the smell of their coat and the steady rhythm of their breathing makes the task meditative.
Final Checks: Avoiding Twists and Ensuring Comfort
Run your fingers along every strap. Feel for twists that can pinch sensitive skin behind the ears or along the jaw. A twisted halter is more than an annoyance; it’s a constant source of pressure that can lead to resentment and head-tossing.
- Check that the noseband isn’t rubbing on the cheekbones.
- Ensure the throatlatch is loose enough to fit your whole hand sideways between it and the jaw.
- Look at the poll area; the crownpiece should lie flat without digging in.
Watch your horse’s eye. A soft blink and a relaxed lower lip mean you’ve got it right. A tight mouth or pinned ears mean start over.
Mastering the Quick-Release Knot: A Lifesaving Skill
I’ve seen a tied horse spook at a plastic bag. That quick-release knot isn’t just handy; it’s non-negotiable for safe horsemanship. The thud of hooves scrambling for footing is a sound you never want to hear when a knot won’t budge.
The Foundation Loop: Starting Your Knot
Start with a long lead rope. Pass the end of the rope around your solid tie ring or post. Create a simple overhand loop by crossing the working end over the standing part of the rope-this is the heart of your quick-release system. The loop should be about the size of your hand. This isn’t a complex sailor’s knot; it’s practical and must work under panic-induced tension.
Creating the Pull-Tab for Instant Release
Here’s the magic. Take the working end of the rope and push a bight (a U-shaped loop) up through that first overhand loop you made. This new loop you’ve formed is the “pull-tab”-yank this, and the entire knot should fall apart in one swift motion. Pull the working end to snug the knot against the tie ring, but leave that critical pull-tab loop clearly accessible and loose enough to grab.
Practice this until you can do it by feel in low light. My rule is: if I can’t untie it with one hand while pretending to be startled, it’s not tied correctly.
Securing the Knot to a Solid Tie Point
The best knot is useless on a weak fixture. Tie only to posts or rings cemented into the ground or solid, heavy walls. Never, ever tie a horse to a gate, stall door, or anything they can move, drag, or break. The tie point should be at or slightly above the height of the horse’s withers to prevent them from getting a leg over the rope.
Leave enough slack so your horse can move its head comfortably down to the ground, but not so much it could entangle a leg. Listen to the creak of the rope against the post-it should be a steady sound, not the sharp strain of a horse pulling back.
Why the Quick-Release Knot is Your Best Barn Buddy
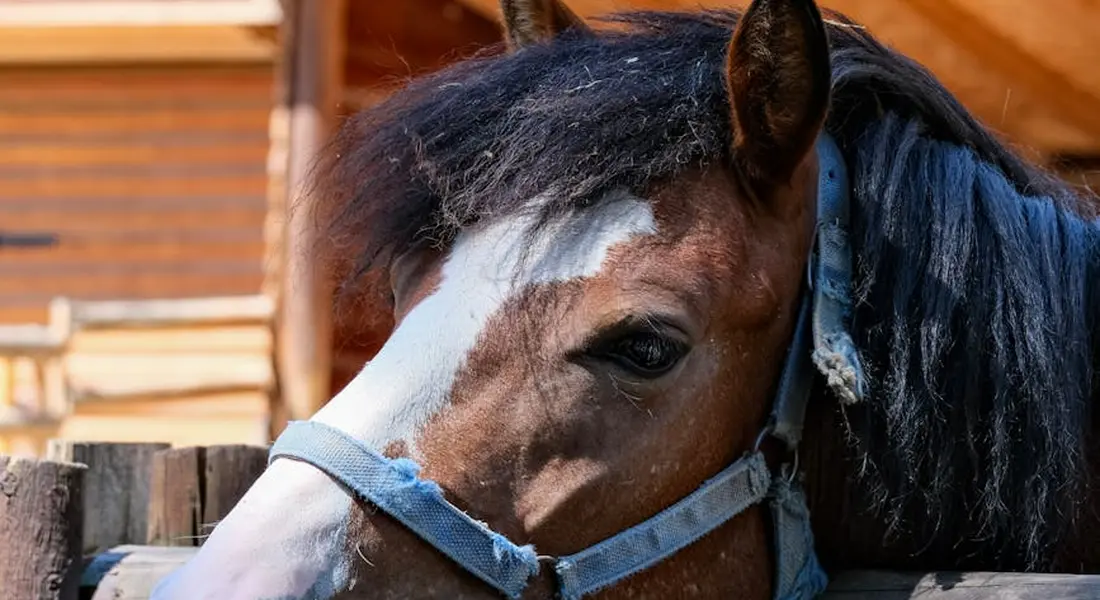
In the quiet rhythm of barn life, between the smell of fresh hay and the creak of leather, your most reliable tool isn’t fancy-it’s a well-tied knot. The quick-release knot is the unsung hero of safe horse handling, blending security with instant escape when things go sideways.
Preventing Panic and Injury in Emergencies
Horses are wired to flee, and a tied horse that panics is in real danger. A non-release knot can turn a simple spook into a devastating injury, like a torn neck muscle or a broken halter piece.
I recall the day Rusty, our steady Quarter Horse, saw a tarp take flight in a storm. Because he was tied with a quick-release, his sudden pull just slid the knot open, letting him step back safely instead of fighting the pressure.
This knot respects their flight instinct. Always tie to a solid object at wither height or higher, giving your horse a safe way out without teaching them to pull back violently. This is especially important when you are tying up your horse for exercise or rest.
Comparing Safe and Dangerous Knots for Horse Restraint
Choosing the wrong knot is a common, risky mistake. Your knot must hold for brushing but surrender completely the moment you yank the free end.
Let’s break down which knots to use and which to lose.
| Knot Type | Safe for Horses? | Key Reason |
|---|---|---|
| Quick-Release (Slip Knot) | Yes | Releases instantly under emergency pressure, designed to fail safely. |
| Square Knot | No | Jams tighter the more the horse pulls, becoming impossible to untie quickly. |
| Granny Knot | No | Similar to a square knot but prone to slipping and tightening unpredictably. |
| Clove Hitch | No | Can constrict and bind around the post, trapping the horse if it moves side-to-side. |
I learned this contrast firsthand with Pipin, our clever Shetland. He once turned a granny knot into a permanent puzzle, but a quick-release simply comes undone, saving my patience and his safety.
Testing, Troubleshooting, and Building Confidence
Trust in your tying skills comes from practice and proof. Building a routine of testing and positive reinforcement keeps both you and your horse calm at the tie rail. Being mindful of common mistakes that break your horse’s trust helps you avoid them. We’ll cover these pitfalls in the next steps.
How to Test Your Quick-Release Knot Before Tying Your Horse
Never skip the test pull. A proper quick-release knot will unravel completely with one firm, steady tug on the loose end.
Follow these steps every single time:
- Secure the knot around a fixed ring or post, as you would with your horse.
- Leave a free tail of rope that’s at least the length of your forearm.
- Stand to the side, grab the lead rope near the knot, and pull straight back.
- Watch the knot dissolve smoothly without any jerking or sticking.
- If it resists, untie it and re-tie it until the release is flawless.
This five-second check is a lifesaving habit, much like checking your girth before mounting.
Common Haltering and Tying Mistakes to Avoid
Small oversights can lead to big troubles. Steer clear of these errors to ensure your horse feels secure, not trapped.
- Tying at the wrong height: Low ties invite horses to step over the rope. Always attach at or above the point of the shoulder.
- Using too short a rope: Horses need slack to balance and look around. Allow enough length so their head isn’t cranked awkwardly against the post.
- Choosing a weak anchor: Never tie to fences, gates, or movable objects. Use a solid, grounded post designed for tying.
- Ignoring equipment wear: Frayed ropes or cracked leather halters can snap. Inspect your gear before each use, feeling for stiffness or tears.
- Walking away from a tied horse: Even a reliable horse like Rusty can surprise you. Stay within sight and earshot to intervene if needed.
Gentle horsemanship means anticipating problems before they happen, creating a safer space for every interaction.
Practice Drills for You and Your Horse
Confidence is built through repetition and positive experiences. Short, happy drills teach your horse that being tied is boring, not scary.
Incorporate these exercises into your routine:
- Knot muscle memory: Sit at home with a piece of rope and tie the quick-release knot twenty times until your fingers do it without thought.
- Positive tie-station associations: Halter your horse and tie them for just two minutes while you offer a favorite treat, like a carrot, and gentle grooming.
- Simulated spook test: In a safe enclosure, apply gentle, increasing pressure to the lead rope to mimic a pull-back. Ensure the knot releases and immediately reward your horse for staying calm.
- Distraction training: Have a helper calmly walk a wheelbarrow past at a distance. Start with very brief sessions, especially for a sensitive soul like Luna.
Ample turnout time in a pasture is foundational, as it lets horses burn energy and reduces their tension when confined, making all handling easier. Pasture turnout offers more space for varied movement and grazing than a paddock. Knowing these differences helps you choose the best environment for each horse.
Beyond the Knot: Smart Tying for Horse Welfare
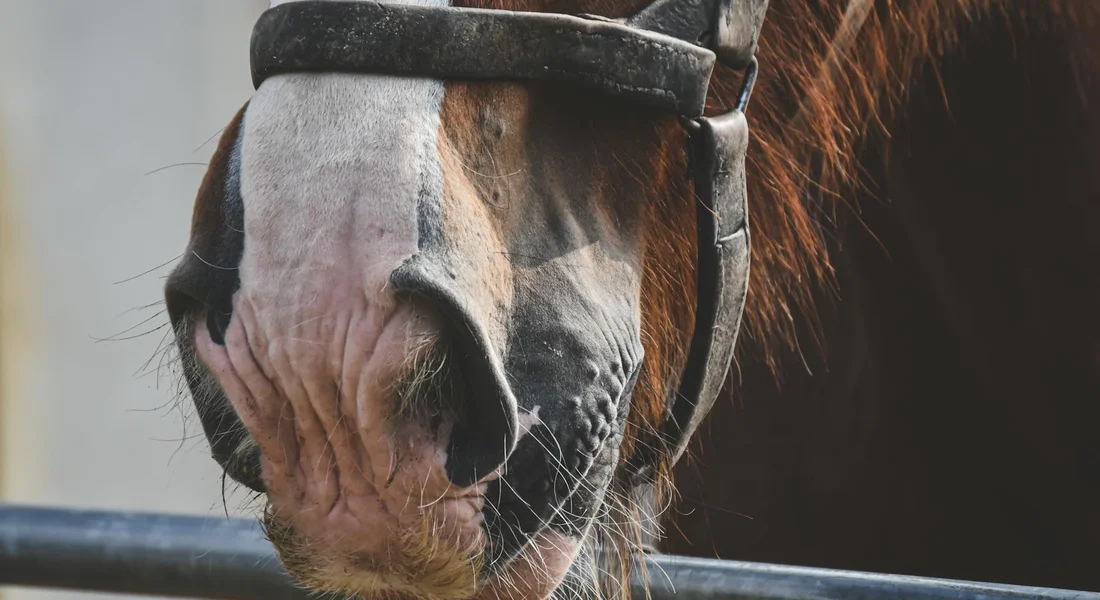
Mastering the quick-release is just the start. Real horsemanship is about the entire picture-where you tie, why you tie, and knowing when not to tie at all. It’s the difference between a convenient moment and a potential crisis.
Choosing the Right Tie Point for Stability
Not every fence post or ring is created equal. A poor tie point invites panic. You need something solid that won’t move, break, or splinter if your horse leans back. I learned this the hard way with Pipin, our Shetland escape artist, who tested a rotten post that gave way with a loud crack. Always test a tie point with your own body weight before trusting it with your horse.
Look for these features in a safe tie point:
- Immovable: A sturdy post set deep in concrete or a wall-mounted ring screwed into solid wood.
- Head-high: The ideal height is level with the horse’s withers or slightly higher. This prevents them from getting a leg over the rope if they lower their head.
- Smooth and rounded: No sharp edges, nails, or burrs that could fray the rope or cut the horse.
I keep a dedicated, reinforced tie ring in my wash stall because Luna, my sensitive Thoroughbred, needs that consistent, predictable anchor point to feel secure. The familiar thud of her hoof as she settles at it tells me she trusts the setup.
Duration, Supervision, and the Importance of Turnout
Tying is for short-term tasks, not long-term parking. Horses are designed to move. Leaving one tied for hours is an invitation to stiffness, frustration, and dangerous behaviors like pulling back. If you can’t stay within sight and talking distance, your horse shouldn’t be tied. Always tie your horse properly whenever necessary.
My barn rule is simple: never tie for longer than it takes to groom, tack up, or do a quick hoof pick. For anything longer, like a wait at a show, I untie and hand-walk frequently. This isn’t just about safety-it’s about respect for their nature.
This practice directly ties into the non-negotiable need for daily turnout. A horse who has spent hours moving freely in a paddock is far more content to stand quietly tied for a short while. Regular turnout isn’t a luxury; it’s the foundation for a calm, cooperative horse in every other aspect of care. Rusty, my steady Quarter Horse, exemplifies this. After his morning grazing, he’ll stand dozing at the tie ring, rope slack, perfectly happy to wait.
Alternatives to Tying: Cross-Ties and Groundwork
Sometimes, the safest knot is the one you don’t tie. Cross-ties are a popular barn alternative, but they must be set up correctly. Each side should have a quick-release mechanism and enough elastic or bungee to give slightly if the horse spooks. Ensure the ties are attached at the same height on both walls, forming a straight line to the halter to avoid uneven pressure on the poll. This approach also applies to safely loading a horse onto a trailer. Pair calm handling with a secure tie setup to make trailer loading smoother and safer.
For horses learning patience, or for ponies like Pipin who see tiedown challenges as a fun puzzle, groundwork is your best tool. Instead of tying, I’ll hold the lead rope and ask for simple yielding exercises-moving the hindquarters, backing up, standing square. This turns a static wait into an engaging mental exercise that reinforces your leadership without any physical restraint. Ground tying is a foundational skill every owner should teach their horse. Starting with these exercises makes that progress natural and reliable.
Consider these options when tying isn’t the best choice:
- Cross-ties: Best for grooming in a dedicated aisle. Always supervise.
- Groundwork: Use for young, nervous, or clever horses to build focus.
- Holding: Simply hold the lead rope for very short, specific tasks.
The smell of fresh hay and the soft creak of leather are the sounds of a content barn. Choosing the right method for the moment ensures those sounds never turn into the sharp snap of breaking equipment or a scared horse’s cry.
FAQ: Haltering Your Horse and Tying Quick-Release Knots
What should I do if my quick-release knot doesn’t release smoothly?
First, check that you are pulling the correct “pull-tab” loop and not the standing part of the rope. Ensure the knot is tied without twists or excessive tension that could cause it to jam. Regularly practice tying and untying with different ropes to maintain proficiency and adapt to various materials.
Are there any safe alternative knots to the quick-release for short-term tasks?
For brief, supervised activities, a simple slip knot can serve as a temporary option, but it must be monitored closely as it may not release as reliably. Always avoid knots like square or granny knots that tighten under pressure and pose a safety risk. The quick-release knot remains the recommended choice for its consistent fail-safe design in horse care scenarios.
How can I maintain my halter and lead rope to ensure knot reliability?
Inspect your equipment before each use for signs of wear, such as fraying, stiffness, or cracks, which can affect knot performance. Clean halters and ropes regularly according to material guidelines to prevent dirt buildup that might hinder smooth release. Store them properly in a dry, organized space to avoid tangles and damage that compromise safety.
Safe Hands, Happy Horse
Focus on a calm approach and a proper fit every time you buckle that halter. Practicing your quick-release knot until it’s muscle memory is the single most important thing you can do to prevent a barn accident.
Go slow, breathe, and let your horse’s reactions guide your hands. True horsemanship isn’t about the knot you tie, but the trust you build by listening. Building trust takes patience and understanding.
Further Reading & Sources
- r/Equestrian on Reddit: How to tie a quick release knot!
- Horse & Farm Knots by Grog | Learn How to Tie Horse & Farm Knots using Step-by-Step Animations | Animated Knots by Grog
- Quick Release Knots | Learn How to Tie Quick Release Knots using Step-by-Step Animations | Animated Knots by Grog
- Quick Release Halters
At Horse and Hay, we are passionate about providing expert guidance on all aspects of horse care, from nutrition to wellness. Our team of equine specialists and veterinarians offer trusted advice on the best foods, supplements, and practices to keep your horse healthy and thriving. Whether you're a seasoned rider or new to equine care, we provide valuable insights into feeding, grooming, and overall well-being to ensure your horse lives its happiest, healthiest life.
Equipment