
How to Teach Your Horse to Ground Tie: A Foundational Skill for Every Owner
Hello fellow equestrians. That heart-sinking moment when your horse wanders off, leaving you scrambling after a dropped lead rope, is more than a hassle-it’s a genuine safety hazard that can lead to tangled legs, vet bills, and frayed nerves.
We’ll solve that together by covering:
- The step-by-step, pressure-and-release method that builds a solid “whoa” from the ground up.
- How to pick the perfect training spot to set your horse up for success.
- Troubleshooting the common escape artist behaviors before they become habits.
- Weaving this skill into your daily chores for a calmer, more connected partner.
My advice is steeped in long afternoons at the barn, having successfully taught this indispensable skill to everything from food-motivated ponies to spooky thoroughbreds.
What is Ground Tying and Why Does Your Horse Need This Skill?
Ground tying is the simple act of dropping your lead rope and having your horse stand still, as if tied to an invisible post. It’s a lesson in patience and trust, where your verbal cue and body language become the only restraint.
This isn’t just a fancy trick. It’s a daily convenience and a genuine safety net. I’ve relied on it countless times when a rein breaks on the trail or when I need both hands free to wrestle with a stubborn gate latch.
- Emergency Situations: Your bridle breaks, your saddle slips, or you take a fall. A horse who ground ties won’t spook and drag a dangling rein through the woods.
- Daily Barn Chores: Need to grab a hoof pick, adjust a blanket, or sweep up that pile of hay? Just ask them to “stand” and you have a helper, not a hazard.
- Building Focus: This skill teaches your horse to ignore distractions and find comfort in simply being with you. It’s the foundation for more advanced work.
- Veterinary and Farrier Visits: A professional can work more safely and efficiently on a horse who stands calmly without needing to be physically cross-tied or held.
Think of ground tying as teaching your horse the value of the pause button, giving you both a moment of quiet confidence in a busy world.
Setting the Stage for Success: Your Mindset and Your Horse’s Readiness
Your attitude is your most important piece of equipment. If you’re rushed or frustrated, your horse will mirror that energy. This is about partnership, not domination.
I learned this with Luna, my sensitive Thoroughbred. Our first attempts were a dance of her shuffling feet and my rising irritation. The breakthrough came when I took a breath and made my own body still and soft. She settled because I did.
Check Your Horse’s Readiness First
Don’t ask for a complex skill if the basics aren’t solid. Your horse should already understand and reliably respond to these cues: Foundation skills form the base of effective equine training.
- Standing quietly while tied to a real, solid post or tie ring.
- Yielding to pressure on the halter, moving back and forward with gentle cues.
- A solid “whoa” command under saddle and in hand.
If your horse leans on the halter or dances when tied normally, ground tying will only magnify that anxiety—go back and solidify those fundamentals first, like learning how to safely tie a horse.
Choose Your Time and Place Wisely
Set yourselves up for a win. The training arena at feeding time is a recipe for failure. I always start in a small, familiar, and mildly boring space, like a quiet corner of the paddock.
- Start after a light workout when your horse’s brain is engaged but their energy is manageable.
- Ensure the environment is safe and enclosed, with no loose dogs, galloping buddies, or piles of fresh hay to tempt them.
- Have a plan for a single, short session. Five minutes of positive work beats twenty minutes of nagging.
Your goal in this phase isn’t perfection; it’s to create a calm, focused bubble where learning can happen without a fight.
The Step-by-Step Training Plan to Condition a Reliable Ground Tie
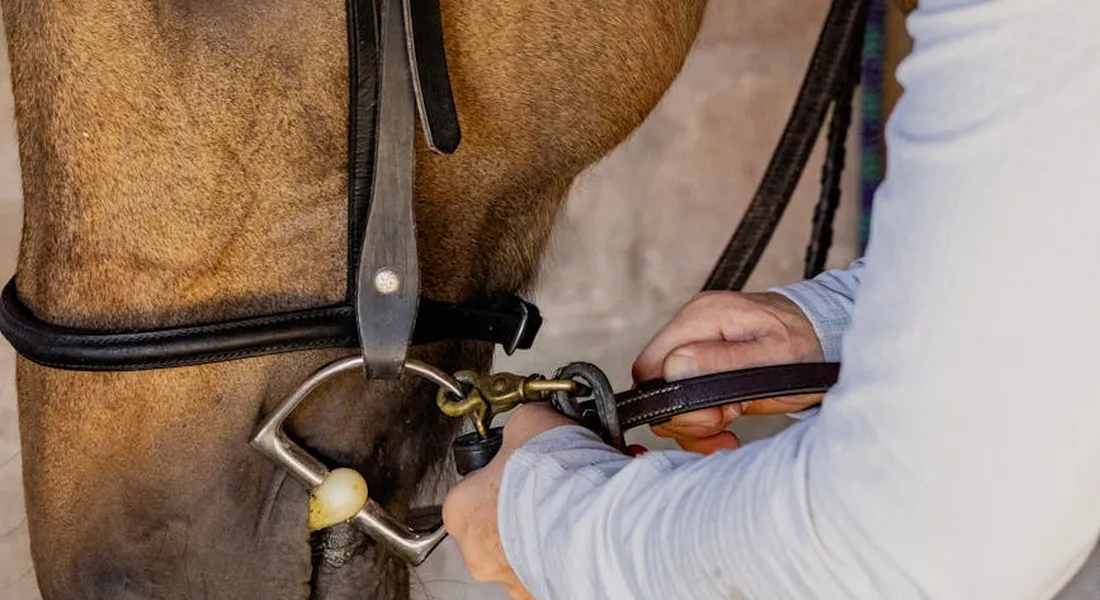
Think of ground tying not as a single command, but as a chain of trust you build link by link. This plan works for a sensitive Thoroughbred like Luna or a steady soul like Rusty-you just adjust your patience and pace.
Phase 1: Establishing the Solid “Stand”
Forget the rope for now. Your first job is to make “stand” mean “plant your feet and relax.” I start in a familiar, boring spot like a dry corner of the paddock. With a clicker or a verbal “good,” I mark and reward the slightest pause in movement. The goal here is to build a default behavior of stillness, not just obedience to pressure. For food-motivated Pipin, I used tiny pieces of carrot; for Luna, a soft scratch on the withers worked better. Sessions are five minutes max. If they step, I just gently reset them-no drama.
- Ask your horse to “whoa” and stand beside you.
- Wait one second of stillness, then mark and reward.
- Gradually increase the time to five, then ten seconds before rewarding.
- Practice until they will stand calmly for 30 seconds with you at their shoulder.
Phase 2: Introducing the Rope on the Ground
Now we add the visual cue. With your horse standing, calmly drop the coil of your lead rope onto the ground right next to their front feet. Do not let go of the horse. The sudden sight and sound of the rope hitting the dirt can startle a horse, so I make my movements slow and predictable, talking softly the whole time. If they stay put, jackpot reward! If they scoot, pick up the rope and return to Phase 1. This step bridges the gap between being held and being “free.” From here, you’ll begin liberty work—no ropes, no tack. This approach centers on training your horse through partnership and trust.
Phase 3: Building Duration and Distance
Once the dropped rope predicts a reward, you can start to move. After dropping it, take one small step sideways. Immediately step back, pick up the rope, and reward. Your horse learns that your movement away is temporary and that good things happen when they wait. Over many sessions, build to taking two steps, then walking a small circle around them. Duration and distance are added separately-don’t walk far and wait long in the same session. Rusty mastered this quickly, but with Luna, I kept my circles very tight and slow. These cues naturally extend to walking and navigating obstacles with your horse. With that foundation, you can guide them around poles, gates, and other challenges calmly.
- Add distance only when your horse is relaxed at the current step.
- Add time only when your horse is confident with your distance.
- Always return to the horse to reward, never call them to you.
Phase 4: Proofing with Distractions
This is where you test the reliability. Start with mild, controlled distractions. I might shake out a saddle pad nearby or jingle a bucket. The key is to set the difficulty level so your horse can succeed about 80% of the time-this builds confidence instead of frustration. Be mindful of common mistakes that break your horse’s trust—rushing, punishment, or inconsistent cues. Avoid them to keep training fair and calm. If they break stance, you’ve asked too much too soon; go back a phase. Never create a “setup for failure” like having a buddy horse led past at a gallop. Success with a dropped glove leads to success when you need to grab a hoof pick from the tack room.
Troubleshooting Common Ground Tying Problems
Every horse hits a snag. How you respond defines your partnership.
The Horse That Walks Off Immediately
This is almost always a hole in Phase 1. The “stand” command isn’t solid. Go back and reinforce it without the rope. Ask yourself: is my horse confused or testing? A confused horse looks away or seems unsure; a testing horse looks at you, then deliberately walks to grass. For confusion, simplify and reward more. For testing, consistent, calm repetition of the exercise is the answer-no anger, just predictability.
The Horse That Stands But is Tense and Anxious
You have obedience, but not relaxation. A tense horse isn’t learning; they’re just enduring. Shorten sessions dramatically. Reward for soft sighs, a lowered head, or a relaxed lip. Your own energy is contagious; breathe deeply and keep your own posture loose and calm. I found with Luna that standing at her shoulder and gently mimicking her breathing rhythm helped her settle. The goal is a calm mind, not just still feet.
The Horse That Only Obeys When Physically Tied
This horse understands restraint, not a verbal cue. There’s a conceptual gap. A bridging exercise I use is to hold the lead rope with massive slack. Ask for a “stand,” and if they hold, drop the rope for half a second before grabbing it again and rewarding. Gradually lengthen that micro-second of “no connection” until they understand the cue exists independently of the rope in your hand.
The “Pipin” Scenario: The Clever Escape Artist
For the smart, food-driven pony or horse, you must be smarter. Standard treats won’t cut it. I reserved Pipin’s absolute favorites-apple bits-only for ground tie training. Ultra-high-value rewards make stillness more appealing than wandering. Also, outthink them: practice where there’s nothing “better” to do, like in an empty arena. If they take a step, you must be quicker-reset them immediately before they self-reward by grabbing a mouthful of weeds. Consistency turns your game into their habit.
Equipment Notes: The Right Tools for the Job
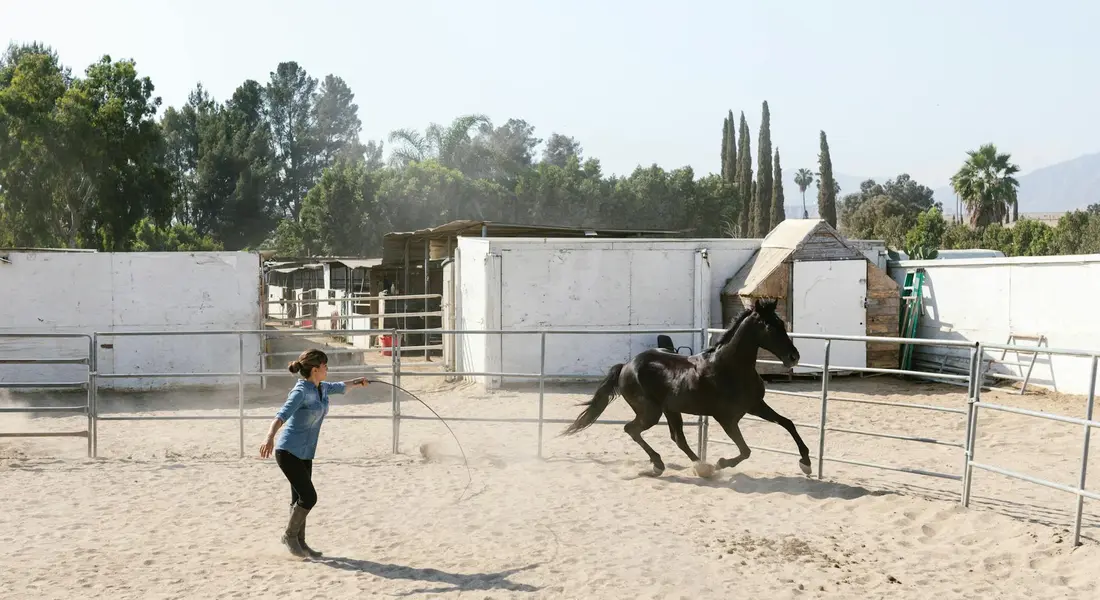
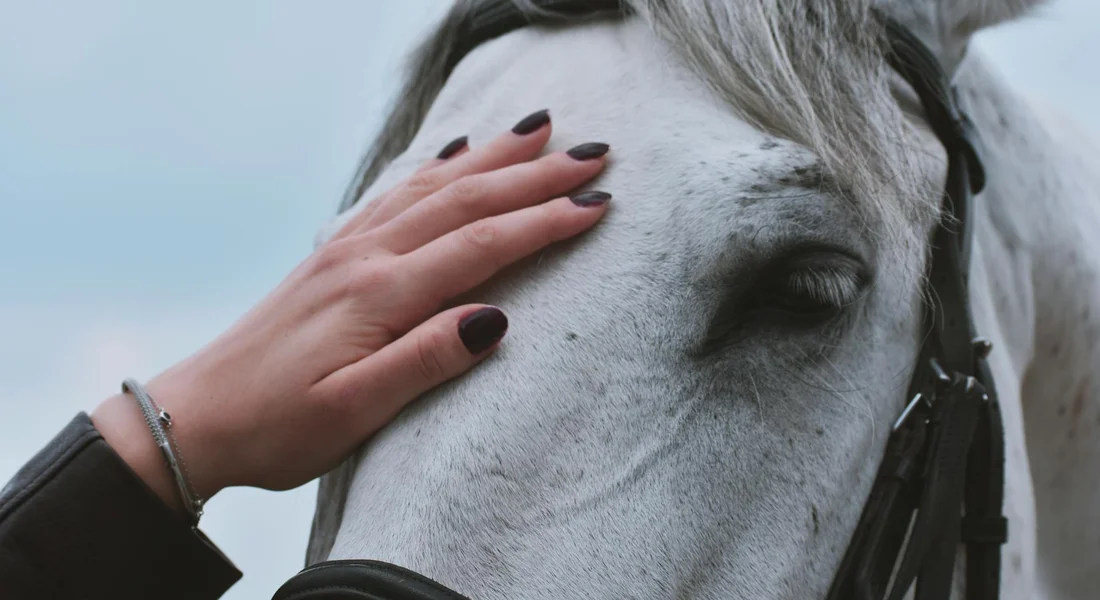
Your tools should be safe and simple. I always use a well-fitting halter and a strong, comfortable lead rope. For young or anxious horses in training, a leather halter or a breakaway crown strap is a non-negotiable safety feature to prevent injury if they do spook. Specialized tools like tie rings or ground tying hobbles are optional aids for specific challenges, like a horse that consistently steps over the rope. They are not substitutes for the training plan. If you use them, it’s as a temporary reminder, not a permanent crutch. For beginners, the handle horse safely beginners guide offers a clear, step-by-step foundation you can start with as you practice. It complements the tips above by outlining calm handling routines and safety checks.
Equipment Notes: The Right Tools for the Job
You can’t build a house without a hammer, and you can’t teach a solid ground tie without the proper gear. This isn’t about fancy gadgets; it’s about safe, clear communication. Using the wrong equipment is like trying to whisper in a hurricane-your signals get lost.
My first attempt with a fancy-padded halter and a short lead was a comedy of errors. A floppy crown piece and thick padding muffled every subtle ask I gave. Switching to a simple, well-fitted rope halter was the game-changer, making my cues as clear as a bell.
The Indispensable Rope Halter
Skip the flat, web halters for this job. A knotted rope halter applies pressure more precisely around the nose and poll. This clarity is your primary language during training. It should fit snugly, not tight, with the knot under the jawbone.
- Why it works: Pressure is focused and released instantly, teaching the horse to yield to light cues.
- Fit check: You should be able to slide two fingers under the noseband. The throatlatch should not dangle.
- Personal pick: I use a single-strand 5/16″ yacht rope halter for my guys. It’s durable, clean, and gives that direct feel I need.
The Long, Heavy-Duty Lead Rope
That flimsy 6-foot lead that came with your halter? Toss it in the trunk for emergencies. For ground tying, you need heft and length. A 12-foot lead rope, preferably with a heavy brass or robust metal snap, is your best friend.
- Length is leverage: It allows you to step away while maintaining a safe connection, and to apply even pressure from a distance if needed.
- Weight matters: A heavier rope has a natural drape. When you drop it, it hits the ground with a definitive thud your horse learns to recognize, and it’s less likely to blow around in the wind.
- My go-to: A cotton/poly blend lead. It’s tough, doesn’t burn your hands, and has that perfect, substantial weight.
Your Gloves and Boots
This is your personal safety gear, non-negotiable. Leather gloves save your palms from rope burn the first time your horse tests the boundary and moves off. Sturdy boots with a defined heel protect your toes from an accidental misstep.
Protecting your hands means you can maintain a steady, patient hold on the line instead of jerking away from pain, which only teaches your horse to be nervous. I keep a dedicated pair of well-worn work gloves in my tack trunk just for ground training sessions.
What to Avoid
Just as important as what to use is what to leave in the tack room. Chain shanks, lunge lines, and any form of tie-down have no place in this foundational lesson.
- Chains: They amplify pressure unpredictably and can cause panic or injury.
- Lunge lines: Their lightness and coil encourage constant motion, the opposite of what you want.
- Tie-downs or cross-ties: This is about teaching choice, not physical restraint. Using them defeats the entire purpose.
The goal is trust, not containment. Your equipment should be a conduit for conversation, not a cage. With the right simple tools, you’re already halfway to success before you even step into the ring.
FAQ: How to Teach Your Horse to Ground Tie
What does ‘ground tie’ mean in horse training?
Ground tying is a foundational skill where a horse learns to stand patiently without physical restraint, responding only to your verbal cue. It transforms the lead rope into a symbolic anchor, promoting trust and focus between horse and handler. Mastering this enhances safety during grooming, vet visits, or unexpected trail mishaps.
Are there specific rules for ground tying a horse?
Key rules include always beginning in a secure, distraction-free environment and ensuring your horse reliably obeys basic ‘whoa’ and standing commands first. Progress slowly by adding distance and duration separately, and consistently reward calm behavior to reinforce the desired stance. Never use force or punishment, as this undermines the trust-based partnership essential for success. As your basics become reliable, you can extend training to teach cues for laying down and standing still. This progression aligns with the do teach horse lay down stand still approach, keeping the path calm, patient, and reward-based.
Where can I find a reliable PDF guide on ground tying?
Many equestrian associations and certified trainers offer free PDF guides online that detail progressive ground tying techniques with illustrations. These resources can provide printable checklists and advanced troubleshooting strategies to complement your in-person training sessions. Always verify the author’s credentials to ensure the methods align with ethical, positive reinforcement horsemanship.
A Skill That Builds Trust
Begin your training in a safe, enclosed space with a lead rope, using positive reinforcement like a scratch or a calm word as the ultimate reward. This foundation also supports teaching your horse basic ground manners. True ground tying is a release of pressure, not a forced standstill, so never punish your horse for a single step-simply reset and ask again.
This skill is less about obedience and more about fostering a mutual understanding where your horse chooses to stay with you. Your patience and ability to read his subtle signals, like a flicked ear or a shifting hoof, will build a foundation of trust that improves every interaction.
Further Reading & Sources
- Teaching a Horse to Ground-Tie
- What is ground tying – and how could it benefit your horse? – Horse & Hound
- Teaching a Horse to Ground Tie – AQHA
- Horse Training Tips: Teach Your Horse to Ground Tie | MannaPro
At Horse and Hay, we are passionate about providing expert guidance on all aspects of horse care, from nutrition to wellness. Our team of equine specialists and veterinarians offer trusted advice on the best foods, supplements, and practices to keep your horse healthy and thriving. Whether you're a seasoned rider or new to equine care, we provide valuable insights into feeding, grooming, and overall well-being to ensure your horse lives its happiest, healthiest life.
Behavior