How to Put a Bridle on Your Horse: A Step-by-Step Guide
Hello from the stable gate. If you’ve ever fumbled with leather straps while your horse evades the bit, you know that moment of frustration. It feels like a safety dance gone wrong, risking a nipped finger or a wary, head-shy partner.
This guide will transform that struggle into a smooth routine. We’ll cover the essential pre-bridling check to ensure your horse is calm and ready, a step-by-step sequence to introduce the bit without a fight, and how to adjust the crownpiece, cheekpieces, and throatlatch for secure, gentle comfort.
My years of barn management and training, from coaching a sensitive Thoroughbred like Luna to outsmarting a pony escape artist like Pipin, have taught me that the right technique builds trust with every buckle.
Why Bridling Well is a Cornerstone of Care
This isn’t just about getting the bit in the mouth. It’s about preparing for safe communication. A poorly fitted bridle can cause pressure sores and resistance, while a gentle technique promotes relaxation. Your horse’s willingness to accept the bridle is a direct reflection of their comfort and your horsemanship. I advocate for taking the extra minute to do it right; it pays off in a happier, more responsive partner under saddle.
Bridle Anatomy: Name the Parts Before You Start
Knowing your equipment prevents fumbling. Hold your bridle and identify these key pieces. Feel the soft leather and listen to the quiet jingle of the bit.
- Headstall (Crownpiece): The main strap going over the poll behind the ears. This is your anchor point.
- Browband: The strap across the forehead that keeps the headstall from slipping back. Ensure it’s not pinching their ears.
- Cheekpieces: Straps connecting the headstall to the bit rings on each side. Their length dictates bit height.
- Noseband (Cavesson): The strap around the nose, not present on all Western bridles. It should lie flat, not restrict.
- Throatlatch: The strap from the headstall that buckles under the throat. You should fit a fist’s width here.
- Bit: The metal mouthpiece. Always check for warmth in winter and cleanliness year-round.
- Reins: What you hold to communicate. They complete the circuit between your hands and the horse.
Familiarity with these parts lets you adjust for a perfect, pressure-free fit. Leather should creak softly with movement, not groan from strain.

A Note on Bit Comfort
The bit is not a steering wheel. It’s a sensitive interface. Imagine a cold, poorly fitted piece of metal in your own mouth. I always warm a bit in my hand on frosty mornings before bringing it near Luna, my sensitive Thoroughbred. A horse that tosses its head or gapes its mouth is often speaking about discomfort, not disobedience.
Pre-Bridling Rituals: Setting the Stage for Success
Rushing leads to mistakes. Your ritual starts long before you lift the headstall. This is where good management shines.
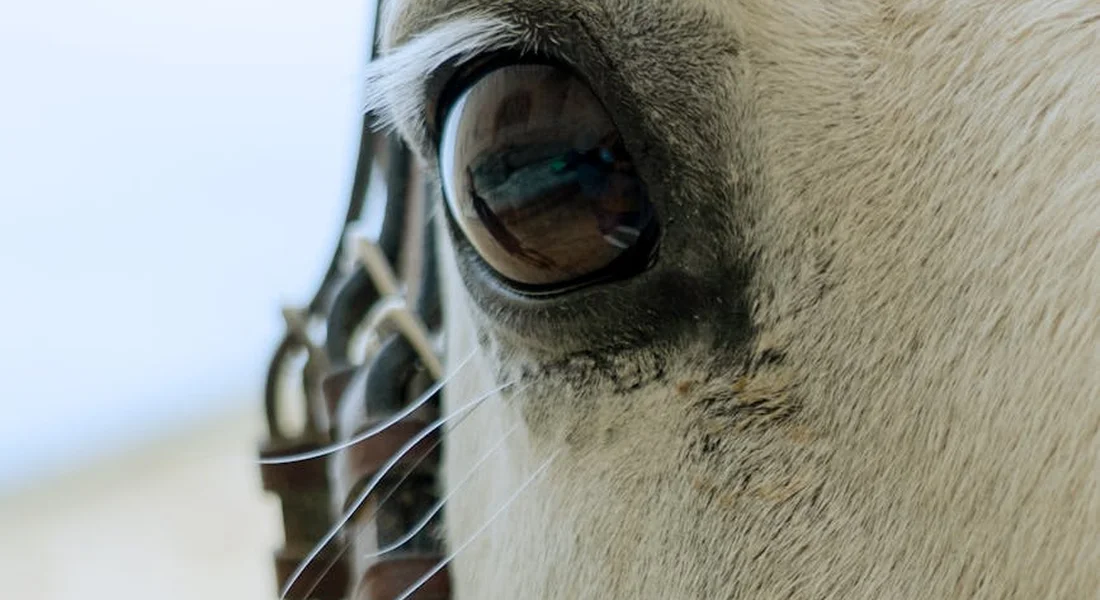
First, secure your horse. Cross-tie or tie with a quick-release knot. I’ve seen Pipin the pony undo a standard knot in seconds flat. Check your horse’s head. Run your hands over their poll, behind their ears, and along their muzzle. Feel for any swelling, cuts, or sore spots. This is also your moment to wipe away sleep sand or mud from their eyes and nose. While you’re at it, keep an eye out for early signs of illness or injury—like coughing, nasal discharge, or lameness. Recognizing these early cues can help you act quickly and guide the next steps.
This two-minute check builds trust and ensures you aren’t bridging over an unseen injury. Be mindful of common mistakes that break your horse’s trust and avoid them. This awareness sets the stage for calmer handling as you move to the next steps. Next, organize your bridle. Unbuckle the throatlatch and noseband. Drape the reins over your left shoulder so they don’t tangle underfoot or startle your horse. The soft thud of hooves shifting in anticipation is your cue to begin.
Your Step-by-Step Bridling Protocol
Follow these steps in order. Move slowly and talk to your horse. I always untie my horse or have a handler for safety, a lesson I learned quick with our escape artist, Pipin. It’s essential to handle a horse safely to prevent any accidents.
Step 1: Secure Your Horse and Check the Bridle
Place your horse in a well-lit, quiet area. I keep them in a halter with a lead rope, either held by an assistant or cross-tied. Run your hands down all the bridle straps. Check that all buckles are undone and the reins are untangled over the headstall to prevent a mid-process snag. Once these checks are done, you’re ready to put the harness on.
Step 2: The Gentle Transition from Halter
Stand at your horse’s left shoulder, facing the same direction. Slip the halter’s crownpiece down the neck with your right hand. Drape the bridle’s reins over your left arm. This keeps the halter ready for control while your hands are full of bridle. Properly putting on a halter ensures the quick release knot stays secure but easy to untie.
Step 3: Introducing the Bit
Hold the bridle’s headstall in your right hand and the bit in your left. Gently bring the bit up to the lips. Use your thumb to press into the space where there are no teeth if they don’t open up. Never bang the bit against teeth; a patient wait for the mouth to open is always better. Luna taught me that a hesitant horse often just needs the bit warmed in your hand first. Using the correct bit size can also make a big difference in how comfortable the horse feels.
Step 4: Ears and Crownpiece
As the bit settles, guide the horse’s right ear forward under the crownpiece with your right hand, then the left ear. Do not pull the headstall roughly over the ears. For ear-shy horses, fold the ear flat gently or use a bridle with a split crown. Rusty, my old reliable, dips his head to help—a behavior I rewarded from day one by being gentle when cleaning his ears.
Step 5: Fasten and Fit with Care
Now, buckle up. Start with the throatlatch. You should fit a flat hand’s width between it and the jaw. Next, adjust the noseband so two fingers fit snugly underneath. Finally, check the cheekpieces. The bit should create one or two slight wrinkles at the corner of the mouth, not pull the lips taut. Do a final check: all straps lie flat, nothing pinches, and the browband isn’t pulling on the ears.
Fitting for Comfort: English vs. Western Nuances
A good fit prevents rubs and allows clear signals. The basics are the same, but styles differ.
- English Bridles: Often have a noseband and multiple adjustment points. The bit level is critical.
- Western Headstalls: May lack a noseband. The fit is often looser, but the bit fit rule remains. Throatlatches can be wider.
Regardless of style, walk your horse a few steps after bridling to see if the bit settles comfortably. Listen for the quiet jingle, not the clank of metal on teeth. Different bit types have different uses, and knowing which one suits your horse helps ensure comfort and safety.
Solving Common Bridling Hurdles
Horses aren’t machines. They have opinions, and we must listen.
For the Head-Tosser or Ear-Shy Horse
This is often about pressure on the poll or ears. Desensitize by rubbing the poll and ears during grooming. Spend a week just placing the headstall over the neck without putting the bit in, rewarding with a carrot. Patience here is a non-negotiable investment.
For the Bit-Resistant Horse
A clamped mouth can mean mouth pain, a harsh bit, or a bad memory. Have a vet check teeth annually. Try a milder, comfortable bit. Consider a bitless bridle option for training or pleasure riding; it’s a valid tool for gentle communication. Pipin went through a phase where only a rubber mullen mouth bit would do.
Training for a Peaceful Partnership

Bridling should be a calm, predictable part of the day. For young or nervous horses, break the process into tiny steps and reward each one. Turnout time before a session lets them shake off energy, making them more focused and willing. I’ve found that horses with ample pasture time are consistently softer to bridle. It’s about welfare first-a content horse is a cooperative horse. Your hands tell a story; let it be one of kindness. If bucking is a concern, a calm, step-by-step routine helps stop it. A relaxed horse tends to go more smoothly into bridlework.
FAQ: How to Put a Bridle on Your Horse
How do I bridle a horse Western style?
The fundamental process is similar, but Western bridles, or headstalls, often lack a noseband. Focus on a gentle bit introduction and ensure the crownpiece sits comfortably behind the ears without pinching. The throatlatch should be snug but allow ample room, typically three to four fingers width, to avoid pressure on the windpipe during neck flexion.
How do I bridle with a Rambo Micklem Competition Bridle?
This design buckles differently, often around the nose first, to avoid poll pressure. Carefully follow the manufacturer’s diagram to route the straps correctly, as the bit attaches via loops on the side. Its multi-buckle system allows for a very customized fit, but always ensure the bit sits at the correct height to create one or two lip wrinkles without pinching.
How do I bridle a difficult horse?
For a consistently difficult horse, revert to foundational training by breaking the process into tiny, rewarded steps over multiple sessions. Address potential physical causes first by having a veterinarian check for dental issues, TMJ pain, or ear sensitivity. Consider using a bitless bridle or a very mild bit during retraining to rebuild a positive association with the bridling ritual. Additionally, be sure to manage any behavioral issues such as biting to ensure a smoother training process.
From the Tack Room to the Trail
Putting on a bridle smoothly relies on a calm approach and verifying the fit of each piece before you walk away. Your primary goal is always a bit that sits without twisting and crownpiece that doesn’t pinch the delicate skin behind the ears.
That quiet moment of fastening the throat latch is where your horsemanship shines, so never rush it. The soft sigh of a contented horse is your best reward and your clearest instruction.
Further Reading & Sources
- Bridle – Wikipedia
- Here’s How to Put a Bridle on Your Horse
- How to put a bridle on a horse in 6 easy steps
- What is a Horse Bridle, and How Does It Work? – Farm House Tack
At Horse and Hay, we are passionate about providing expert guidance on all aspects of horse care, from nutrition to wellness. Our team of equine specialists and veterinarians offer trusted advice on the best foods, supplements, and practices to keep your horse healthy and thriving. Whether you're a seasoned rider or new to equine care, we provide valuable insights into feeding, grooming, and overall well-being to ensure your horse lives its happiest, healthiest life.
Equipment