How to Lunge a Horse: A Step-by-Step Guide for Exercise and Training
Hello fellow equestrians. Does the idea of sending your horse out on a lunge line fill you with dread, picturing a tangled mess or a bolting animal? Maybe you’re staring down a week of bad weather, worried about pent-up energy exploding into unsafe behavior.
I’ve managed barns for years, and I’ve seen the fallout-from minor sprains to major trust issues-when lunging is done without a clear plan. That anxiety is real, and it usually means we’re missing a few key pieces of the puzzle.
This guide will fix that. We’ll walk through the fundamentals, focusing on:
- Gathering the correct, safe equipment for your individual horse.
- Setting up your lunging area to promote calm, focused movement.
- Using your own posture and voice as clear, consistent signals.
- Structuring a session that builds fitness without causing stress or strain.
- Reading your horse’s body language to know when to push and when to quit.
My advice is forged from daily dirt time, working with clever ponies like Pipin and sensitive souls like Luna, always with their welfare as the top priority.
Why Lunging is a Foundation for Horse Care
More Than Just a Circle: The Real Benefits of Lunging
If you think lunging is just running your horse in circles, I have a story about Luna that will change your mind. The first time I tried it, she shot off like a rocket, all frantic energy and no focus. Proper lunging is controlled groundwork where you shape your horse’s movement, mind, and momentum from the ground. It turns that pent-up energy into productive conversation.
This practice is a cornerstone of gentle horsemanship. It respects the horse’s need for movement and mental engagement. Consistent lunging builds a vocabulary of cues that deepens your bond without a saddle in the way. You learn to read each other in a whole new way.
The benefits go far beyond tiring them out. Here is what you gain from a good lunging routine:
- Safely burns mental and physical energy: It’s my go-to for Luna on windy days before I even think about mounting.
- Provides a clear soundness check: Watching your horse move on a circle lets you spot slight hitches or stiffness early.
- Develops balance and core strength: Without a rider, the horse learns to carry itself properly, building essential muscle.
- Teaches vital communication: Your body position, voice commands, and whip cues become a shared language.
- Encourages suppleness and flexion: Asking for circles and transitions promotes softness through the entire body.
Use lunging as a versatile tool in your care kit. It’s a perfect pre-ride warm-up to loosen stiff muscles. For young or green horses, it introduces commands without weight. On a scheduled rest day, a short, gentle session keeps joints mobile. Regular lunging also helps build and strengthen horse muscles effectively, especially in the hindquarters and core. With deliberate progression and varied tempos, you can target different muscle groups for balanced development. Integrating lunging into your routine is a direct investment in your horse’s long-term physical and mental health.
The soft thud of hooves on the circle is the sound of partnership being built. This foundational work fosters a supple, attentive horse who understands his job from the ground up.
Gathering Your Gear: Essential Lunging Equipment
The Non-Negotiables: Halter, Line, and Whip
You wouldn’t bake a cake without a bowl and spoon. Don’t lunge without the right gear. Having proper equipment is a basic safety and welfare issue. Your primary goal is clear communication, and that starts with the tools in your hands.
There are three non-negotiable items you need for safe, effective lunging. Get these right first.
- A Well-Fitting Halter: It must be snug without rubbing. A loose halter can twist, and a tight one causes pressure sores.
- A Durable Lunge Line: A 25-30 foot line made of cotton or soft webbing is ideal. It’s gentle on your gloves and gives you plenty of reach.
- A Longe Whip: This is your guiding pointer, not a punishment device. It should be long enough to gently tap the air behind your horse to encourage forward movement.
Now, let’s talk about the halter versus a lunging cavesson. A standard halter works for a steady, educated horse like Rusty. A padded cavesson, with its central noseband ring, is often better for training as it gives clearer directional pressure without pinching. I switched to one for Luna, and it stopped her from leaning against the halter and confusing my signals.
Where you clip the lunge line is critical. On a halter, always use the center ring under the chin. On a cavesson, clip to the sturdy ring on the noseband. Attaching the line to a bit is a hard no — it can damage your horse’s mouth and create a brace against the pressure. Keep the connection point low and centered for gentle, even guidance.
Optional items include protective boots for legs, especially on abrasive footing. For more advanced work, equipment like side reins can come later. As you explore horse tack equipment, prioritize proper fit and safety. These choices shape comfort and performance as you train. Always remember that the fanciest gear is useless without patience, timing, and a keen eye for your horse’s comfort. Start simple, get the basics solid, and listen to what your horse tells you.
The Step-by-Step Guide to Lunging Your Horse
From Halter to Halt: A Safe Progression
Let’s get your feet in the dirt. This isn’t about running your horse in circles until they’re tired. It’s a deliberate conversation. Missing a step is like skipping a chapter in a book-the story gets confusing.
Step One: Prep your horse and choose a safe, enclosed arena.
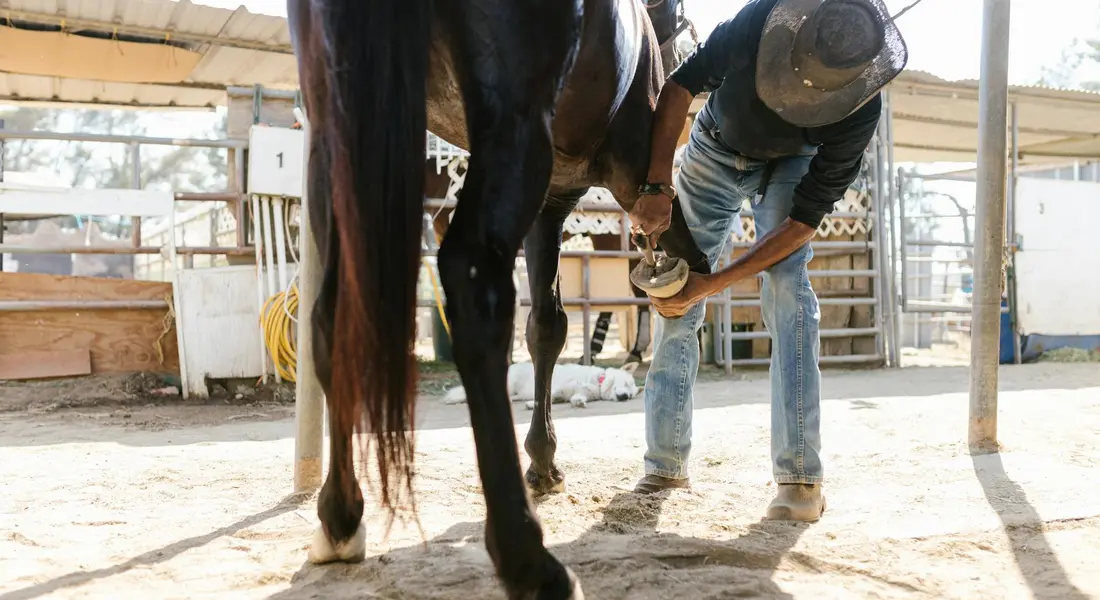
I always start with a quick groom. Running my hands over their coat checks for new lumps or sore spots. Pick their hooves clean. A stone tucked in a frog is a surefire way to get a hop and a buck. Your arena should have secure fencing and good, non-slick footing. Double-check that the gate is latched-I learned this the hard way with our resident escape artist, Pipin, who sees an open gate as a personal invitation.
Step Two: Attach the lunge line correctly and establish your position.
Run the line through the inside ring of the halter (the one closest to you), snap it to the outside ring, and bring the excess across their poll. This creates a mild guiding cue. Never wrap the line around your hand. Hold the coils neatly. Your position is the hub of the wheel. Stand just behind their shoulder, arm extended toward their head. You are the center point they revolve around.
Step Three: Ask for the walk, focusing on a steady rhythm and calm tempo.
With a clear “walk on” and a gentle tap of the whip toward their hindquarters, ask them to move forward. Your goal is a purposeful, marching walk. Let the line have some gentle slack. This initial walk is your diagnostic tool; watch for stiffness, reluctance, or a head held too high, all clues to how your horse is feeling today. If you notice any abnormal signs, it’s crucial to determine if your horse is lame and take appropriate steps.
Step Four: Request the trot, maintaining a consistent circle size.
Once the walk is rhythmic, ask for a trot with an upward tone: “Trot on.” Use the whip as a visual guide, not a threat. Your biggest job now is to not let the circle shrink. Horses like to cut in. Take a small step back or point the whip at their shoulder to defend your space. A consistent 20-meter circle (or as close as you can get) is the goal.
Step Five: Introduce the canter only when walk and trot are balanced.
The canter is a gift you give a prepared horse. If the trot is rushed or unbalanced, the canter will be a scramble. Ask with a distinct “can-ter” voice cue. With a sensitive horse like Luna, a calm and deliberate request prevents a panicked leap into the gait. Expect a few rushed strides at first. Let them find their balance before you make any corrections.
Step Six: Change directions smoothly after a proper warm-up.
Never yank a horse across the circle. First, bring them down to a walk. Ask them to halt facing you. Then, send them off in the new direction from a standstill. This teaches respect and prevents them from diving into your space. Changing direction should be a thoughtful pause in the work, not a chaotic flip.
Step Seven: Cool down thoroughly at the walk before finishing.
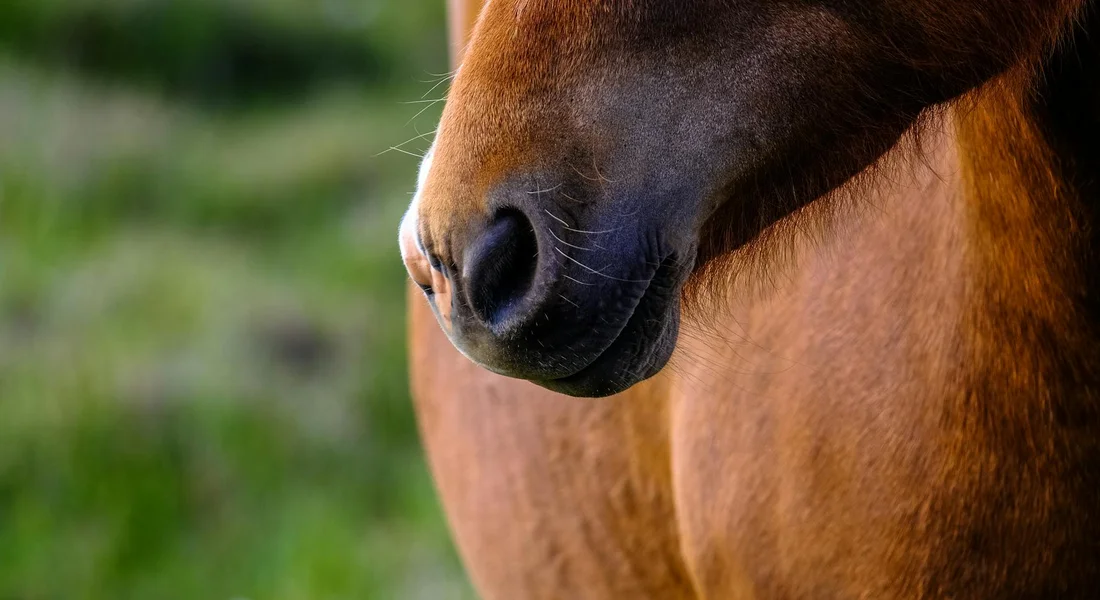
This is non-negotiable. After your last trot or canter work, walk them on a long, loose line for a good five to ten minutes. Let them stretch their neck down and blow. You should see their nostrils flare and their breathing return to normal. Finishing a session with a proper cool-down is how you prevent stiff, sore muscles tomorrow.
Troubleshooting Common Lunging Challenges
When Your Horse Says “No”: Fixing Pushback and Problems
Every horse has an opinion. Your job is to listen, then kindly explain the plan. Here’s how to translate the most common arguments.
Address the horse that leans in or cuts the circle.
This horse is trying to make the work easier by making the circle smaller. You must defend your bubble. Step back toward their hindquarters and point the whip at their shoulder. Don’t wave it frantically-just present a steady, blocking energy.
- Think of yourself as the center of a bicycle wheel; they must stay on the rim.
- If they continue to fall in, stop them, reposition them back on the circle, and start again.
- Consistency is key. Rusty used to be a master of the stealthy inward drift until I became a boringly consistent boundary.
Solve the horse that refuses to move forward or bolts.
These are two sides of the same coin: a misunderstanding of pressure. For the sluggish horse, your voice and whip cue must mean “go forward” immediately. Follow through with a sharper tap if needed.
- For the bolter, they are overreacting to pressure. Use a lower, soothing voice and ensure your whip is low and still.
- Practice transitions: walk-halt-walk. Teach them that pressure starts and stops movement, it doesn’t mean panic.
The whip is an extension of your arm to guide, not to punish. Its presence, not its impact, should be the cue.
Fix uneven gaits or head tossing.
This is your horse talking about balance or discomfort. Head tossing is often frustration from being unbalanced or from rough hands on the lunge line. This ties into the broader question of why horses nod or shake their heads—the behavior explained. Understanding it helps you read the signals your horse is giving.
- First, check your equipment. Is the halter rubbing? Is the line too tight?
- If tack is fine, simplify. Go back to a steady walk. Ask for just three strides of a balanced trot, then walk.
- Head tossing often stops when the horse finds its rhythm and the line offers a soft, consistent feel.
Handle a horse that gets too close to you.
This is a safety issue. Your personal space is sacred. If they march toward you, point the whip at their chest and send them back out with a firm “oveer.”
- Never let them use you as a leaning post or turn you into a stationary object.
- Practice the “whoa” and “walk on” from the center, establishing that you control the space.
A horse that respects your space on the ground is a safer horse to be around everywhere, from the cross-ties to the trailhead.
Building Strength: Lunging Exercises for Muscle and Topline
Smart Circles for a Stronger Horse
Spiraling in and out on the lunge line is a simple exercise with profound benefits for the hindquarters. Ask your horse to gradually decrease the circle’s size for a few strides, then send them back out to the larger diameter, which encourages that inside hind leg to step under and carry weight. I use this with my quarter horse Rusty to engage his hind end without drilling him on tedious circles.
Transitions between gaits are your best tool for building responsive muscle. Practice clean walk-to-trot and trot-to-walk transitions, which teach the horse to shift balance and engage their core, much like a human doing a controlled squat. With my thoroughbred Luna, I keep these transitions crisp and reward her instantly to match her sensitive nature.
For developing that coveted topline, focus on stretch. A clear definition of topline strength helps guide your training decisions. Encourage a long, low frame at the trot by allowing the horse to reach their nose down and forward, which activates the muscles along the back and neck for a stronger silhouette. Understanding topline strength definition informs how you measure progress and adjust the work. You’ll know it’s working when you hear that contented sigh and see a steady, swinging rhythm.
Quality always trumps quantity when lunging for fitness. A consistent schedule of short, rhythmic sessions-think twenty minutes, a few times a week-builds muscle far more effectively than occasional, lengthy workouts that lead to fatigue. Follow every session with generous turnout so their body can rebuild in a natural, relaxed state.
Lunging Safety: Protecting You and Your Horse
Your Rules for a Risk-Free Session
Always conduct a three-point safety check before you begin: inspect footing for holes or slippery spots, clear the ring of any debris, and lace up sturdy boots with a defined heel. I learned this the hard way when Pipin, our shetland pony, spotted a stray bucket and tried to drag me towards it.
How you manage the lunge line is a matter of injury prevention. Never wrap the line around your hand; instead, hold excess line in neat loops in your palm, so it can slide freely without taking your fingers with it. This one habit has saved my hands more times than I can count.
Watch your horse’s body language as closely as you watch their feet. Signs like a fixed stare, pinned ears, or a tightly swishing tail signal stress, while stumbling or frequent breaks in gait are clear markers of fatigue. Reading these cues lets you end the session on a good note before a problem arises.
A proper warm-up and cool-down are non-negotiable for tissue health. Start with five to ten minutes of quiet walking to lubricate joints, and finish with the same to gradually lower the heart rate and prevent muscle cramping. These are essential warm up cool down exercises your horse needs. Keep them short and gradual for best results. This routine is as critical as the workout itself for keeping your horse sound and willing.
Beyond the Basics: Advanced Lunging Techniques
Adding Polish to Your Groundwork
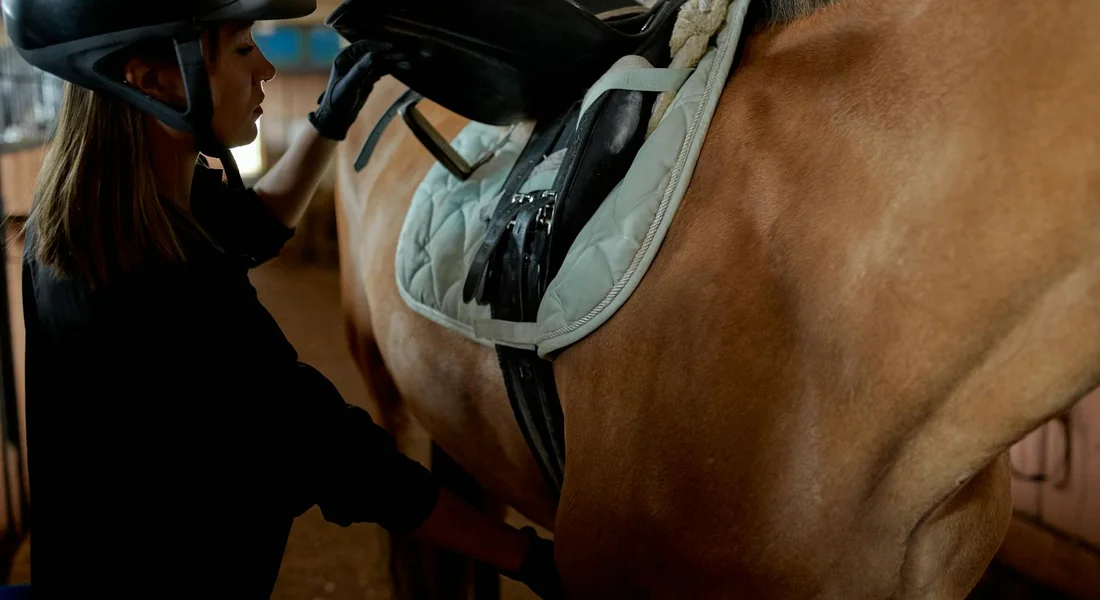
When your horse consistently responds to your voice and moves calmly on the circle, side reins can add gentle structure. I introduced them to Luna on a loose setting, letting her wear them without connection before clipping them to her bit. Side reins should never be a shortcut; attach them to a well-fitted surcingle or saddle and keep them long enough that your horse can stretch down comfortably, tightening only one hole per week if needed. This slow approach encourages soft contact and muscle development without creating brace or fear.
Ground poles transform a simple lunge session into a coordination workout. I often scatter a few in the ring for Pipin, who quickly learns to adjust his cheeky pony stride. Place poles flat and secure, spacing them for your horse’s natural gait-start with three poles about 4.5 feet apart for walking, then increase to 9 feet for trotting. The rhythmic thud of hooves over wood improves balance and makes your horse think about where they place their feet.
To break monotony, try double lunging with two lines or expand your circle in a safe, large arena. Double lunging offers more direct influence for bending exercises but demands skilled hand coordination. If you have a spacious round pen, letting your horse move out on a bigger curve can boost their enthusiasm and build cardiovascular strength without the constraint of a tight line. Always prioritize footing that is even and cushioned to protect joints during extended work.
Every advanced method rests on the bedrock of basic obedience. Before adding poles or side reins, ensure your horse halts, transitions, and changes direction reliably from your cues on the ground. That groundwork is all about teaching your horse basic ground manners. Building from there makes the later steps safer and clearer. If they become confused or tense, step back to reinforce those fundamentals with patience and praise.
FAQ: How to Lunge a Horse for Exercise and Training
What are some lunging exercises to prevent boredom and build responsiveness?
Incorporate frequent transitions between gaits and within gaits, such as moving from a working trot to a more collected trot. Introduce figure-eight patterns by changing direction across the circle to engage both sides of the horse’s body and mind. Adding ground poles at set distances encourages the horse to think about foot placement and lifts the stride, breaking the monotony of simple circles.
How can lunging exercises build muscle without a rider?
Lunging on gentle slopes or hills asks the horse to engage its hindquarters and shoulders powerfully, building strength similar to under-saddle hill work. Spiraling exercises, where you gradually decrease and then increase the circle size, effectively target the inside hind leg and abdominal muscles. Consistent, rhythmic work in a proper frame at the trot and canter is key for developing overall muscular endurance and core strength from the ground.
What is the best lunging exercise to build a horse’s topline?
Encouraging the horse to work in a long and low frame at the trot is highly effective, as it stretches and activates the muscles along the neck, back, and hindquarters. Ensure the horse is moving forward actively from your cues to promote engagement rather than just falling on its forehand. Balance these strengthening sessions with ample stretch breaks and correct cool-downs to develop muscle without causing tension or a braced posture.
A Last Word from the Round Pen
Good lunging comes down to clear communication, proper equipment, and letting the horse move freely. Always start and end each session by checking that the lunge line is securely snapped to the inside of the halter or cavesson, never the bottom ring, to maintain clear, safe pressure.
Your horse’s posture and breathing tell you everything about how the work is landing, so let those cues guide your plan. This patience builds a more willing partner, which is the whole point of heading out to the circle in the first place.
Further Reading & Sources
- Lunging – Step-by-step guide | Petplan Equine
- How to lunge a horse – your essential guide – Horse & Hound
- How to Lunge a Horse (with Pictures) – wikiHow
- Lunging a Horse Safely: Training & Equipment Guide
At Horse and Hay, we are passionate about providing expert guidance on all aspects of horse care, from nutrition to wellness. Our team of equine specialists and veterinarians offer trusted advice on the best foods, supplements, and practices to keep your horse healthy and thriving. Whether you're a seasoned rider or new to equine care, we provide valuable insights into feeding, grooming, and overall well-being to ensure your horse lives its happiest, healthiest life.
Exercise