How to Use Clicker Training for Horses: A Beginner’s Guide
Hello fellow equestrians. Hitting a wall with traditional training, where your horse seems resistant or anxious? That communication gap is more than frustrating-it can stall progress and make every interaction feel like a battle.
Clicker training offers a clear, positive dialogue. This guide will walk you through a gentler approach, focusing on the core mechanics of the clicker as a precise “yes” signal, foundation exercises to build confidence and focus, and practical strategies for integrating rewards into your daily routine.
I’ve leaned on this method for years in the barn, from teaching Luna to stand calmly for the farrier to convincing Pipin that veterinary care isn’t a scam, always putting the horse’s emotional state first.
What is Clicker Training and Why Should You Try It?
- Clicker training is a simple method where a distinct sound, like a click, marks the exact moment your horse offers a desired behavior, followed immediately by a reward. Think of it as a game of “hot and cold” with your horse, where the click means “yes, that’s it!”
- This method contrasts with traditional pressure-release by focusing on what your horse offers voluntarily, rather than what you ask for through physical pressure. Your horse learns to participate and problem-solve, which builds a more willing partnership.
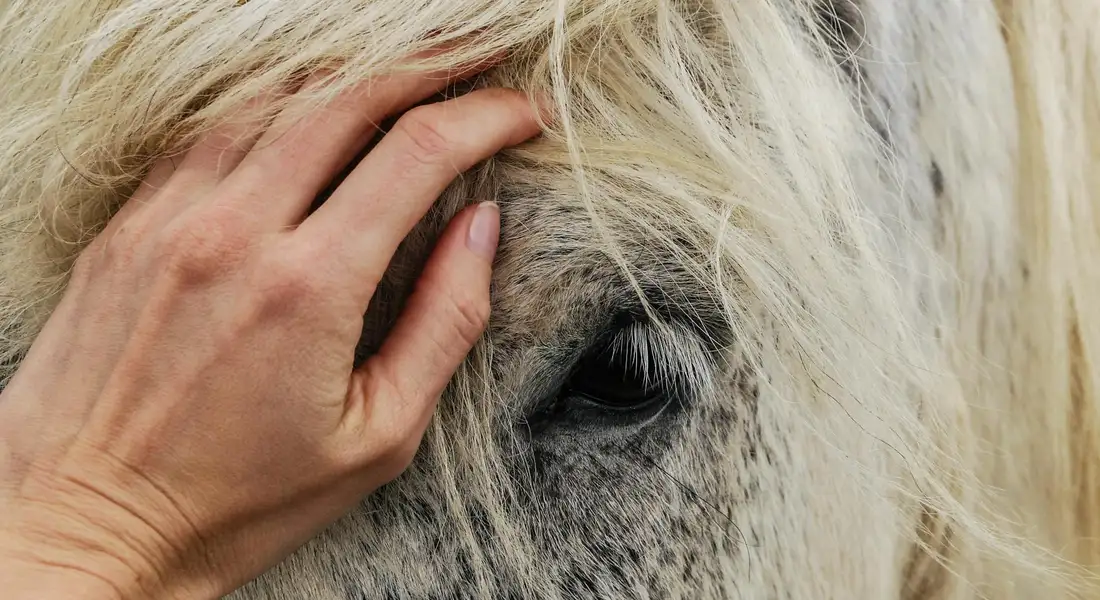
- The benefits are real: it builds deep trust, reduces fear during stressful tasks like vet visits, makes learning fun for both of you, and genuinely strengthens your bond. I’ve seen nervous horses blossom when they realize they can earn good things just by thinking.
- The pros include crystal-clear communication, but the cons are that it requires consistent timing and patience from you. Set realistic expectations; your timing matters more than the hour on the clock.
The Bridge Signal: Your Horse’s “Yes!” Moment
- The clicker acts as a precise marker, like the shutter of a camera capturing the exact instant your horse’s hoof lifts or his head turns. That sharp “click” cuts through all other stable noise and tells him, “That right there is what I liked.”
- This sound becomes a “bridge” that tells your horse a reward is guaranteed and on its way, eliminating all the guesswork. He stops wondering what you want and starts listening for that golden signal.
Why Clicker Training Fits Natural Horse Psychology
- Horses in the wild learn through immediate consequences-avoiding a stingy plant or remembering a tasty water hole. Clicker training speaks this language by making the consequence of their choice a positive and predictable one.
- I use this with my sensitive mare, Luna, to build her confidence without any force. Instead of battling her fear of a tarp, I clicked for each tiny look or step toward it. Now she investigates new things with curiosity, not panic.
The Core Principles: Positive Reinforcement and Timing
- The reward must follow the click instantly, every single time, for your horse to make the connection between his action and the payoff. A delay of even a few seconds can muddy the message and slow learning.
- Use “shaping,” which means rewarding small, incremental steps toward a larger behavior. Want your horse to touch a target? First click for looking at it, then for a head turn, then for a nose move toward it.
- Your consistency as the trainer is far more important than the length of your training session. Five minutes of focused, clear communication beats a half-hour of confused repetition.
Mastering the Art of the Click
- Precise timing is everything: click the very moment the hoof lifts or the nose turns, not a heartbeat after. It’s like catching a photo of the behavior itself, not the aftermath.
- Keep sessions short and sweet-under ten minutes is ideal to prevent mental fatigue for your horse and frustration for you. End on a good note, with a successful click and a happy chew.
Choosing the Right Rewards
- Opt for small, low-sugar treats like carrot chips, apple bits, or soaked hay pellets. The goal is a taste, not a meal, to keep your horse engaged but not full.
- Be cautious about overfeeding; a handy hack is to use a portion of your horse’s daily grain ration as the training treats. This way, you’re not adding extra calories, just repackaging their normal food as a game.
- My pony Pipin is a clever escape artist and hugely food-motivated, so I use a handful of his regular feed during our sessions. It keeps his brain on the job without turning him into a pudgy pony.
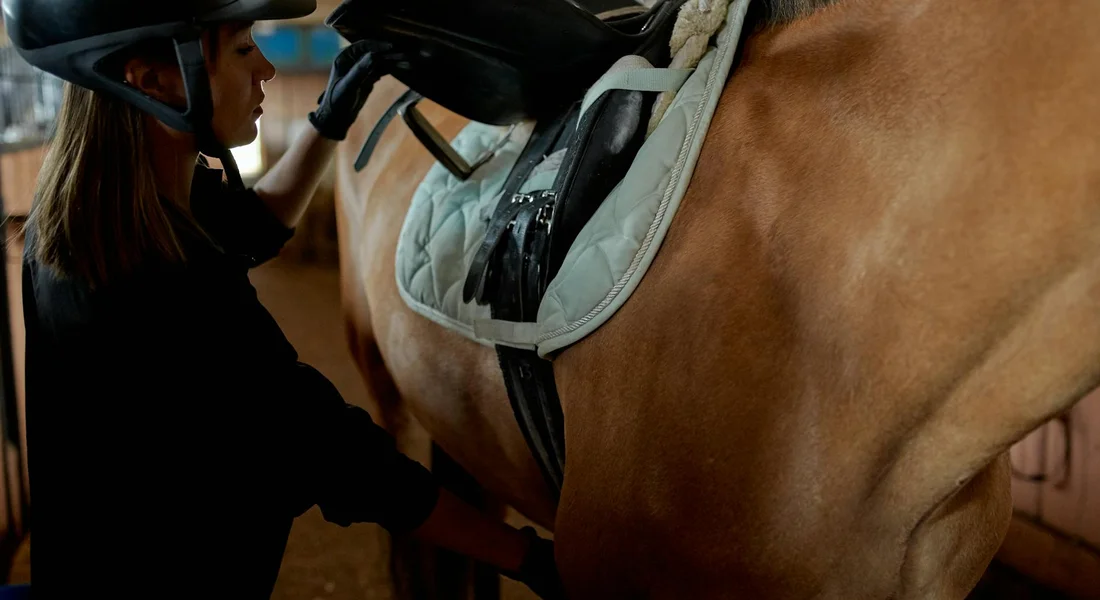
Gathering Your Gear: What You Really Need
You don’t need a tack shop’s worth of equipment to start clicker training. The core kit is simple, affordable, and fits in your pocket, letting you focus on the conversation with your horse. As you grow your training, a few basic horse tack pieces—like a lightweight halter or a short lead—can complement the kit. They’ll tuck neatly into the same grooming tote setup and stay ready for your next session. I keep mine in a old grooming tote, right next to the hoof picks and brushes.
- Essentials: A clicker (the simple box type is perfect), a secure treat pouch that clips to your belt, and a target stick. For the target, a plastic lid taped to a dressage whip or even a large spoon on a stick works wonders.
- Fancy props are optional. The horse’s mind is the real tool you’re engaging; everything else is just a conduit for clear communication.
- Safety first: Introduce any new equipment slowly. Let your horse sniff the clicker and target stick before you make a sound or move it. A spooked horse can’t learn.
Clicker Types and Their Uses
That consistent “click” sound is what marks the exact moment your horse gets it right. Box clickers make a sharp, consistent sound that cuts through barn noise, which I prefer for busy yards. Button clickers are softer and can be easier for sore hands to press repeatedly.
My advice? Start with a cheap, durable box clicker from the pet store. You’re testing the waters to see if your horse responds to the method, not investing in jewelry. I’ve had the same three-dollar clicker for years, and it’s outlasted countless pairs of gloves.
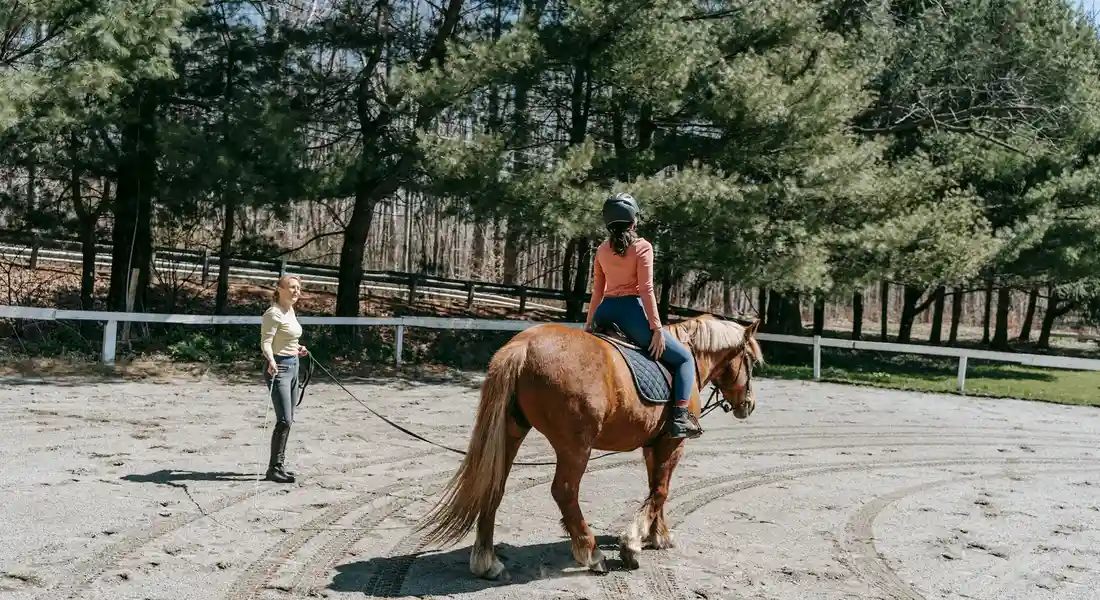
Setting Up a Safe Training Space
Choose a familiar, enclosed area where your horse feels relaxed. A quiet paddock with good footing or even a spacious stall can be your perfect classroom. The goal is minimal distractions so your horse can focus on you and the meaning of that new sound. This setup also helps you create a safe, enriching environment for your horse to learn and grow. In the next steps, we’ll add implicit links to practical resources for building and maintaining that environment.
I always start sessions with Rusty in his own paddock, where the only sounds are his chewing and the distant birds. This helps his reliable, steady mind tune in without worrying about where his buddies are. For a high-strung horse like Luna, a familiar stall can provide the mental boundaries she needs to focus.
Your First Session: A Step-by-Step Beginner’s Plan
Keep your first session short, sweet, and successful. This plan builds confidence for both of you, turning confusion into a game your horse wants to play. Here’s how to begin.
Step 1: Charge the Clicker
- Instructions: With your horse in your safe space, simply click and immediately give a treat. Repeat this 10-15 times. You’ll know it’s working when your horse’s ears flick forward or he starts looking for the treat right after the click.
- Keep this first step short and positive, always ending before your horse loses interest or gets bored. Five minutes is plenty. With Pipin, I stop the moment his attention wanders to a bush-ending on a good note keeps him eager for next time.
Step 2: Introduce Target Training
- Hold your target (like that plastic lid) near your horse’s nose. Click and treat any investigation-a sniff, a nudge, or a full touch with the muzzle. You’re not asking for pressure, just curiosity.
- Once they’re reliably touching it, gradually move the target an inch to shape movement. Ask for a step forward or a slight turn of the head, clicking for each attempt. This teaches them to follow a cue.
Step 3: Shape a Simple Behavior
- Let’s shape “head down.” Stand quietly and wait. Click and treat for any slight lowering of the head, even a millimeter. Then, wait for a little more drop before you click the next time.
- Emphasize breaking behaviors into tiny, achievable pieces for the horse. This isn’t about commanding; it’s about capturing and building on what they offer. Luna learned this by degrees, and now a gentle cue gets me a soft, relaxed head position.
Structuring Your Training Sessions
- Advise 5-10 minute sessions, once or twice daily. This maintains novelty and keeps your horse’s focus sharp. Marathon sessions lead to frustration.
- Always stress ending on a success, even if you have to revert to an easier behavior like a simple target touch. This leaves a positive memory in your horse’s mind.
- Instruct yourself to watch the horse’s ears and eyes: soft eyes and forward ears mean engagement; pinned ears or a swishing tail signal frustration. If you see the latter, make the task easier or call it a day. Reading your horse is your most important skill.
Fun and Functional Clicker Training Exercises
Clicker training turns routine care into engaging games that sharpen your horse’s mind. Mixing practical maneuvers with playful tricks prevents stall boredom and nurtures a willing partner, which is a cornerstone of modern equine welfare. That naturally raises the question: do horses learn through training and conditioning? Understanding equine training conditioning can guide how you structure this work for consistent cooperation.
Basic Maneuvers for Daily Handling
These exercises build respect and safety for everyday tasks, using choice instead of force.
- Target Touch for polite leading: Teach your horse to touch a ball on a stick or your palm. This refocuses them amid distractions like flapping tarps or barking dogs. I use it with Luna in the bustling aisle; a quick touch brings her attention back to my voice, not the chaos.
- Yield Hindquarters for better groundwork control: Ask your horse to step its hindquarters away from gentle pressure. Click for the slightest shift. This teaches respect for your personal space and is invaluable for vet exams in tight stalls.
- Stand on a Mat to prepare for farrier visits: Place a rubber mat or plywood square. Click for any hoof on it, building to all four. This “stationing” cues calm standing. Pipin now waits on his mat for grooming, reducing his cheeky escapes.
Building Up to Tricks
Tricks boost flexibility and joy, but the horse’s consent is paramount. Every voluntary behavior strengthens trust, while coercion breaks it-a key ethic in gentle horsemanship. Knowing the common mistakes that break your horse’s trust helps you avoid them. This awareness keeps your partnership steady as you move toward practical prevention tips.
- The Bow, shaped from a deep stretch: Capture any downward head movement, then wait for a knee bend. This enhances flexibility and makes for a stunning showpiece, all built from a natural stretch.
- Smile, by capturing a lip curl: Click when your horse curls its lip naturally, often after a tasty mint. Soon you can cue it for playful photos. It adds lightness to sessions.
Always let your horse opt out. If they lose interest, end the session. Their choice matters.
Applying Clicker Training to Problem Behaviors
Reshape fears by rewarding brave approximations, not just the final goal.
For trailer loading, click for each small step: a glance at the ramp, one foot forward, a calm pause. Never wait until the horse is fully inside. Break the process into dozens of clickable moments. It’s part of a step-by-step guide to teaching your horse to load in a trailer.
I helped Rusty overcome his puddle phobia this way. The sight of muddy water made him plant his feet. I held a target just past the puddle and clicked for any lean forward. The first time he splashed through, the sound of confident hooves thudding in mud was a victory. Rewarding the attempt, not perfection, builds confidence that lasts for years on the trail.
Troubleshooting Common Hiccups and Keeping Sessions Positive
Every trainer hits snags. Handling them calmly keeps progress on track.
When Your Horse Bites or Mugges for Treats
Pushiness means your treat setup needs a change. Keep treats in a pouch behind your back or in a bucket across the stall to remove your body as a target. Click only when the horse’s head is turned away. Use a target to direct attention elsewhere. My sleeves were saved when I taught Rusty to touch a hand target instead of nosing my pockets for carrots.
If the Clicker Seems Ignored or Scary
Some horses are sound-sensitive. Muffle the clicker in your pocket at first, or click while tossing a treat from a distance to dissociate the noise from your hand. If the sound consistently worries your horse, switch to a soft verbal marker like “good”-the clarity of the marker matters, not the tool.
Maintaining Patience and Consistency
Progress waxes and wanes. Celebrate the try, not just the perfect outcome. Keep sessions short, under five minutes, to end on a good note. I keep a simple training log on my phone, noting what worked each day; this helps me spot patterns and stay consistent through the busy barn weeks.
FAQ: How to Use Clicker Training for Horses: A Beginner’s Guide
What is the typical cost to start clicker training with my horse?
The initial investment for clicker training is minimal, often under $20 for a basic clicker and a treat pouch. Ongoing costs primarily involve small, low-sugar treats, which you can integrate into your horse’s daily ration to avoid extra expenses. Overall, it’s a cost-effective method that prioritizes positive reinforcement over expensive equipment, especially when compared to traditional horse training and lessons.
How can I find clicker training resources or instructors near me?
Begin by searching online for certified equine behaviorists or positive reinforcement trainers in your local area. Equestrian forums and social media groups focused on clicker training for horses often share recommendations and host community events. You can also inquire at nearby barns or veterinary clinics for referrals to professionals experienced in these methods.
Are there useful Instagram accounts for clicker training tips and videos?
Yes, many trainers on Instagram offer free tutorials and demonstrations of clicker training with horses. Following popular hashtags like #ClickerTrainingHorses can lead you to accounts that regularly post educational videos and success stories. These visual resources help simplify techniques and inspire practical applications in your own training sessions.
Parting Wisdom from the Paddock
Start with simple, clear behaviors like targeting or standing quietly, and always have your treats ready. The click must instantly follow the correct action and be immediately rewarded, as this crisp timing builds the language your horse understands. By translating cues into a shared dialogue, you begin talking with your horse and building better communication.
Progress hinges on your patience and your horse’s comfort-never push past signs of confusion or stress. True horsemanship means letting their responses, whether from a steady soul like Rusty or a keen mind like Pipin, set the pace for every lesson. Be mindful of the 8 common horsemanship mistakes that can quietly undermine your horse’s confidence.
Further Reading & Sources
- Clicker Training For Your Horse: First Clicker Lessons | Karen Pryor Clicker Training
- r/Equestrian on Reddit: Is clicker training considered an appropriate method in the equestrian world?
- Monty on Clicker Training for Horses – Monty Roberts
- Clicker Training Horses // How To Get Started
At Horse and Hay, we are passionate about providing expert guidance on all aspects of horse care, from nutrition to wellness. Our team of equine specialists and veterinarians offer trusted advice on the best foods, supplements, and practices to keep your horse healthy and thriving. Whether you're a seasoned rider or new to equine care, we provide valuable insights into feeding, grooming, and overall well-being to ensure your horse lives its happiest, healthiest life.
Behavior