How to Hold Horse Reins and Teach Neck Reining: A Step-by-Step Guide for Clear Communication
Hello fellow equestrians. That moment of confusion when your horse leans on the bit or swings its hindquarters out on a turn is more than just awkward-it can feel downright unsafe. You’re right to worry about mixed signals leading to a spook or a stubborn refusal, especially on the trail.
Today, we’ll turn that rein fumble into a quiet conversation. I’ll walk you through my barn-proven methods, covering the exact hand position and grip that gives you steady, kind contact, a progressive training plan to introduce neck reining without force or frustration, and how to read your horse’s responses to fix common mistakes before they become habits.
I’ve honed this approach over years of barn management and training, helping steady partners like Rusty and clever, sensitive souls like Luna find harmony through the reins.
The Basics of Holding Horse Reins
Finding Your Grip: Direct and Neck Rein Holds
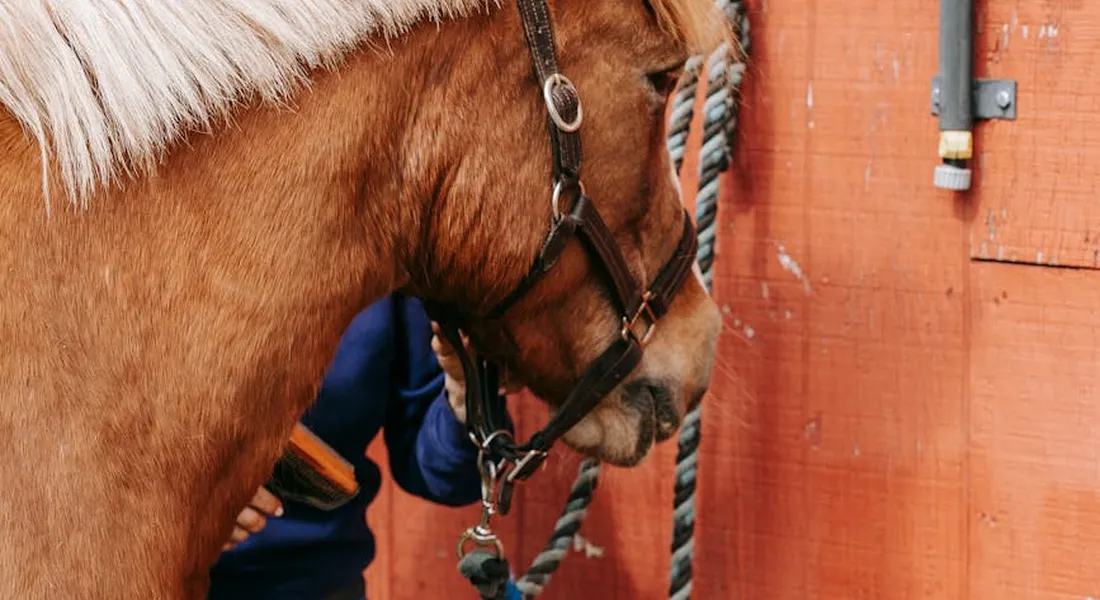
Holding reins is not about clutching a rope. It is about maintaining a conversation. Your hands should hold the leather like you’d hold a small bird: secure enough so it cannot fly away, but gentle enough not to crush it. You feel the warmth, the subtle weight, and the faint creak of leather with every shift. This connection is your direct line to your horse’s mouth and mind.
The Direct Rein Hold: Your Foundation
This is your primary steering wheel for most riding, especially when starting. Imagine drawing a line from your elbow, through your wrist, down the reins, and straight to the bit. That line must stay soft and alive.
- Run the reins between your ring and pinky fingers, coming up out of your closed fist.
- Rest your thumb lightly on top to keep them from slipping. Your knuckles should face each other, thumbs up, as if holding two mugs of coffee.
- Maintain an even, elastic feel. You should sense the weight of your horse’s head in your hands, but no more.
- To turn left, move your left hand slightly left, opening the door for your horse to follow. It’s an invitation, not a haul.
A true direct rein cue is a slight shift of your hand, not a pull from your shoulder-your elbow should stay bent and relaxed.
The Neck Rein Hold: The Subtle Shift
This is for when you’re ready to refine your aids, often used one-handed in Western disciplines or two-handed for subtle cues. The principle is indirect pressure.
- Hold your reins as in a direct hold, but bring your hands closer together, centered above the withers.
- To ask for a left turn, lay the right rein lightly against the right side of the horse’s neck. Your left rein may simply steady or open slightly.
- Your hand does not cross the crest. The movement is inward, from the wrist, pressing the rein into the neck.
- The bit stays nearly still. The horse learns to move away from the pressure on its neck.
The magic of neck reining lives in the release; the moment your horse even thinks about responding, the pressure must vanish.
Your posture is the anchor for all of this. Sit deep in your saddle, shoulders back and down, elbows at your side. If you’re off-balance and leaning, your hands will inevitably yank or flap. I often tell students to think of their seat bones as their primary brakes and steering, with the reins as fine-tuning knobs.
Common Grip Mistakes and Quick Fixes
We all develop bad habits. The key is spotting them before your horse has to shout at you about it. Here are the usual suspects.
- Heavy Hands: You’re leaning on the bit. Your horse may toss its head, open its mouth, or hollow its back.
Fix: Sing a tune. Seriously. The rhythm of breathing or humming forces relaxation into your shoulders and elbows. - Crossed Reins (The Wagon Driver): Hands are wide, reins cross the neck, creating conflicting signals.
Fix: Check your thumb position. If they aren’t pointing to the sky, rotate your wrists. Practice at a halt with eyes closed, feeling for a straight line from elbow to bit. - Dropped Contact: Letting the reins go completely slack, losing all dialogue.
Fix: Think of maintaining a gentle, consistent weight, like holding a steady handshake. Do not mistake softness for abandonment. - Piano Playing: Fingers constantly opening and closing, nagging the horse’s mouth.
Fix: Close your fingers and keep them closed. Make your adjustments from the wrist or forearm.
Every correction comes back to your own breath and body; a tense rider makes for a tense horse, without exception.
I learned this the hard way with Luna, my sensitive Thoroughbred. A slight, unintended tug from my nervous left hand would send her into a frantic shuffle. It wasn’t disobedience-it was a plea for clarity. The fix was in my own posture. When I focused on sinking my weight into my right seat bone while asking for a left turn, my hand stayed still and soft, and she softened in return.
What is Neck Reining and Why It Works
Neck Reining vs. Direct Reining: A Clear Comparison
Neck reining is an indirect cue. You are not pulling your horse’s head in the direction you want to go. You are asking its whole body to move away from light pressure on its neck. It is a refined language built on trust. Direct reining is your foundational language–a clear, direct line of communication. Both are vital tools.
| Aspect | Direct Reining | Neck Reining |
|---|---|---|
| Primary Signal | Direct pull or opening of one rein toward the direction of turn. | Laying one rein against the neck opposite the desired direction. |
| Best For | Teaching, precise maneuvers, correcting shoulder position, green horses. | Refined steering, one-handed riding, trail riding, finished horses. |
| Required Aids | Primarily hand and rein. Often taught first. | Integrated aid: rein + leg + seat. A finished package. |
| Pressure on Bit | More direct pressure on the mouth. | Minimal to no pressure on the mouth when done correctly. |
The theory is simple but elegant. A horse is sensitive across its whole body. Pressure on the right side of its neck, coupled with your left leg at the girth and a shift of your weight, tells it to move its shoulders left. This method is a cornerstone of gentle horsemanship because it prioritizes body language over bit pressure, promoting relaxation and willing movement, much like grooming and touch help deepen your connection with your horse.
The Building Blocks: Leg Aids, Seat, and Balance
Neck reining is never just about the reins. It is the final, visible part of a chain of aids you’ve already built with your body. Your reins give the ‘where,’ but your legs and seat provide the ‘how’ and the energy.
To ask for a left turn with a neck rein, your entire body prepares:
1. Your right leg presses at the girth to ask the horse’s hindquarters to engage and its shoulders to move left.
2. You might subtly shift more weight onto your left seat bone.
3. Then you lay the right rein against the neck.
4. The horse moves away from the combined pressure.
This harmony turns riding from steering into dance, where the slightest shift of your weight is understood and answered.
Practice this at a halt first, then a slow walk. Feel the rhythm: leg, seat, rein, release. The timing of the release is everything. It marks the exact moment your horse got the answer right. With my old trail horse Rusty, I could eventually guide him through a gate with just a glance and a slight leg cue-the reins were just there for backup. That level of trust starts with these simple, patient building blocks.
Step-by-Step Guide to Teaching Your Horse Neck Reining
Step 1: Establish Solid Direct Reining and Flexion
You cannot skip this step. Neck reining is built on a foundation of clear, soft communication. Your horse must understand how to follow the feel of a direct rein before you add the layer of a neck cue. I always start this work in a simple snaffle bit, as it encourages gentle bending without leverage. Teaching a horse to neck rein requires patience and consistency.
Work on large circles and gentle bends, asking your horse to yield to the rein pressure and bring his nose slightly inward. The goal is a soft arc through his body, from poll to tail. A stiff, braced neck or a head tilted with a hollow back means you need more basic bending work before proceeding. The moment he gives, even a little, release the pressure instantly.
True readiness comes from straightness. On the long side of the arena or a stretch of trail, your horse should travel straight without leaning on your reins or drifting. This balance is the launching pad for everything else.
Step 2: Introduce the Neck Cue with Support
Now you’ll pair the old cue with the new one. Think of it as teaching a word by showing a picture. You’re not removing the direct rein yet; you’re just adding a new signal alongside it.
- Prepare to ask for a turn to the left.
- Apply a gentle, guiding feel on your left (inside) direct rein.
- Simultaneously, lay your right (outside) rein against the horse’s neck, just behind the jaw. This is not a pull or a push-it’s a light, steady touch.
- Add your left leg at the girth to encourage the horse to move away from the pressure and into the turn.
The timing is everything. The three aids-inside rein, outside neck rein, inside leg-happen together. The instant your horse steps into the turn, relax all aids. This immediate release teaches him that moving away from the neck pressure is the correct answer. I taught Rusty this way on our trails; laying the right rein on his neck became the signal to steer left away from his dreaded puddles, and he caught on for his own comfort. That approach is the essence of lead steer your horse—guiding him with light cues and patient timing. With practice, you can translate these signals into steady leadership on trails and in the arena.
Step 3: Fade Out the Direct Rein Aid
Once your horse consistently understands the paired aids, begin to use less inside direct rein. Make the neck rein touch your primary signal, while the direct rein becomes just a whisper, then a thought. This requires immense patience. Some days you’ll use a light direct rein, other days just the neck cue.
Watch for the moment he begins turning from the neck pressure alone. Celebrate that! A soft pat or a verbal “good boy” works wonders. I use this with Pipin, our clever Shetland. His food motivation makes him a quick study-he learns that figuring out the neck cue is the fastest way to earn praise (and sometimes a carrot snippet). The key is consistency: always use the same neck position for the same direction, and always reward the try.
Step 4: Practice Transitions and Patterns
Solidify this new language through predictable patterns. Simple shapes make your cues clear and build your horse’s confidence.
- Large, sweeping circles at a walk.
- Figure-eights, focusing on a smooth change of neck rein pressure at the center.
- Serpentines down the long side of your arena.
Your focus should be on maintaining a steady rhythm. A healthy turnout schedule supports balanced exercise and recovery. If you lose the gait or the horse becomes heavy, go back to a larger circle and simpler asks. Regular time outdoors keeps the horse mentally fresh for training. Mental fatigue is a real training blocker, which is why I’m a fierce advocate for ample turnout time-a horse who’s been moving freely all day is far more mentally present for focused work.
Troubleshooting Common Rein and Neck Reining Problems
When Your Horse Ignores the Neck Rein
If your horse plows straight ahead or leans through your neck cue, don’t get stronger. Get smarter. The problem usually isn’t defiance; it’s confusion or physical stiffness.
- Unclear Cues: Are you accidentally pulling back with the neck rein? Go back to Step 2 and re-pair the aids.
- Stiff Body: The horse might be physically unable to bend. Spend more time on suppling exercises and lateral flexion on the ground.
- Rider Balance: Check yourself. Are you collapsing your inside shoulder or sitting off-balance? Your weight can block the turn.
With Luna, my sensitive Thoroughbred, a busy or demanding hand would make her tense and ignore cues. The fix was in my own posture-sitting deep, breathing out, and making my aids quieter, not louder. Sometimes the best solution is to dismount, check your bridle fit, and give your horse a good scratch.
Dealing with Tension and Resistance
A tight jaw, a clamped tail, or a rigid neck tells you everything. Tension in the reins creates tension in the horse, and you get a steering battle no one wins. Understanding horse anatomy and biology can help you recognize these signs early.
When you feel that brace, your job is to release, not fight. Drop your shoulders, take a deep breath, and soften your elbows. Often, just that exhale from the rider telegraphs relaxation down the reins. Forcing a horse into compliance with pressure teaches him that the bit is a place of pain, not communication.
Break the cycle. Ask for a simple leg yield or a large circle to change his thought. If needed, walk on a long, loose rein for a few minutes, letting him stretch and chew. Gentle horsemanship means recognizing resistance as a question, not a challenge, and answering with patience.
Advanced Tips for Smooth and Effective Neck Reining

Refining Your Aids for Seamless Communication
True refinement in neck reining means your horse responds to a thought, not a pull. Your seat bones are your primary steering wheel; a subtle shift of weight toward your inside hip prepares your horse for the turn before the rein ever touches their neck. I learned this riding Luna; her sensitive nature meant my independent seat-where legs, seat, and hands work separately but together-prevented brace and kept her soft.
Harmony between your inside and outside reins creates precise turns with proper flexion. The inside rein gently asks for a slight bend in the neck, while the outside rein contains the energy and defines the turn’s boundary, preventing a fall-out through the shoulder. Think of it as opening a door with one hand while the other guides the frame.
My favorite barn hack for mastering this is to ditch the reins entirely. Practice steering at a walk using only your seat, legs, and voice in a safe round pen or arena; this builds undeniable balance and makes your eventual rein aids whisper-quiet. You’ll be amazed how your horse tunes into your body.
Exercises to Enhance Timing and Rhythm
Specific drills wire your horse for responsiveness and straightness, key for clean neck reins. Consistent practice builds a language where the thud of hooves becomes your metronome for perfect timing. Try these with your horse.
- Leg-Yielding: Ask your horse to move sideways from your leg while maintaining forward motion and a straight neck. This teaches them to move away from pressure without leaning on the rein.
- Shoulder-In: On a circle, guide your horse’s shoulders slightly inward. This enhances flexibility, engages the hindquarters, and makes neck reining sharper. Listen for the rhythmic three-beat cadence to keep your aids in time.
- Long-Rein Serpentines: Use longer, looser reins and practice large, flowing turns using primarily neck pressure and your seat. This builds trust and encourages self-carriage.
Straightness is the foundation of all balanced movement, and these exercises cultivate a horse that carries itself, making your cues effortless. I use serpentines with Rusty on the trail to keep his mind engaged and his body loose.
Choosing Tack for Neck Reining Success
Reins, Bits, and Bridles: What Works Best
The right tack feels like an extension of your intent. Split reins, two separate pieces of leather, offer classic feel and versatility for clear direct rein signals alongside neck reining. Roping reins, a single connected pair, are durable and provide a solid, consistent feel, ideal for a steady horse in busy environments.
Bit choice is critical and depends entirely on your horse’s training. A simple snaffle bit is the best teacher for neck reining fundamentals, as it applies direct pressure to the mouth without leverage, rewarding softness. For a finished horse, a mild curb bit with a low port can offer refined communication, but it requires quiet hands to avoid harshness.
Proper fit is non-negotiable for comfort. The clean, supple leather of a well-fitted bridle should carry the honest smell of fresh hay and oil, not the sharp scent of sweat and friction from rubs. The bit should sit so it barely wrinkles the corners of the mouth-no higher, no lower.
Setting Up for Safety and Comfort
A quick pre-ride check preserves partnership and prevents panic. Run your fingers under every strap to ensure no hidden pinches or pressure points exist, especially around the poll and cheekbones. Your horse’s comfort directly influences their willingness to respond.
Follow this checklist for every ride:
- Bridle Fit: You should fit two fingers between the cheekpiece and your horse’s face. The browband must not pull on the ears.
- Bit Placement: The bit should rest comfortably on the bars of the mouth, creating one to two slight wrinkles at the lip. Watch for tongue rolling or gaping, signs of distress.
- Rein Condition: Feel along the entire rein, especially at the buckle and bit attachments, for dryness, cracks, or weak stitching. A rein failure is a serious safety hazard.
Keep your hands low and quiet, close to the withers, which gives you the leverage for clear neck reining while preventing you from accidentally balancing on your horse’s mouth. My barn manager rule is to inspect all tack under good light every month-it’s a peaceful ritual that has caught many a worn stirrup leather before it broke.
FAQ: How to Hold Horse Reins and Teach Neck Reining
What is the most common mistake people make when first learning to hold reins?
The most frequent error is having “heavy hands,” which means applying constant, unyielding pressure on the bit. This often comes from tension in the rider’s shoulders and elbows, leading the horse to brace or toss its head. The fix is to focus on maintaining an elastic feel and ensuring your adjustments come from the wrist, not a pull from your shoulder.
When is my horse ready to start learning neck reining?
Your horse is ready when it responds reliably to soft direct rein aids and can maintain balance and rhythm on a straight line. It must understand moving away from leg pressure and yielding to bend its body softly. Attempting neck reining before this foundation is set will only lead to confusion and resistance, especially if your horse is already stressed or anxious.
What is the best environment for practicing neck reining for the first time?
Begin in a safe, enclosed area like a round pen or quiet arena where you can focus without distractions. Start at a halt, then progress to a slow walk, using large, predictable patterns like big circles. A calm environment helps both horse and rider concentrate on the new cues without external pressure.
Keep It Simple, Build It Right
Focus on a consistent, light feel of the reins and clear weight shifts to guide your horse. True neck reining is a finished skill built on a foundation of direct rein understanding and trust, not a shortcut you force. It’s similar to teaching your horse to ground tie, a foundational skill for every owner.
This takes time and many quiet rides to become a seamless conversation. Your horse’s comfort and willingness are your best guides, so pay more attention to them than to your own hands.
Further Reading & Sources
- The Essential Neck Rein
- Neck Reining 101: Horse Rookie Training Tips – Horse Rookie
- Teach Your Horse to Neck Rein
- Neck rein
At Horse and Hay, we are passionate about providing expert guidance on all aspects of horse care, from nutrition to wellness. Our team of equine specialists and veterinarians offer trusted advice on the best foods, supplements, and practices to keep your horse healthy and thriving. Whether you're a seasoned rider or new to equine care, we provide valuable insights into feeding, grooming, and overall well-being to ensure your horse lives its happiest, healthiest life.
Equipment