How to Develop a Confident Trail Horse: A Step-by-Step Training Guide
Hello fellow equestrians! That sudden spook at a flapping tarp or the stubborn balk before a wooden bridge feels all too familiar, doesn’t it? Watching your horse tense up on the trail isn’t just disappointing-it chips away at your riding joy and raises real safety worries for both of you.
Take a deep breath. Building a calm, confident trail partner is absolutely within reach, and it starts with a gentle, predictable process. In this guide, I’ll map out the exact steps I use at my barn, focusing on three core pillars:
- Establishing unshakable trust through patient groundwork long before you hit the trail.
- Desensitizing your horse to common surprises in a stress-free, positive way.
- Sequentially introducing real-world environments to cement lasting confidence.
My methods are forged from years of barn management and training horses just like yours, from the reliable Rusty to the once-nervous Luna, and I’m here to walk this path with you.
Laying the Groundwork: Essential Skills Before You Hit the Trail
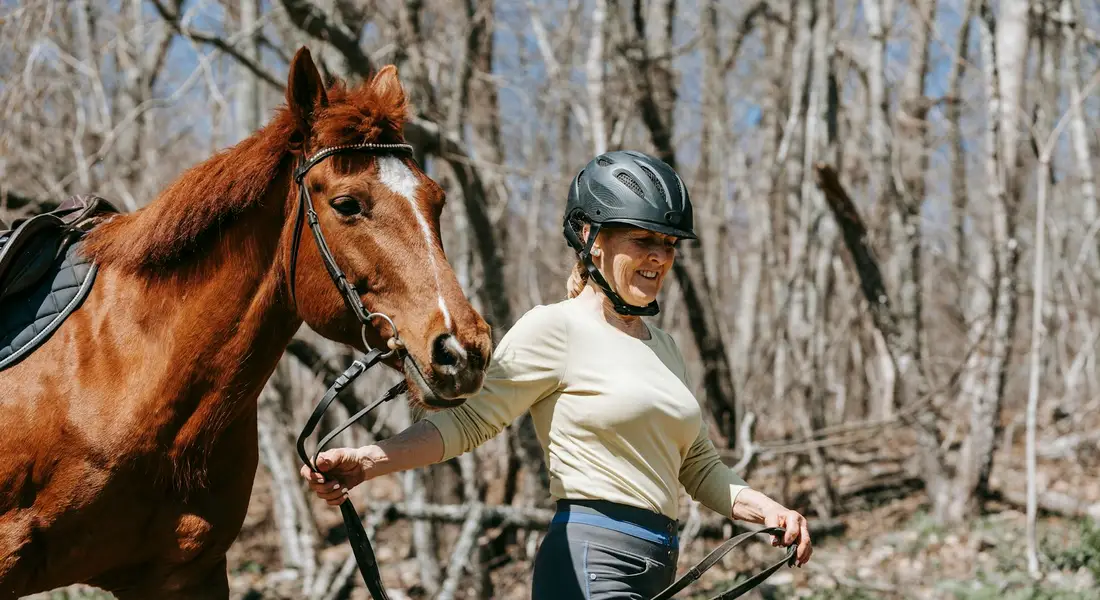
Think of trail riding as a conversation with your horse, and every good chat starts with knowing the basics. I’ve spent countless mornings in the barn where the real work happens, not in the saddle, but on the end of a lead rope. Trust built from the ground translates directly to confidence under saddle, making those first trail steps feel like a partnership, not a predicament. Before you even think about heading for the trees, your horse must be a willing participant in haltering, leading, and moving his feet politely on cue.
Mastering Halter Training and Leading with Safety
A horse that respects your space and follows your lead is safer for everyone. Start with a well-fitting halter-you should be able to fit two fingers between the noseband and your horse’s face. When leading, stand at the shoulder, not directly in front where you can get run over. Your position at the shoulder gives you control and allows the horse to see you, turning a pull into a guided suggestion. I learned this the hard way with Pipin; that clever pony would plant his feet if I stood ahead, but a soft tug from the side and a “walk on” got him moving every time. For beginners, the handle horse safely beginners guide offers the fundamentals to practice. It covers safe leading, body position, and timing.
Practice these drills in a quiet arena or paddock first:
- Ask your horse to halt with a clear voice command and a slight backward lean on the lead.
- Practice turning circles, ensuring your horse yields his head and neck away from your gentle pressure.
- Introduce backing up by applying light pressure on the chest or nose and releasing the instant he shifts his weight back.
The sound of the lead rope clip clicking shut should mean calm cooperation, not a battle. Always reward the smallest try with a release of pressure and a kind word, making the right choice the easy choice for your horse.
Building Confidence Through Positive Reinforcement
Positive reinforcement isn’t just about treats; it’s about marking the behavior you want the moment it happens. For a nervous horse like Luna, a soft “good” and a scratch on the withers worked better than any carrot. This method builds a yes-based relationship where your horse learns to offer behaviors, guessing what might earn that pleasant release or praise. Begin with simple groundwork that establishes you as a fair and predictable leader.
Here is a step-by-step list for initial confidence building on the ground:
- Yielding the Hindquarters: Stand at your horse’s shoulder, apply light pressure behind the girth area with your hand or a dressage whip until he steps his hind legs away. Release instantly. This teaches him to move away from pressure, a foundational safety cue.
- Backing Up with Focus: Ask for a few steps back, but reward when he lowers his head and softens his eye. This encourages relaxation, not just robotic movement.
- Standing Square: Practice having your horse stand quietly while you move around him, fuss with his tack, or drop a grooming brush. This builds patience and steadiness.
I spend at least ten minutes a day on these exercises with every horse in my care. The rhythm of their breathing slowing as they figure out the puzzle is more rewarding than any ribbon. This foundation turns spooks into curious investigations later on the trail.
Step-by-Step Desensitization: Introducing Trail Obstacles
The world is full of strange sights and sounds, and your job is to make them boring. Desensitization is not about forcing bravery; it’s about progressive exposure that allows the horse to learn there is no threat. Start in the controlled safety of your arena, where the footing is familiar and the walls provide a boundary, before asking for courage in the open. The key is to watch your horse’s ears, eyes, and nostrils-they’ll tell you everything about his comfort level, especially when dealing with common horse fears and skittish behavior.
Starting with Simple Objects: Plastic Bags and Tarps
Fluttering plastic and crinkly tarps are classic spook-bait. Begin with the object static and at a distance. Let your horse look-staring is how they process. Allow the horse to sniff the object while it’s lying on the ground, turning a monster into a curious piece of trash. I keep a “spook kit” in my tack room: a plastic bag on a stick, a collapsed umbrella, and a small blue tarp.
Follow these steps:
- Place the bag or tarp in a corner of the arena and lead your horse past it, giving him plenty of space.
- Gradually decrease the distance over several sessions as his curiosity outweighs his fear.
- Once he’s calm, lightly touch his shoulder or neck with the bag, always moving slowly and retreating if he shows tension.
- Finally, drape the tarp over a fence or lay it flat for him to walk over. The sound of hooves on plastic will become normal.
Patience here pays dividends. The moment your horse sighs or licks his lips, you’ve won; that’s the body language sign of acceptance and lowered stress.
Progressing to Natural Obstacles: Logs, Bridges, and Water
Once your horse is a pro with man-made items, introduce the uneven textures and sounds of nature. A log on the ground is your first small step. Lead him up to it and let him investigate. If he refuses, don’t pull; just wait with steady pressure until he even thinks about stepping forward, then release and praise. Use a familiar trail buddy if possible-horses are herd animals and will often follow a confident leader. These moments are ideal for teaching your horse basic ground manners—calm, respectful responses to gentle pressure at ground level. When you’re ready for the next steps, you’ll build on these skills with more on safe handling and groundwork.
For bridges, find a low, solid training bridge or create one with sturdy plywood. Let him hear the hollow thud of his own hooves on it from the ground before you ever ride across. Walking over new surfaces builds proprioception-his sense of where his feet are-which is critical for trail safety.
Specific Techniques for Water Crossings
Water is a common sticking point. It moves, reflects light, and can hide surprises. Rusty, my old Quarter Horse, used to treat every puddle like a bottomless pit. Never chase or force a horse into water; this can create a lasting fear and a dangerous battle. Instead, make the water itself irrelevant by focusing on a simple task.
- Start with a very shallow, narrow stream or even a large puddle in a known area.
- Approach at a calm walk and aim for a spot where the footing is visibly solid.
- If he balks, turn him in a small circle and approach again, preventing him from planting and staring.
- Ask another confident horse to lead the way if you can. The herd instinct is powerful.
- Once he steps in, even with one foot, stop and let him stand. Let him realize it’s just wet ground.
The splashing sound and cool feel will become ordinary through calm repetition. Your ultimate goal is a horse that trusts you enough to try something scary, knowing you won’t ask him to do anything truly unsafe. Every crossed stream builds a bank account of confidence you can both draw from later.
From Round Pen to Trail: Building Ridden Confidence
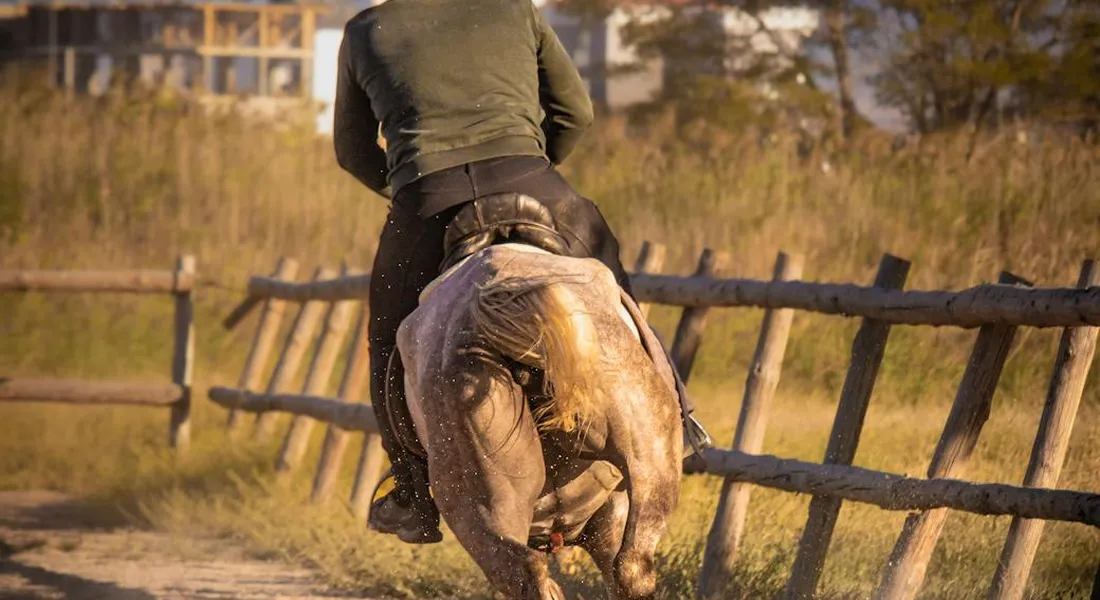
Moving from the controlled environment of the round pen to the unpredictable trail is a big leap. Your job now is to become a steady, reassuring navigator from the saddle. I learned this riding Rusty on a windy day; every gust made the trees moan, and his head would shoot up, his body coiling like a spring. My old instinct was to grip with my legs and hold the reins tight, which only told him, “Yes, be scared!” Now, I breathe out, soften my seat, and give him a gentle job to do. Your confidence becomes his confidence, so your first task is to manage your own breathing and posture before you address his worry.
Teaching Pace Control and Smooth Transitions
A horse that rushes or jigs is often anxious, trying to escape perceived pressure. The cure is not pulling on the mouth, but re-establishing calm, clear communication about speed. We start with transitions, the foundation of all control.
Find a safe, open area and establish a rhythmic working walk. Feel the swing of his back and the steady thud, thud, thud of his hooves. When you ask for a trot, use a clear voice cue (“Trot”) followed by a gentle squeeze. The moment he responds, melt all pressure. If he scrambles forward, use a half-halt: sit deep, exhale, and say “whoa” while closing your fingers momentarily on the reins-not a pull, but a suggestion. Then release instantly when he checks his speed.
- Practice walk-to-halt transitions using your seat and voice first. Say “whoa,” sink your weight down, and stop following with your hips. Use the reins only if needed.
- Mix it up. Ask for a trot for twenty strides, then walk for ten, then trot again. The unpredictability keeps him listening to you, not his nerves.
- On the trail, use natural markers. “We’ll walk to that big pine, then trot to the creek.” This gives him a job and makes you the predictable leader.
Consistent, pressure-and-release transitions teach your horse that your cues are fair and that slowing down is always an option, which is deeply comforting to a prey animal.
Spook Management: Lateral Flexibility and Weight Aids
When a horse spooks, he wants to lock his neck and spine, stare, and then flee. Your goal is to keep him mentally and physically “unlocked.” This is where lateral work saves the day. It’s hard for a horse to bolt sideways and forward at the same time.
Teach leg-yielding in the arena first. At a walk, on a straight line, shift your weight slightly to the right and apply your left leg behind the girth, asking his hindquarters to step right. You’re not asking for a big move, just a slight bend. Reward the try. This teaches him to move *away* from pressure, not against it.
On the trail, use this the moment you see his attention lock onto a scary object-a mailbox, a tarp, a peculiar rock.
- Don’t punish the look. A horse must process his environment.
- Do redirect the energy. Ask him to yield his haunches a step or two away from the object, or simply ask him to turn his head slightly toward you with a soft inside rein.
- Use your weight. Leaning slightly away from the spook can unbalance him just enough to interrupt the fear cycle. I’ve talked many a pastured horse past a flapping paper bag by saying “easy” and leaning my upper body away from the distraction.
The key is to redirect the nervous energy into a simple, familiar task before the spook escalates, reinforcing that your cues are a safe anchor in a scary world. I remember Luna once shying violently at a drainage ditch. Instead of fighting her, I asked for a small circle, then leg-yielded her back toward the ditch until she could stop and sniff it. The monster was investigated, and her confidence grew.
Gear Up: Essential Equipment for Trail Training Success
Building a confident trail partner isn’t just about miles under hoof; it’s about the gear that makes those miles safe and comfortable. I’ve sweated through enough saddle fittings with Luna and laughed at Pipin’s boot-stomping protests to know that the right kit builds trust. Smart gear choices prevent pain, reduce spooks, and let you both focus on the rustle of leaves instead of a pinching girth.
Choosing the Right Tack for Comfort and Safety
Start with the foundation: your saddle. A bad fit screams discomfort with every footfall. You want the gentle creak of leather, not the silent complaint of a sore back. I check fit by feeling for even panel pressure along Rusty’s broad back, ensuring no bridges or hot spots after a ride. For trails, consider an endurance-style saddle for lighter weight and closer contact, or ensure your all-purpose saddle allows full shoulder freedom.
Beyond the saddle, a few key items are non-negotiable for varied terrain.
- Breast Collar: This isn’t optional for hills. It stops saddle slip on inclines. Fit it so you can slide a flat hand between it and your horse’s chest-snug, not restrictive.
- Hoof Boots: A fantastic, budget-friendly alternative to shoes for rocky paths. They offer protection and allow the hoof to flex naturally. I introduced them to Luna in her paddock first, letting her stomp around to get used to the feel.
- Saddle Pad: Choose a moisture-wicking, shock-absorbing material. A simple, clean numnah often outperforms a thick, fancy pad that can create pressure points.
Your bridle and bit are your communication system. A mild, well-adjusted bit and reins with a reliable grip keep your signals clear and gentle, even when a deer bolts across the path.
Safety Gear for Horse and Rider
Trail riding throws curveballs. Your safety gear is your first line of defense. My rule is simple: if I wouldn’t ride without it in the arena, I double-check it for the woods. Protecting your head is the bare minimum of responsible horsemanship; everything else is about mitigating risk.
For you, the rider, pack smart and dress smarter.
- Certified Riding Helmet: Replace it every five years or after any drop. No debates.
- Proper Footwear: Sturdy boots with a defined heel prevent your foot from sliding through the stirrup during a sudden stop.
- Gloves: They save your palms during a sudden rein grab and protect from brush.
- Mobile Phone & Whistle: Keep your phone in a secure, accessible pocket. A whistle can signal for help if your voice won’t carry.
Your horse’s safety gear is just as critical.
- Equine First-Aid Kit: Stock vet wrap, antiseptic, and a multi-tool. I keep mine in a saddlebag that’s always stocked, a lesson learned after a minor scrape with Rusty miles from the trailer.
- Breakaway Halter: If you need to tie, use a leather or nylon halter designed to break under pressure to prevent neck injuries.
- Reflective Gear: Reflective leg bands or a tail ribbon make you visible in low light. The soft *thud* of hooves is quieter than you think to approaching vehicles.
Gentle horsemanship means anticipating needs. Turning your horse out regularly in well-fitted gear, like a breakaway halter, acclimates them to the feel and builds overall comfort. Start every trail training session with a gear check-it’s a ritual that builds confidence for both of you.
Your First Trail Rides: A Slow-Conditioning Plan
Think of those initial trail ventures as a slow sip of water, not a gulp. I built Rusty’s trail confidence over months, starting with just gazing at the woods from his pasture. The core of slow-conditioning is stacking tiny victories so your horse anticipates fun, not fear. This method prioritizes mental comfort over miles logged.
- Begin in the security of your horse’s home environment, like a familiar field or quiet lane.
- Progress to new sights and sounds in increments as small as a single strange mailbox.
- Lean on a steady lead horse to model calm behavior when introducing bigger challenges.
- Keep ride duration short and pace leisurely to condition the mind as much as the body.
Short, Positive Outings: Step-by-Step Exposure
With Luna, a single positive five-minute walk did more than a forced hour-long trek. Follow this ladder of exposure.
Always start your ride with a relaxed grooming session, where the smell of leather and hay sets a calm tone. It’s your first check-in on their mental state.
- Hand-walk the route first. Lead your horse along the planned path. Let them stop and stare. This turns unknown shadows into familiar scenery.
- Ride a known loop at home. Saddle up for a literal lap around your barn’s perimeter. The goal is ten minutes of walking where both of you breathe easy.
- Add one novelty. Next time, ride to the property line and back, perhaps past a flapping flag. Keep the outing to fifteen minutes and end with a treat.
- Step onto an easy trail. Pick a wide, low-traffic path. Aim for twenty minutes of steady walking, allowing your horse to look but not bolt.
- Expand time before distance. Add five minutes to your trail ride each week before tackling more technical terrain. Consistency builds muscle memory for confidence.
I judge success by a soft eye and a relaxed jaw, not by the distance covered. Pipin taught me that a pony who quits early but calmly is ready for more next time.
Riding with a Buddy: When and How to Use a Lead Horse
A reliable lead horse is your best training tool. Rusty has talked more nervous horses past obstacles than I ever could with reins alone.
Use a buddy horse when your green horse is hesitant to leave the barn or faces new elements like water or bridges. The buddy provides a safety signal.
- Choose the right leader. Your lead horse must be unflappable and responsive to their rider, not herd-bound. A calm gelding like Rusty is ideal.
- Ride together at home first. Trot circles in the arena side-by-side so the young horse learns to match paces without panic.
- Maintain clear positioning. Keep the lead horse a full horse-length ahead. This gives the follower a clear view and prevents kicked shins.
- Let the leader set a plodding pace. A slow, rhythmic walk is key. A hurried jog teaches the wrong rhythm and spikes anxiety.
- Gradually fade the support. After a few rides, ask your horse to walk beside the buddy, then take the lead for a few steps. Celebrate the try.
Structure your buddy rides around the green horse’s curiosity, not the trail map. When the follower starts looking around instead of fixating on the lead horse’s tail, you’re winning.
After any buddy ride, give both horses extra turnout. The thud of hooves on dirt as they roll is their way of decompressing from the lesson.
Keeping Track: Mental Prep and Progress Monitoring
Training a trail horse isn’t just about miles logged; it’s about reading the map of your horse’s mind. I keep a simple notebook in my tack trunk, scribbled with dates, what we worked on, and how each horse reacted. This isn’t for show-it’s my reality check against my own expectations. Your most important tool isn’t a whip or a rope, but your ability to observe and adapt to your horse’s mental state.
Setting Realistic Goals and Celebrating Small Wins
Forget the epic, all-day mountain trek for now. A realistic goal for a green horse might be walking calmly past the barn’s trash bin. With my sensitive Thoroughbred, Luna, our first trail goal was simply standing quietly at the gate for five seconds. When she managed it without dancing, that was a party. We celebrated with a scratch on her favorite spot and immediate release of pressure. Marking these tiny victories with praise or a pause tells your horse they got it right, building a positive association with new challenges.
Break every big objective into chewable pieces. Want to cross a creek? Your goal ladder might look like this:
- Approach the bank on a loose rein without tension.
- Touch the water with a front hoof, then retreat.
- Stand with two feet in the water for three seconds.
I learned this with Pipin, our Shetland pony escape artist. His food motivation made him clever, but also impatient. Celebrating each step with a tiny carrot piece kept him engaged and showed him that cooperation, not bolting, earned the reward.
Adjusting Training Based on Your Horse’s Responses
Your horse’s body is a constant feedback machine. A swishing tail in rhythm with movement is normal; a stiff, rapid swat often signals irritation or anxiety. Watch the eyes and ears. Soft, droopy eyelids and ears that flick loosely toward new sounds show a processing, curious mind. Pinned ears, a hard stare, or a clamped tail are clear red flags telling you to dial the pressure back immediately.
Here’s a quick comparison I use in the moment:
- Growing Confidence: Snorting, licking and chewing, a relaxed sigh, reaching forward to investigate a novel object.
- Mental Stress: White around the eyes, head held high and tight, holding breath, sudden sweating on the neck (not from exertion), quick sideways steps.
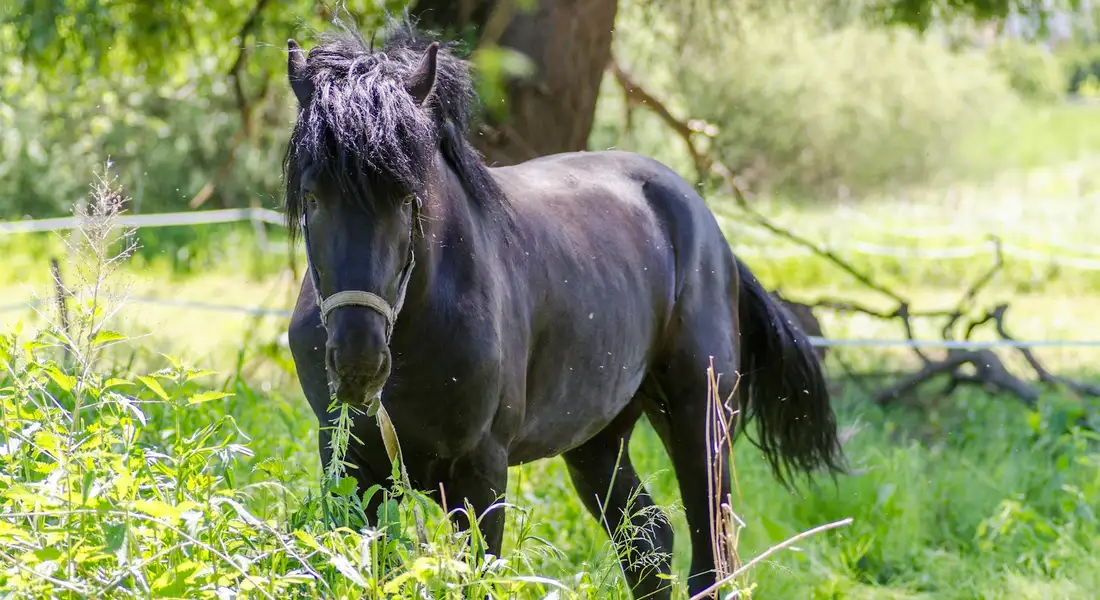
When Rusty sees a puddle, his reliable demeanor vanishes. Early on, pushing him just created a stubborn standoff. I adjusted by turning away, walking a small circle, and approaching again at an angle. The goal shifted from “cross the puddle” to “maintain a calm walk near the puddle.” His confidence grew over weeks, not days. True gentle horsemanship means having the discipline to scrap your plan and listen to what your horse is telling you they need today. This is where that turnout time advocacy proves vital-a horse who spends all day moving in a field is generally more mentally resilient and ready to learn than one staring at four walls.
Frequently Asked Questions About Developing a Confident Trail Horse
What are common trail riding mistakes to avoid?
Avoid pushing your horse too fast through training stages, as this can overwhelm them and erode confidence. Neglecting to check tack fit and condition before rides can cause pain and lead to spooking or resistance. Failing to maintain a calm demeanor yourself can inadvertently signal danger to your horse, heightening their anxiety. These examples are among the seven beginner mistakes that can lead to lifelong behavioral problems if left unchecked. Addressing pace, tack fit, and your own calm demeanor early helps prevent lasting issues.
How do you train a horse to stand quietly for mounting on the trail?
Practice mounting block drills at home until your horse stands still on cue, using a release of pressure as reward. Introduce brief “stand and wait” sessions during trail rides in quiet spots, gradually building duration. Always dismount calmly if they move, then re-approach, reinforcing that patience leads to comfort. These techniques will help ensure your horse is well-prepared and confident when you mount for a ride.
How to condition a horse for long trail rides?
Start with consistent, slow-paced rides to strengthen muscles and improve endurance over several weeks. Incorporate hills and varied footing to build joint stability and overall fitness safely. Schedule regular rest days and monitor hydration and hoof health to prevent injury during increased activity.
The Trail Awaits
Your horse’s trust is built in the quiet moments long before you reach the trailhead, through patient, consistent practice in a familiar environment. The single most effective thing you can do is always set your horse up to succeed by breaking every new challenge into tiny, understandable steps.
This journey is a partnership, measured in seasons, not days. Your horse’s confidence grows when you listen to what he’s telling you with his body and his behavior, and respond with clarity instead of force. Understanding horse behavior and psychology is essential to this process.
Further Reading & Sources
- The Making of a Trail Horse, Part 2 | Julie Goodnight Academy
- Get Your Horse in Shape for Trail Riding – AQHA
- How to build a trustworthy trail horse
- Training and Conditioning
At Horse and Hay, we are passionate about providing expert guidance on all aspects of horse care, from nutrition to wellness. Our team of equine specialists and veterinarians offer trusted advice on the best foods, supplements, and practices to keep your horse healthy and thriving. Whether you're a seasoned rider or new to equine care, we provide valuable insights into feeding, grooming, and overall well-being to ensure your horse lives its happiest, healthiest life.
Behavior