How to Wrap a Horse’s Hoof for Safe Care and Lasting Protection
Hello fellow equestrians. That moment when your horse needs a hoof wrapped-for a bruise, an abscess, or trail protection-can spike your anxiety faster than a loose pony in the feed room. You worry about doing it wrong, causing discomfort, or missing a sign that something is off.
In this guide, I’ll break down the process into clear, barn-tested steps. You’ll get the specifics on selecting the correct padding and waterproof layers for your horse’s specific issue. I’ll detail the precise wrapping technique that prevents slipping and pressure points. We’ll cover how to assess the wrap for proper tension and your horse’s comfort level. Finally, you’ll learn the critical timeline for changes and the visual cues that signal healing or trouble.
I’ve managed this daily for years, from securing Rusty’s trail-weary soles to outsmarting Pipin’s talent for unwrapping himself, and I’m here to share that hands-on knowledge with you.
Why Hoof Wrapping Matters: Protection and Healing
Think of a hoof wrap not as a blanket or a boot, but as a mobile stall for the foot. It’s a first-aid kit you can apply, a therapeutic cast that lets your horse stay on their feet. When Luna had a sensitive sole after a trim, a wrap stabilized her hoof and let her move without wincing. A proper wrap mimics the protective function of a healthy hoof capsule when it’s compromised, offering critical support during healing. This isn’t for show; it’s for abscesses, cracks, bruises, or post-injury care where managing moisture and dirt is the difference between a quick recovery and a lingering problem—unlike regular hoof boots used for everyday protection and performance.
It creates a clean, controlled environment. Compare it to putting a clean bandage and a splint on a human sprain. The wrap immobilizes the area, shields it from pasture muck and stable bedding, and keeps medicated dressings right where you need them. For conditions like laminitis, that external support can help ease the painful pressure on the laminae inside the hoof. I’ve seen it make old Rusty comfortable enough to hobble over for his apples when a stone bruise would have otherwise kept him parked in his stall.
Key Benefits of a Proper Hoof Bandage
- Anchors wound dressings or poultices securely in place against the sole or frog.
- Acts as a shield, preventing dirt, bacteria, and moisture from entering a vulnerable hoof.
- Provides gentle, consistent pressure that can reduce swelling in the lower leg.
- Offers structural support to a cracked or weak hoof wall, preventing further damage.
- Helps maintain a specific moisture balance, whether you need to draw out infection or keep a hoof dry.
Gathering Your Hoof Wrapping Toolkit
You wouldn’t start building a fence without posts and rails. Hoof wrapping is the same. Gather everything on a clean towel before you even think about picking up the hoof. A dry, organized workspace prevents you from fumbling with a muddy foot while searching for your vet wrap. I keep a dedicated plastic tub for this, because when Pipin decided to test his fence line, I needed supplies fast, not scattered across three tack trunks.
The Essential Supplies List
- Primary Layer: A non-stick sterile pad, like Telfa. This goes directly on the wound or sensitive area to prevent sticking.
- Padding Layer: Rolled cotton or a thick, soft hoof pad. This cushions the sole and frog, absorbing shock and pressure.
- Securing Layer: A cohesive elastic bandage (vet wrap) or a stable bandage. This holds everything snug without circulation-cutting tightness.
- Outer Protection: Duct tape or a specifically designed hoof bandage tape. This creates a durable, weather-resistant shell over the softer layers.
Optional Items for Specific Cases
- Drawing poultice for abscesses, spread over the sole before the padding layer.
- Iodine-soaked gauze squares for disinfecting a prepared hoof abscess opening.
- Waterproof adhesive tape for extremely wet turnout conditions or muddy paddocks.
- A clean hoof boot to slip over the entire bandage for ultimate protection during turnout.
- Scissors with blunt tips, dedicated solely to your first-aid kit for safety.
The Core Technique: Step-by-Step Hoof Wrapping
Think of a hoof wrap like a supportive boot: it needs to stay put, protect the delicate bits, and never, ever cut off circulation. Doing it right is a mix of method and feel.
1. Prep the Hoof and Your Workspace
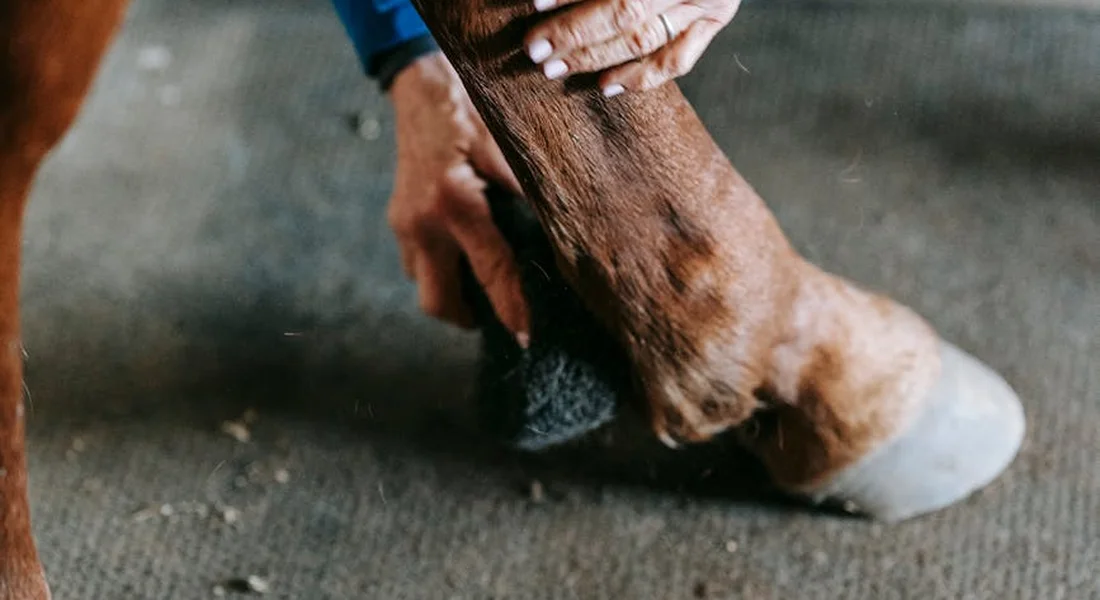
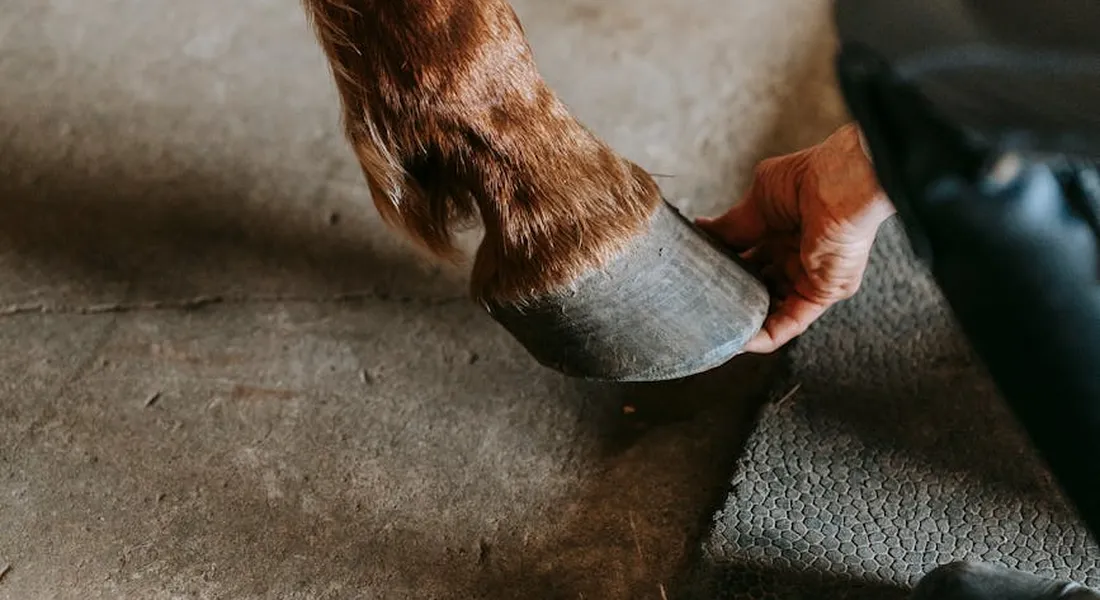
Start with a clean slate. Pick the hoof out completely, getting every last bit of muck and pebble from the frog and sole. I scrub the bottom with a stiff brush and mild disinfectant, then dry it thoroughly with a clean towel. A damp hoof under a wrap is a perfect recipe for a bacterial party you don’t want to host. Have all your supplies-roll cotton, vet wrap, duct tape, scissors-on a nearby stool or bucket. Your horse should be calm and square; I often use this time with Luna to practice standing quietly, rewarding her patience.
2. Apply the Primary Dressing and Padding
If there’s a wound or abscess opening, place a non-stick sterile pad directly over it. Then, take your roll cotton. Start at the toe, wrap down around the sole, and bring it up around the pastern. Do this in a figure-eight pattern two or three times to create a soft, cushiony pillow around the entire foot. This layer absorbs shock and prevents the outer wrap from pinching the sensitive heel bulbs or coronary band. Tear the cotton; don’t cut it, for a feathered edge that lies flat.
3. Secure with an Elastic Bandage
Now for the vet wrap. Start just below the coronary band at the front of the hoof. Hold the end with your thumb and make one anchoring turn. Use consistent, firm pressure-you should be able to slip a finger under the layers. Overlap each turn by half. The satisfying *rrrrip* of the vet wrap tearing should be the only sound you hear; if your horse shifts, stop and check your tension. Cover the entire cotton layer, including the heel bulbs, and finish two inches above the pastern joint. Never finish over a joint or bony prominence.
4. Add the Final Protective Layer
For the bottom, create a duct tape “stirrup.” Tear a long strip, press it down the front of the hoof, across the sole, and up the back. Add more strips laterally until the sole is covered. For maximum protection, like for a rocky trail walk, I’ll seal the entire wrapped hoof in a disposable hoof pad secured with more tape. Run your hands over the final product, feeling for any lumps or uneven pressure points before you let the horse move. Ensure the wrap complements any boots you might use to protect the hoof during rides.
When to Reach for the Wrap: Indications for Hoof Bandaging
Hoof wraps are a tool, not a fashion statement. Knowing when to use one separates proactive care from creating a problem.
For Injuries and Wounds
A clean, dry bandage is your first line of defense. This includes:
- Cuts or punctures to the frog or heel bulbs: These areas bleed heavily and are prone to infection. A wrap keeps dirt out and applies gentle pressure.
- Sole bruises: From stepping on a sharp rock. Padding protects the tender spot while it heals.
- Cracked hoof wall: A wrap can stabilize a crack temporarily, preventing dirt from working its way up, until the farrier can address it.
Any deep puncture or significant wound requires an immediate vet call-the wrap is just for the trip to the clinic.
For Hoof Abscesses
This is the most common reason I reach for the roll cotton. A poultice wrap draws out infection and provides pain relief.
- After your vet or farrier drains the abscess, pack the opening with an Epsom salt poultice or ichthammol ointment.
- The cotton and wrap hold the drawing agent against the sole and keep the area clean.
- Change this wrap daily. The sight of the infection on the old bandage tells you it’s working.
For Structural Support
Sometimes a foot just needs a little extra hug to get through a tough time.
- Laminitis: A properly applied support wrap can cushion the painful sole and encourage a more comfortable stance, but always under veterinary guidance.
- Post-farrier work: If a horse has a very thin sole or a sensitive trim, a temporary pad and wrap can ease the transition back to the ground.
- To hold a medicated pack in place for conditions like thrush in hard-to-reach crevices.
Remember, a hoof wrap is a temporary medical device. If you’re unsure, a quick call to your farrier or vet for advice is the wisest step you can take.
Beyond the Basic Wrap: Specialized Techniques

Once you’ve mastered a simple stable bandage, a world of targeted care opens up. Specialized wraps let you address specific issues, from drawing out an abscess to providing support for a tired tendon. I’ve used all of these in my years managing the barn, each one a tool to keep Rusty, Luna, and even the mischievous Pipin comfortable and on the mend.
Hoof Wrap Method Comparison
| Method | Primary Purpose | Key Materials | Typical Duration |
|---|---|---|---|
| Poultice & Packing | Draw out infection, reduce swelling, or add moisture. | Medicated poultice, cotton sheet or gauze, padding, vet wrap, duct tape. | 12-24 hours before changing. |
| Standing/Support Bandage | Provide stability and light support to the lower leg and tendons. | Thick quilting or pillow wrap, cohesive bandage (e.g., Vetrap). | Overnight or for stall rest; remove for daily exercise. |
| Waterproof Barrier | Protect the primary dressing from mud, bedding, and moisture. | Waterproof tape (e.g., Equitape), a disposable hoof boot, or a sealed plastic bag. | Applied over the primary wrap; check and replace as needed, often daily. |
The Poultice and Packing Wrap
This is your go-to for treating abscesses, bruises, or hot feet. The goal is to create a moist, medicated environment right against the sole and frog to pull out gunk or soothe inflammation. Start by cleaning and drying the hoof thoroughly. Smear a generous layer of poultice (like ichthammol or a clay-based formula) over the entire sole. Next, take a piece of cotton sheet or a disposable diaper and press it firmly onto the poultice to act as a smooth buffer. I always pack a little extra padding over the coronet band before I start wrapping to prevent any rubs from the tape. Wrap snugly with a stable bandage, and finish the bottom with duct tape in a stirrup pattern for a durable, sealed sole.
The Standing Wrap or Support Bandage
Think of this as an extension of hoof care for the whole leg. A standing wrap offers gentle support to the tendons and ligaments after work, during transport, or while a horse is on stall rest. You begin with your hoof wrap in place. Then, using a thick, soft quilting pad, you start just below the knee or hock and wrap down the leg, overlapping the top of the hoof bandage, and back up again. The key is even pressure from top to bottom-too loose and it slides, too tight and you risk injury. I use these on Luna after a hard training day when her legs need a little extra TLC, always ensuring she has plenty of turnout the next morning to move freely. These wraps can also support horses recovering from injury or surgery, helping with swelling control and providing gentle support during rehab. If recovery is prescribed, your vet or trainer can guide the correct wrap technique and timing.
Creating a Waterproof Barrier
In a muddy paddock or a wet stall, a regular wrap won’t stay clean for long. A waterproof layer is the final shield that keeps your careful work dry and effective. After applying your primary bandage, you have a few options. You can tightly seal the entire hoof in a heavy-duty plastic bag, securing it around the pastern with waterproof tape. Or, for a more professional finish, use a self-adhesive waterproof bandage tape over the entire wrap. I learned this hack the hard way with Pipin, who would find every puddle; a bag secured with tape kept his poultice clean and stopped the bandage from becoming a soggy, dirty mess. On wet days, consider a waterproof blanket plus tips to keep the horse dry and comfortable between wraps and protect the coat and poultice.
Solving Wrapping Woes: Common Problems and Fixes
Even with the best intentions, wraps can go awry. Don’t get discouraged-most issues have simple fixes that you’ll learn to spot with practice. Here’s how to troubleshoot the most frequent frustrations at the barn.
Frequent Frustrations and Their Straightforward Solutions
The Slipping or Twisting Bandage
A bandage that slides down or spirals around the leg is annoying and useless. This almost always boils down to two things: insufficient padding at the top or inconsistent tension while wrapping. Start with a thick, even layer of cotton or quilting that extends well above the area you want to cover. As you wrap the cohesive bandage, maintain a firm, steady pull. A light spray of adhesive bandage spray on the underlying hair can provide extra grip. For a definitive anchor, place a single strip of sturdy tape (like elastikon) around the very top of the finished bandage.
Dealing with a Soiled or Wet Wrap
A damp or dirty wrap is a breeding ground for bacteria and can macerate the hoof. Check every single wrap at least once a day, running your hand over it to feel for moisture or inspecting for dirt. If it’s soiled or damp, change it immediately-no exceptions. For horses turned out, a waterproof barrier is non-negotiable. In the stall, use ample, clean, dry bedding. I make it a rule during morning feeds to do a quick “bandage check” on any horse in care, feeling for that tell-tale squish or cold spot. Between farrier visits, maintain hoof health by daily picking and keeping the hooves dry. Look for cracks, chips, or signs of thrush and address promptly.
Avoiding Rubs and Pressure Sores
Red marks or hair loss are signs your wrap is causing damage. Always ensure your padding is smooth, with no wrinkles, especially over delicate areas like the pastern and coronet band. Never wrap directly over a tendon or bony prominence without cushioning. The “finger test” is golden: you should be able to slip a finger under the top and bottom of the finished bandage comfortably. If you see any swelling above or below the wrap, it’s on too tight. Unwrap and start over-your horse’s comfort is worth the extra five minutes.
FAQ: How Do You Wrap a Horse’s Hoof for Care and Protection?
What is the primary function of a horse hoof wrap?
A horse hoof wrap primarily serves as a protective medical device to aid in healing and prevent further injury. It creates a clean, controlled environment by securing dressings and shielding the hoof from dirt, bacteria, and moisture. Additionally, it provides structural support to stabilize cracks or bruises, allowing the horse to remain mobile during recovery.
How can hoof wraps be used to protect against frost or cold weather?
In frosty conditions, hoof wraps help by adding an insulating layer and a waterproof barrier to keep the hoof dry and prevent ice accumulation. Use materials like waterproof tape or a sealed plastic bag over the primary bandage to block moisture from pasture muck or snow. Regularly inspect and change wraps to ensure they stay dry, avoiding discomfort or freezing that could compromise hoof health.
When should you consider professional service for hoof wrapping?
Professional service from a vet or farrier is recommended for complex issues like deep wounds, suspected laminitis, or persistent abscesses that require precise treatment. While basic wraps can be applied at home, expert guidance ensures correct technique and avoids complications such as improper tension or infection. Always consult a professional if you’re unsure about the horse’s condition or if the wrap shows signs of failure, like slipping or soiling. For leg protection during activity, polo wraps are common as an option when used correctly. They can be a simple, effective way to support the leg and prevent minor injuries during work or turnout.
Your Hoof-Care Checklist
Keep your materials clean and dry, wrap from the inside out for even pressure, and always check for heat or swelling the next day. A perfectly applied bandage that isn’t monitored is worse than useless-it’s a hazard.
Your horse will tell you through their comfort and movement if you got it right. This quiet skill, built through patience, is a true mark of good horsemanship. For instance, you can learn to tell if your horse is happy by understanding their body language. When you read these signals correctly, your bond and riding become even stronger.
Further Reading & Sources
- Hoof Wraps Bandage – MacKinnon Products
- How to Apply a Hoof Bandage
- Hoof Wrap Brand Bandage | HOOF-it Technologies
- How To Wrap A Horse Hoof And Why You Need To Know! – Farm House Tack
At Horse and Hay, we are passionate about providing expert guidance on all aspects of horse care, from nutrition to wellness. Our team of equine specialists and veterinarians offer trusted advice on the best foods, supplements, and practices to keep your horse healthy and thriving. Whether you're a seasoned rider or new to equine care, we provide valuable insights into feeding, grooming, and overall well-being to ensure your horse lives its happiest, healthiest life.
Hoof Care