
Top Products for Disinfecting Grooming Tools: Keep Your Barn Healthy
Hello fellow equestrians. That faint smell of mildew on a damp brush or the sight of hair caked in a curry comb is more than just messy. It is a direct threat to your horse’s skin health and your wallet. I have seen simple cases of rain rot spread through a shared shedding blade, leading to unnecessary vet bills and stressed animals.
Today, I will share the practical solutions that work in a real, muddy barn. You will learn about disinfectants that are tough on germs but safe for tools and hands, a simple weekly cleaning routine that takes minutes, and my go-to products for plastic, wood, and rubber tools. This advice comes from over a decade of barn management, where keeping Luna’s sensitive skin and Pipin’s mischievous hide clean taught me the value of a proper disinfectant.
The Unseen Stowaways: Why Your Brushes Need a Bath Too
What’s Hiding in Your Toolbox?
Think of your grooming kit as a portable ecosystem, and not a good one. Every flake of skin, speck of mud, and strand of hair you remove is a potential taxi for microscopic hitchhikers. That curry comb you used on a sweaty back last Tuesday? It’s a five-star hotel for bacteria. Your trusty hoof pick from the muddy paddock? A fungal spore’s dream home.
These pathogens aren’t just abstract germs; they cause real, frustrating problems you’ve likely dealt with before.
- Bacteria (like Dermatophilus): This is the culprit behind rain rot, those crusty scabs that make your horse’s back look like a topographic map.
- Fungi (including Trichophyton and Microsporum): These cause ringworm, a highly contagious and itchy skin infection that spreads faster than gossip at a Saturday show.
- Bacteria and Fungi (a nasty team): They work together to create scratches, that painful, cracked skin around the pasterns that makes a horse flinch at the touch of a brush.
- Anaerobic Bacteria: Thriving in muck, they get transferred by tools and cause thrush, that foul-smelling black goo in the hoof sulcus.
Sharing brushes between horses without cleaning them is like sharing a toothbrush during flu season-it’s an invitation for trouble.
It’s Not Just About Health, It’s About Performance
Beyond disease prevention, clean tools simply work better. A body brush clogged with old skin oils and dust becomes a glorified dusting wand, just moving grime around instead of lifting it. I learned this with Luna, my sensitive Thoroughbred; running a freshly washed, soft-bristled brush over her coat was the only way to get her to truly sigh and drop her head for a good polish. These habits underscore the role of essential tools in daily horse stable maintenance. When tools stay clean and functional, daily routines go smoother for horse and handler.
A clean rubber curry has better grip and flexion to really loosen dirt. A sharp, debris-free hoof pick clears the cleft efficiently, letting you spot a problem early. Grooming with clean tools transforms the chore into a sensory connection: the soft whisk of clean bristles, the smell of a clean coat, and the visible shine you can only achieve when your brush isn’t fighting against yesterday’s grime. Soft, mindful grooming touch can deepen your connection with your horse, signaling trust with every stroke. This simple, consistent contact often strengthens communication and partnership between you and your horse.
The Barn-Tested Method: Your Step-by-Step Disinfecting Routine
Step 1: The Pre-Clean Scrub (The Most Important Step)
Disinfectants cannot penetrate caked-on mud and hair. Skipping this step is like mopping a floor before sweeping it. Start by taking your tools outside and giving them a firm tap against a wall or post to dislodge loose hair and dirt.
- For brushes: Fill a bucket with warm water and a squirt of dish soap or a dedicated brush cleaner. Swirl the bristle side down, then use a clean horse tail comb or your fingers to rake out embedded hair from the base. Scrub the brush backs and handles too.
- For metal hoof picks and sweat scrapers: Use a stiff brush and soapy water to scrub every groove clean. A bit of vinegar can help dissolve mineral deposits.
- For rubber curries: These are the worst for trapping hair. Use a comb or a flicking motion to pull hair from the fingers before washing.
Your goal is a tool that looks and feels physically clean before any chemical ever touches it.
Step 2: The Dry Stage
Water dilutes most disinfectants, rendering them useless. After washing, shake off the excess water. I set up a simple drying rack over a spare muck bucket-an old oven rack works perfectly. Place brushes bristle-side down so water drains away from the glue base.
Let them air dry completely, which might take a few hours or overnight. Patience here is non-negotiable; a damp brush in a disinfectant soak is just making germ soup.
Step 3: Applying the Disinfectant
Now for the pathogen knockout. Always wear gloves to protect your skin. Your method depends on the product and tool.
- Soaking: Ideal for non-metallic items. Mix your disinfectant (like a chlorhexidine or accelerated hydrogen peroxide solution) in a clean bucket per label directions. Submerge tools for the full contact time, usually 10 minutes.
- Spraying: Good for larger items or quick touches. Use a spray bottle to thoroughly wet all surfaces of the tool until dripping, then let it sit for the required contact time without wiping.
- Wiping: Best for metal tools or handles. Use a cloth saturated with disinfectant to wipe down every surface.
Read the label on your disinfectant like it’s a feed tag-the contact time is the magic number that ensures germs are actually killed.
Step 4: The Final Dry and Proper Storage
After the contact time is up, you don’t need to rinse unless the product label says to. Instead, let the tools air dry completely once more. This final dry is part of the killing process for many solutions.
Storage is your final defense. Don’t toss your clinically clean tools back into a dirty, damp tack box. Store them in a clean, ventilated bucket or bag, away from dust and moisture. I keep my disinfected set in a separate milk crate, while the “in-use” brushes for the day live in my grooming tote. This simple system breaks the cycle of re-contamination and makes your deep cleaning efforts last.
Navigating the Aisle: How to Pick a Disinfectant That Works
Understanding the Labels: Quats, Alcohols, and Chlorhexidine
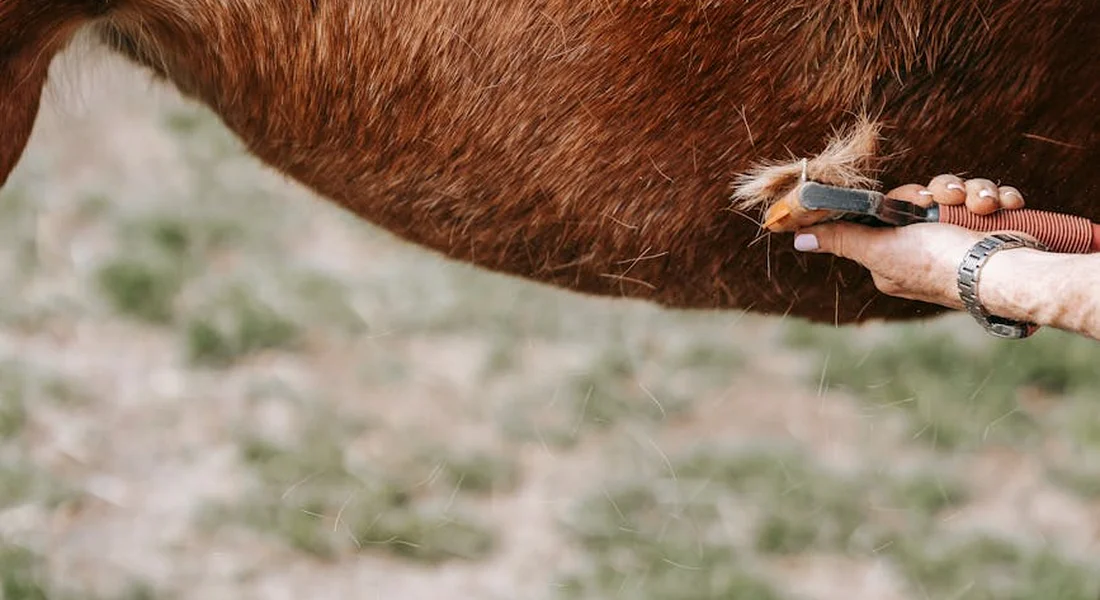
Staring at a shelf of bottles can make your head spin. Let’s break down the common players. Quaternary Ammonium Compounds, or “quats,” are barn staples for a reason. They’re effective against a wide range of bacteria and fungi and are generally gentle on surfaces. The catch is they need proper contact time-usually around 10 minutes-to do their job, so don’t just spray and wipe. I keep a quat-based spray in my tack room for daily wipe-downs of non-porous surfaces.
Isopropyl alcohol (70% concentration is the sweet spot) is your fast-action friend. It evaporates quickly, making it great for metal tools like scissors between horses. Be mindful that overuse can dry out rubber and plastic, and it’s a fire hazard near sparks or heaters in the barn. I use it sparingly, often for a quick blade clean between clipping sessions on Luna, who seems to attract every bit of dust.
Chlorhexidine gluconate is a powerful broad-spectrum disinfectant you might know from wound care. It’s excellent for tackling stubborn pathogens and has residual activity. Always dilute it according to the label, as the concentrate can be too harsh and is rarely used straight from the bottle. For a deep clean of buckets or after a horse with a skin issue, I’ll mix up a diluted chlorhexidine solution.
Ready-to-Use Sprays vs. Concentrates
Your choice here boils down to convenience versus economy. Ready-to-use sprays are fantastic for speed. Grab one for your grooming tote to quickly spritz brushes or wipe down a hoof pick between stalls. They’re perfect for the busy days when you’re managing multiple horses like Rusty and Pipin back-to-back. Or consider a simple DIY horse fly spray you can whip up at home. It’s easy to tailor the formula to your horses’ needs and climate.
Concentrates are the budget-saver’s champion, especially for a full barn clean-up. You control the dilution, making one bottle capable of gallons of disinfectant for scrubbing walls, floors, and soaking tools. I buy a large jug of concentrate each season for major cleaning, but keep a spray bottle mixed and labeled for daily use. The initial cost is higher, but the per-use cost is much lower.
What About “Natural” Disinfectants Like Vinegar or Hydrogen Peroxide?
Many folks reach for white vinegar or hydrogen peroxide from the kitchen cabinet. Vinegar’s acidity can break down grime and kill some microbes, while hydrogen peroxide fizzes through organic matter. For general grime removal or mild cleaning, these can be helpful, affordable options. I’ve used a vinegar solution to descale water buckets.
However, for true disinfection against serious threats like strangles or ringworm, they fall short. Household vinegar and peroxide are not EPA-registered disinfectants and lack proven efficacy against many equine-specific pathogens. Relying on them alone for disease control is a gamble with your herd’s health. Stick with registered products for any known contamination or illness.
Tool-Specific Tactics: Clippers, Blades, and Delicate Items
Clipper and Blade Sterilization: A Non-Negotiable
Dirty clippers are a fast track to skin infections and poor performance. After every use, especially on a sensitive horse like Luna, I follow this ritual.
- Brush away all hair and debris from the blade and clipper body.
- Spray or dip the blades in a dedicated, corrosion-inhibiting blade wash. Let it sit for the required time.
- Wipe dry thoroughly with a clean cloth to prevent rust.
- Apply a light clipper coolant spray to lubricate and protect the metal.
Never soak the clipper motor body; use a disinfectant wipe on the exterior instead to avoid water damage. This routine extends the life of your expensive blades and keeps your horse comfortable. In any grooming routine, clippers are among the essential grooming tools for a horse.
Caring for Rubber Curries and Soft Brushes
Porous materials trap dirt, sweat, and bacteria. For rubber curries and mitts, I toss them in a bucket of warm, soapy water with a splash of disinfectant. Scrub them together to dislodge gunk, rinse thoroughly, and air-dry completely in the sun if possible. Avoid harsh chemicals that can break down the rubber.
For soft bristle brushes, a monthly deep clean is key. Check the manufacturer’s label first, but most can be washed in mild dish soap and warm water, swished gently, rinsed until the water runs clear, and set bristle-down to dry. I lay mine on a rack in the tack room-a lesson learned after a moldy brush incident with Pipin’s grooming kit.
The Hoof Pick Protocol
This is one tool you cannot afford to neglect. A hoof pick can transfer thrush, abscess bacteria, or gravel from one hoof to another in seconds. After cleaning a hoof, especially one with any sign of thrush or discharge, immediately drop the pick into a dedicated container of disinfectant solution. I use a old coffee can filled with a diluted disinfectant near my grooming area to ensure it’s hygienic for the next cleaning session.
Let it soak for the full contact time listed on the product label—usually at least 10 minutes. Rinse it with clean water and dry it before the next use to prevent chemical residue from irritating the sensitive frog. For a horse with an active infection, consider having a separate pick solely for them. When cleaning around the horse’s face and ears, use a soft cloth and avoid getting solution into the eyes or on sensitive skin. Proper techniques for safely cleaning these sensitive areas are essential to avoid discomfort.
Safety First: Protecting You, Your Horse, and Your Tools
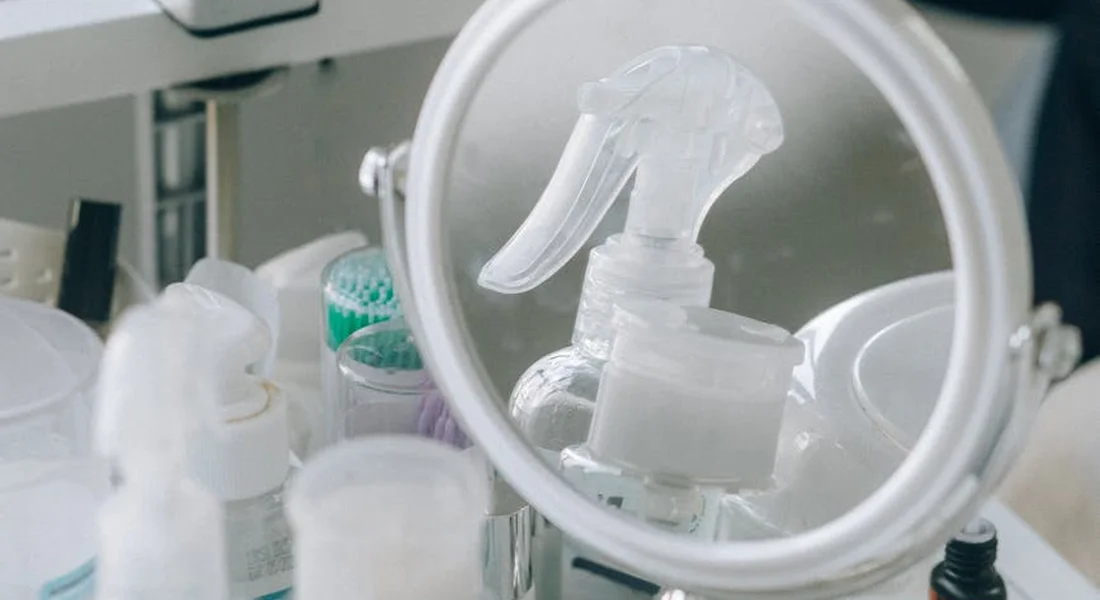
Cleaning day shouldn’t become a hazard day. I’ve seen too many well-meaning owners rush through disinfecting, only to create new risks. A little foresight keeps everyone-including my curious pony Pipin-safe.
Reading and Following Product Labels is Everything
That bottle isn’t just marketing. The label is your rulebook. I learned this after a bout of rain rot passed between horses; I hadn’t let my disinfectant sit on the tools long enough to work. Contact time, or dwell time, is non-negotiable-if it says ten minutes, a quick splash does nothing. Proper dilution matters just as much. A concentrate isn’t stronger if you use it straight; it’s often corrosive and wasteful. Never, ever mix chemicals. A reaction in your bucket can release dangerous gases, something you don’t want to discover in a confined space.
Ventilation and Protective Gear
Your lungs and eyes are not brush bristles. I keep a simple kit on my disinfecting shelf:
- Nitrile gloves (latex can degrade)
- Safety glasses or old sunglasses
- A basic dust mask for powders or a ventilator for strong sprays
I do this chore outside the barn door or in a cross-breezy aisle. Fumes in a closed tack room are a recipe for dizziness and long-term health issues, which helps no one, especially not a high-strung horse like Luna.
Keeping Disinfectants Away from Horses
This seems obvious, but Pipin has taught me that ponies will investigate anything that smells interesting. A tool disinfectant is for tools, full stop. Unless a product’s label explicitly states it is a wound-safe antiseptic spray, it never touches your horse’s skin. Store all chemicals in a locked cabinet or high shelf, especially separate from medications and health products for your horse. After cleaning, rinse tools thoroughly and let them dry completely before using them on your horse to prevent any residue from causing irritation.
Building the Habit: Maintenance Beats Marathon Cleanings
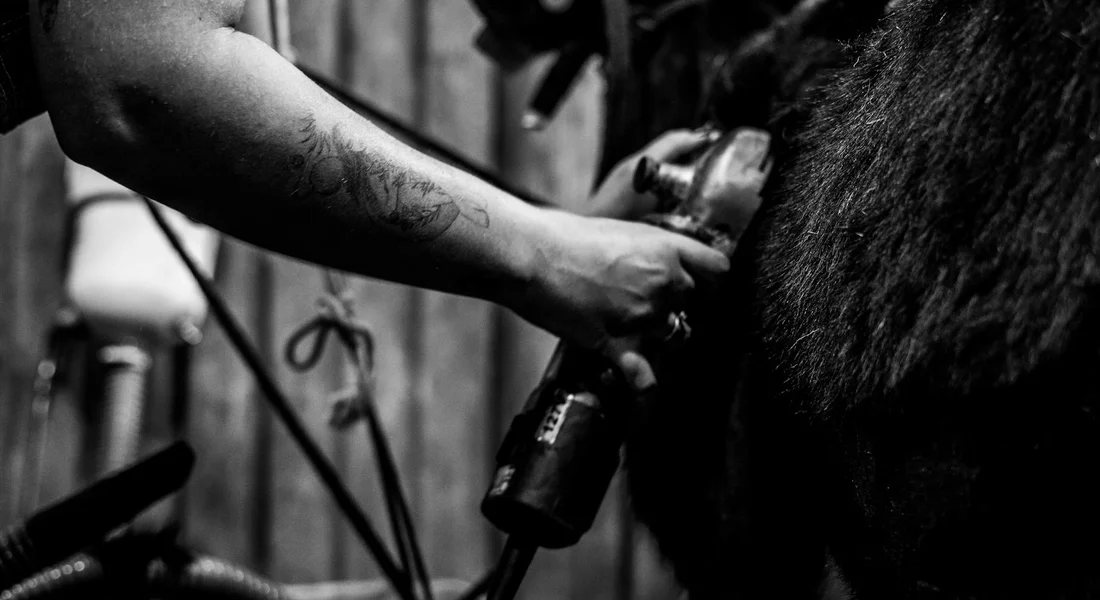
A massive, dreaded yearly scrub leads to shortcuts. Tiny, consistent actions create a healthier barn. It’s like turnout-small, daily doses are better than one long weekly session.
Creating a Simple Disinfecting Schedule
Don’t aim for perfection. Aim for practical. Here’s the rhythm that works in my barn:
- Daily: Hoof picks. Rusty hates puddles, so his pick gets grimy fast. A quick dip in disinfectant after each use stops thrush spores in their tracks.
- Weekly: All brushes and combs. Sunday afternoons are my wipe-down time.
- Per-Use: Clipper blades and sweat scraper blades. These contact sweat and skin oils directly.
- Monthly: Deep clean of grooming totes and buckets themselves.
This staggered approach feels less like a chore and more like part of the regular barn flow. Regular hoof cleaning and picking is the first line of defense against infections and lameness, keeping hooves healthy between trims. By staying on top of debris daily, you reduce the risk of thrush and painful cracks.
Organizing for Success: The Two-Bucket System
Visual cues prevent clean tools from getting dirty again. I use two brightly colored buckets. One is labeled “DIRTY” and lives where I groom. Used brushes go straight in. The other, labeled “CLEAN,” stays on the disinfecting shelf. When the dirty bucket is full, I know it’s time for the weekly clean, and I never have to guess which curry comb is ready for Luna’s sensitive coat. It’s a foolproof barn hack that saves mental energy.
When to Retire a Tool for Good
Disinfecting can’t fix physical breakdown. Sentimentality has its place, but not with grooming tools. It’s time to say goodbye when you see:
- Bristles that are broken, bent, or falling out in clumps
- Deep cracks or crevices in plastic or rubber that trap grease and dirt
- A curry comb with missing or flattened teeth
- A hoof pick with a rusted or dulled tip
Using a worn-out brush is like scratching your horse with a dirty fingernail-it can irritate the skin and defeat the purpose of grooming. I retired a favorite dandy brush last year after it seemed to leave more bristles on Pipin than hair in the mud. His coat looked better for it.
FAQ: Top Products for Disinfecting Horse Grooming Tools
Is it necessary to disinfect grooming tools after every use?
For routine daily grooming, a quick physical clean to remove hair and dirt is sufficient after each use. A full chemical disinfection is typically recommended on a weekly basis to maintain hygiene and prevent pathogen buildup. However, tools used on horses with skin conditions or shared in a barn should be disinfected immediately after use to avoid cross-contamination. An essential daily grooming routine for a healthy horse helps you monitor coat, skin, and overall condition. It also supports early detection of potential issues and keeps care consistent.
What is the safest way to disinfect tools for a horse with sensitive skin?
Opt for a mild, non-irritating disinfectant like a diluted quaternary ammonium compound that is gentle on tools and residues. Always rinse disinfected tools thoroughly with clean water and allow them to air dry completely before use to prevent any chemical contact. Test the disinfectant on a small, inconspicuous part of the tool first to ensure it doesn’t damage materials like rubber or bristles.
Can I disinfect wooden-handled brushes without damaging them?
Avoid soaking wooden handles in liquid disinfectants, as this can cause warping or cracking over time. Instead, use a disinfectant spray or wipe applied directly to the bristles and tool surfaces, ensuring minimal contact with the wood. After application, dry the brush thoroughly in a well-ventilated area to preserve the integrity of the wooden handle.
Cleaning Up: A Matter of Horse Health
Rotate your brush sets and disinfect with a proven product like diluted bleach or a commercial equine formula after each use. Thorough drying is not optional-it’s what stops the unseen microbial party on your damp brushes dead in its tracks.
I’ve learned that this diligence prevents more gunk than you’d ever want to see on a swab. Your horse’s shiny coat and relaxed sigh during grooming are the truest signs you’ve got this fundamental right. Especially when you know the common grooming mistakes to avoid.
Further Reading & Sources
- The Best Cleaning Products for Pet Groomers – Tool Klean
- Amazon.com: Groomers’ Tools & Clipper Sanitizer- 32oz : Industrial & Scientific
- Dog Grooming Sanitizing Tools & Disinfectants | Love Groomers
- Disinfecting Solution
At Horse and Hay, we are passionate about providing expert guidance on all aspects of horse care, from nutrition to wellness. Our team of equine specialists and veterinarians offer trusted advice on the best foods, supplements, and practices to keep your horse healthy and thriving. Whether you're a seasoned rider or new to equine care, we provide valuable insights into feeding, grooming, and overall well-being to ensure your horse lives its happiest, healthiest life.
Equipment