
How to Tell if Your Horse is Lame and What to Do Next
Published on: September 11, 2026 | Last Updated: September 11, 2026
Written By: Henry Wellington
Hello fellow equestrians. Spotting a hitch in your horse’s gait or a new reluctance to move out can knot your stomach with worry. You are not overreacting. Early lameness is a clear signal of pain, and catching it quickly saves money, prevents further injury, and gets your partner back on track.
I will guide you through the practical barn-side detective work I use every day. We will cover how to spot the subtle signs many riders miss, a step-by-step method for checking which leg is the problem, and exactly what to do before the vet arrives to keep your horse safe and comfortable.
My advice comes from a decade of barn management and training, filled with mornings spent puzzling over Pipin’s funny steps and afternoons icing Luna’s tendons.
The Quiet Signs: Subtle Lameness Indicators
Lameness often starts as a murmur, not a shout. I’ve learned to read the barn’s quiet moments, watching horses stand in their stalls or doze in the sun. The earliest warnings usually appear when your horse thinks no one is looking, long before you ever get on to ride.
- Constant Weight Shifting: A comfortable horse stands square and still. A sore one fidgets. You might see a hind foot lightly tipped up, or a front leg constantly being picked up and set down. My Quarter Horse, Rusty, tells me his shoulders are aching by planting his front feet and repeatedly rocking his weight back onto his hocks with a soft grunt.
- Altered Stance or “Pointing”: This isn’t a relaxed stretch. The horse will place one foreleg far forward, bearing weight only on the toe to relieve pressure on the heel or leg. It’s the equine version of taking the pressure off a sore spot. Compare it to how you stand after a long day on your feet.
- The General “Off” Vibe: This subtle change in personality is your gut feeling saying something’s wrong. Is your normally treat-motivated horse disinterested? Does he sigh deeply when girthed or hesitate at a familiar fence? A sudden lack of enthusiasm for work or turnout is a legitimate pain signal, not stubbornness. Our Shetland, Pipin, becomes strangely stationary when his feet are tender, abandoning his usual escape artist routines.
Spotting these signs requires knowing your horse’s normal. Daily, mindful observation during grooming and feeding is your most powerful diagnostic tool for early intervention. By recognizing subtle changes, you can spot early signs of illness or injury in your horse and seek timely care. This proactive awareness helps you act fast to protect their health.
The Loud Signs: Obvious Gait Abnormalities
When subtlety fails, lameness declares itself in movement. Analyzing gait is a skill, but any owner can learn the basics. You need a flat, firm surface and a keen eye. Always hand-walk your horse on a loose lead rope first to see his natural, unconstrained movement.
Look for these three clear indicators at the walk and trot:
- The Head Bob: This is the classic sign. At the trot, a horse will dip its head down when the sound leg hits the ground and lift it when the sore leg bears weight. For a front-leg issue, you see the head go up. For a hind-leg problem, watch for a hip that hikes up instead.
- Shortened or Uneven Stride: Listen to the rhythm of the hooves. A lame limb often takes a quicker, shorter step, making the gait sound choppy and irregular. Instead of the steady *clip-clop, clip-clop*, you hear *clip-clip…clop*.
- Stiffness, Especially on a Circle: Pain limits flexibility. When lunging or walking in a circle, a lame horse may resist bending into the direction, swing a leg outward, or drift with its shoulders. My Thoroughbred, Luna, will pivot her whole body outward if her front end is sore, avoiding the bend.
Follow this simple, safe method to check your horse’s gait:
- Lead your horse to a level, safe area like a hard-packed aisle or riding ring.
- Walk him in a straight line away from you. Watch the rise and fall of his hips and shoulders for symmetry.
- Ask for a steady trot. Focus solely on the head and neck motion. Is it fluid or jerky?
- Turn him and trot him directly back toward you. This angle highlights any dragging or uneven action in the hind limbs.
- Finish by making a large, gentle circle in both directions. Note any resistance or irregularity in the arc.
If you see any of these loud signs, stop the evaluation immediately. Your job now is to prevent further injury, not diagnose the cause. Gentle horsemanship means recognizing pain, providing a quiet stall or paddock, and picking up the phone for your veterinarian.
A Step-by-Step Barn Check
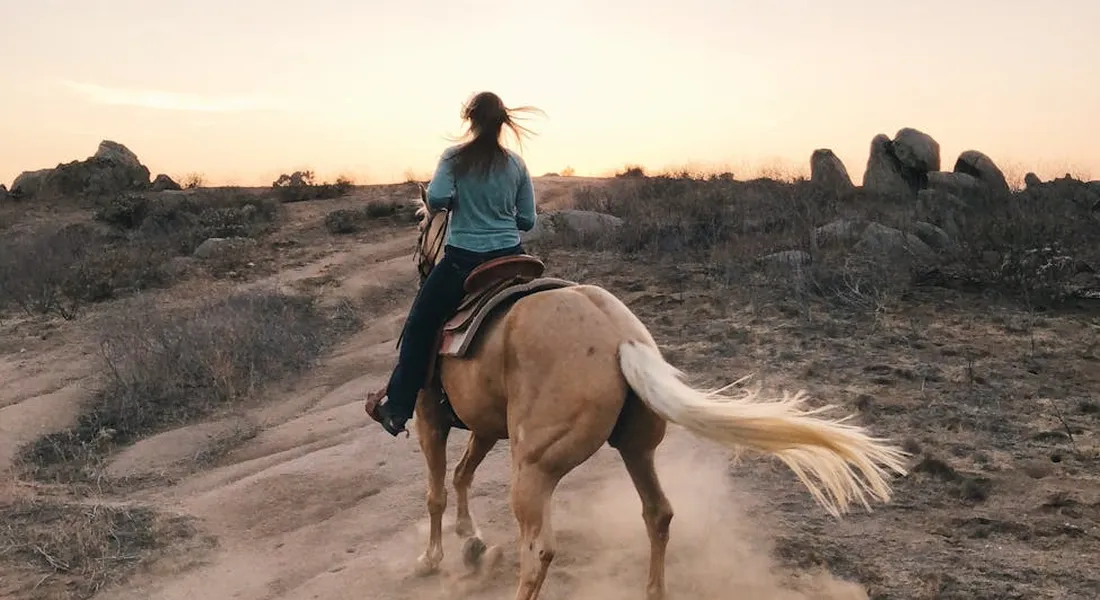
When you suspect lameness, skip the guesswork and get hands-on. A systematic check in the quiet of the stall or cross-ties can tell you volumes. Always start this process with a calm demeanor; your horse will pick up on your anxiety, which can tighten muscles and muddy your findings. For a complete reference, consider the ultimate horse health troubleshooting checklist a head-to-tail guide. It offers a practical head-to-tail framework you can follow during checks.
- Start with the Hooves. Run your hand down the back of the pastern and over the coronary band. Compare the temperature to the other hoof. Significant warmth is a red flag. Next, find the digital pulse by gently pressing your fingertips on the inside and outside of the fetlock, just behind the sesamoid bones. A strong, bounding pulse here is often a clearer sign of trouble than heat alone.
- Palpate for Swelling. Using firm but gentle pressure, run your hands down each leg from knee or hock to hoof. Feel for any puffiness, firm filling, or subtle thickening. Compare legs. A stocked-up leg might feel uniformly cool and puffy, while a tendon injury often presents as a localized, warm swelling.
- Apply Gentle Pressure. Use your thumbs to press along the tendons, checking for pain response. Squeeze the heel bulbs together-a flinch can indicate a bruise or abscess. Pick up the hoof and press on the sole with your thumb. I’ve seen stoic old Rusty nearly pull his foot away from a sole press when a nasty abscess was brewing.
- Use a Hoof Tester if You Can. This tool applies targeted pressure. If you have access to one, methodically squeeze across the sole, over the frog, and near the white line. A sharp pull-away reaction pinpoints the pain epicenter, most often revealing an abscess or a severe bruise. Think of it like a blood pressure cuff for the hoof.
Pinpointing the Problem: From Hoof to Hock
Signs of Hoof and Foot Pain
Foot-soreness has its own distinct language. The horse is literally telling you where it hurts with every step. Watch the horse walk on a hard, flat surface like a paved aisle; lameness often shouts where it was only whispering on soft footing.
- The “Walker” Landing: A sore-footed horse will try to land heel-first to spare its toe or sole. Listen for a distinct, heavy *clop* with the heel.
- Ouch on Rocks: Noticeable tenderness or outright refusal to walk over gravel or rocky ground is a classic sign of sole pain.
- Pointing the Toe: At rest, the horse will often point the sore foot forward, taking weight off it.
- Common Culprits: A hoof abscess is the prime suspect for sudden, severe lameness. Other causes include a stone bruise, thrush eating into sensitive tissue, or long-term poor hoof balance that strains structures.
Signs of Leg, Tendon, and Joint Issues
Moving up the leg, the clues change. Here, we’re looking for alterations in the arc of the flight path and the horse’s willingness to support full weight. With a high suspensory strain, I’ve seen horses carry a leg with a characteristically bent knee, a clear attempt to shorten and unload the injured tendon.
- Observe the Arc: Does the leg swing forward in a stiff, straight line? Is the stride noticeably shorter on one side? This can indicate joint stiffness or pain.
- Feel for Localized Heat: Run your hand over the tendons and joints. Heat in one specific spot, like the middle of a tendon or over a fetlock joint, is more telling than general leg warmth.
- The Basic Flexion Test: Hold the knee or hock bent for 30-45 seconds, then immediately trot the horse off. A marked head bob for several strides suggests pain in that flexed joint. Remember, this is a screening tool, not a diagnosis; it can irritate a normal joint, so interpret results cautiously and never force a flexion.
Signs of Back or Pelvic Discomfort
Back pain rarely exists in a vacuum; it often manifests as a downstream lameness or performance issue. The horse isn’t moving poorly because it’s lame; it’s lame because its back hurts and it can’t move properly. Many common horse health issues relate to anatomy and how it shapes movement. The spine, pelvis, and limb structure can predispose problems. A short, shuffling stride in the hindquarters can be a major clue that the engine room, the back and pelvis, is out of commission.
- Resistance to Bend: The horse may stiffen against your leg, struggle with simple circles, or throw its head up when asked to flex laterally.
- Stiffness on Terrain: Watch going up or down a slight hill. A sore-backed horse often struggles to engage its hind end and may drag its toes.
- Asymmetry in the Rump: Look from behind. Is one side of the pelvis or gluteal muscle visibly dropped or less developed? This can indicate chronic disuse due to pain.
- The Tail Tell: A consistently clamped or stiffly carried tail can be a sign of sacroiliac or pelvic discomfort, not just bad manners.
Your Immediate Action Plan
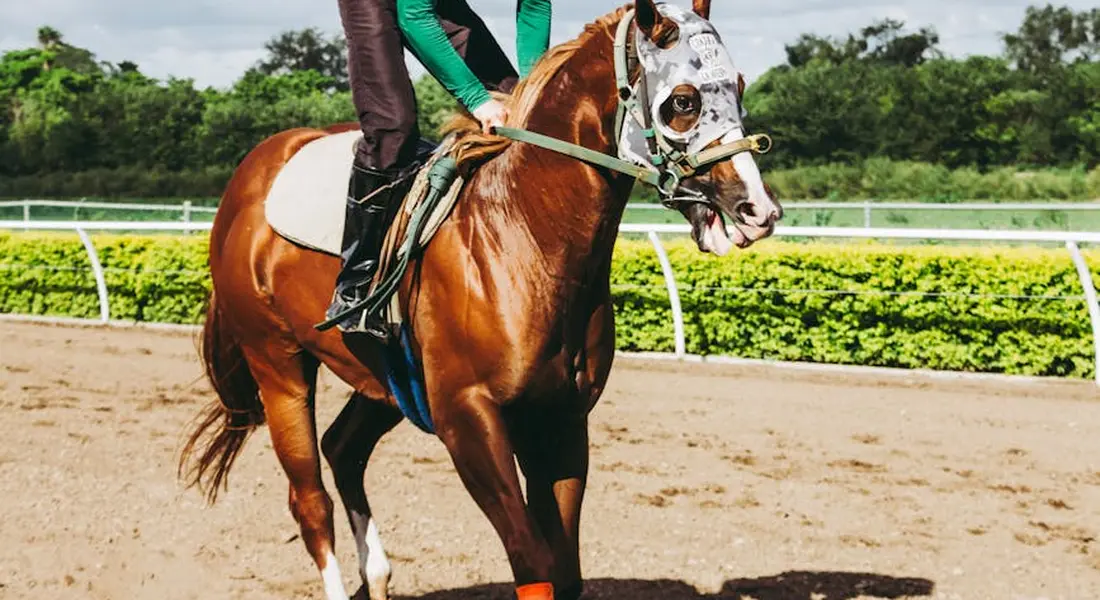
The moment you spot that off-kilter step or hesitant head bob, your brain might race. I’ve been there, staring at Rusty favoring a leg after a rocky trail. Your first job is to stay calm—your horse needs a clear-headed human now, so make being a calm and assertive leader your priority.
-
Stop all work immediately. Do not ask for another trot circle or “walk it off.” Any continued movement can turn a minor strain into a serious injury. I learned this the hard way with a young Luna; pushing through stiffness cost us weeks of recovery.
-
Confine your horse safely in a quiet, familiar space. A small, well-bedded stall or a grassy paddock works. The goal is to prevent further injury while keeping them calm. For clever escape artists like Pipin, double-check latches and ensure water is close by. This approach also supports your goal to create a safe, enriching environment for your horse. In the next steps, you’ll find practical enrichment ideas that fit within a secure space.
-
Apply cold therapy to the suspected area. A simple hose with cold water for 15-20 minutes can reduce inflammation and pain. Focus on the lower leg or hoof unless you know otherwise. The steady sound of water and your calm presence is soothing for both of you.
-
Know exactly when to make the call. Contact your veterinarian immediately if you see severe swelling, an obvious wound, or if the horse cannot bear weight. For a subtle limp with no heat or swelling, a call to your farrier might be the first step, as many lameness issues start in the hoof. Knowing when to call the vet is crucial for your horse’s health.
Partnering with Pros: The Vet and Farrier Visit
Once the pros arrive, your role shifts from first responder to key witness. Your daily observations are invaluable. Think of yourself as the detective providing clues, while the vet and farrier are the forensic experts.
Diagnostics might sound high-tech, but they’re just tools to find the “ouch.” A nerve block involves numbing a specific area with a small injection. If the lameness improves, we’ve found the pain’s neighborhood. I’ve watched vets use this on Rusty to isolate a heel pain, block by block.
Radiographs, or X-rays, are like detailed maps of bone. They show fractures, arthritis, or changes in bone density. Ultrasound uses sound waves to create images of tendons and ligaments, revealing tears or inflammation you can’t see from the outside.
True healing happens when your vet, farrier, and you work as a team. Your farrier’s eye for hoof balance can explain why a radiograph shows uneven wear. Your note about when the limp started helps the vet interpret an ultrasound. It’s a three-legged stool of care-remove one leg, and the whole plan wobbles.
The Road to Recovery: Rest, Rehabilitation, and Patience
Once you and your vet have a diagnosis, the real work begins. A recovery plan isn’t just about waiting; it’s a deliberate, active process. Your vet’s instructions are your roadmap, but your daily observations and adjustments are the fuel that keeps the journey on track. I’ve walked this road with everything from Luna’s delicate suspensory strain to Rusty’s arthritic hock, and each path taught me that patience isn’t passive-it’s the most active form of care.
Phase One: The Art of Controlled Rest
Initial rest is non-negotiable for reducing inflammation and preventing further injury. But “rest” doesn’t always mean a dark, silent stall.
- Strict Stall Rest: Used for acute injuries like fractures or severe tendon tears. The goal is complete immobilization. This is tough on their mind and body. I always provide a deep, comfortable bed and hang a slow-feed hay net to mimic grazing.
- Controlled Hand-Walking: Often introduced after a few days of stall rest. This isn’t a stroll; it’s a prescribed dose of movement. We start with 5-10 minutes on a level, soft surface, listening for the rhythmic thud of hooves that tells me he’s moving comfortably.
The choice between strict rest and hand-walking is a veterinary decision, not a guess-always follow their lead. I learned this with Pipin; his clever mind made stall rest a Houdini act, so controlled walking in a quiet paddock was our compromise to keep him sane and safe.
Phase Two: The Gradual Return
Healing tissue needs to be stressed gently to regain strength. This phase is where most folks rush, and I’ve seen it set recovery back weeks.
- Follow-Up is Everything: Schedule re-check ultrasounds or vet exams. Seeing Luna’s tendon fibers align on the screen told us precisely when to increase her work.
- Gentle Rehabilitation Exercises: Start with straight lines. We might add walking over ground poles, careful circles, or later, walking up gentle slopes. The key is incremental change. If Rusty felt even slightly off the day after introducing poles, we’d step back to simple walking for two more days.
- Monitor Closely: Watch for heat, swelling, or a return of lameness after exercise. The horse’s feedback is your most important data point.
Rehab is a dance of two steps forward, one step back, and you must let the horse lead. There’s no calendar for healing; only the body knows the schedule.
Preventing Future Problems
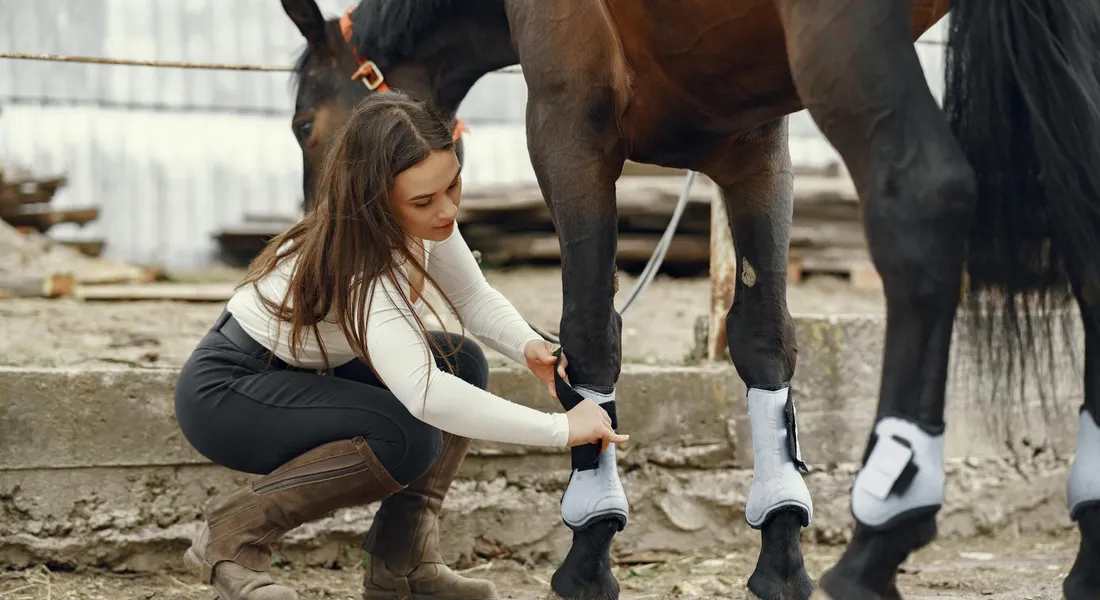
After navigating lameness, your goal shifts from cure to prevention. Proactive care builds a foundation of soundness that can weather minor bumps. Think of it as daily deposits in your horse’s health bank, so you have a balance to withdraw from if trouble comes. These aren’t grand gestures; they’re the quiet, consistent habits that make all the difference.
The Four Pillars of Proactive Soundness
Focus on these fundamentals every single day.
- Consistent, Balanced Hoof Care: A good farrier is worth their weight in gold. Hoof angles and balance affect everything from the coffin bone up to the withers. I check Pipin’s feet daily for cracks, thrush, or loose shoes-the smell of healthy hoof and clean bedding is a smell I love.
- Maintain a Healthy Weight: Extra pounds are relentless stress on joints and tendons. Use a weight tape monthly. Feel for ribs-you should easily cover them with a flat hand, not dig for them. Luna’s thoroughbred metabolism is different from Rusty’s quarter horse one, so their grain and hay rations are never the same.
- Maximize Turnout for Movement: This is my biggest advocacy point. Horses are designed to walk 15-20 miles a day. Constant movement lubricates joints, pumps the lymphatic system, and strengthens soft tissue. Even if ridden work is limited, 24/7 turnout or large paddock time is the best preventative medicine you can provide. The sound of contented grazing is the soundtrack of health.
- Choose Footing Wisely: Deep, muddy paddocks strain tendons. Hard, unforgiving ground sends shock up the legs. Aim for well-maintained, arena-quality footing when you can, and avoid repetitive work on extreme surfaces. I always test the footing with my own boots first-if it’s hard for me to walk on, it’s brutal for them.
Prevention is about listening to the small stories your horse tells through his movement and posture every day, so a big story of lameness never has to be written. It’s the daily choice to prioritize their long-term well-being over short-term convenience, especially when understanding their behaviors like kicking force and the reasons behind it.
FAQ: How to Tell if Your Horse is Lame and What to Do Next
How can I accurately assess lameness in my horse without specialized equipment?
Rely on systematic observation by comparing your horse’s movement on different surfaces and at various gaits. Pay attention to symmetry in shoulder and hip movement during turns and circles. Document any changes in behavior or performance to discuss with your equine professional. Consider how a horse’s anatomy—bones, muscles, and tendons—may influence speed and stride. This link between structure and movement can guide your questions for further study.
What are the key differences between acute and chronic lameness signs?
Acute lameness often appears suddenly with obvious gait abnormalities or swelling, while chronic lameness may present as gradual stiffness or decreased performance. Chronic issues might show muscle atrophy or asymmetry over time. Recognizing the onset pattern helps in determining the urgency of veterinary care.
How does footing affect the presentation of lameness in horses?
Soft footing can mask subtle lameness by cushioning the stride, while hard surfaces often amplify irregularities. Lameness may be more evident when transitioning between different types of footing. Always evaluate your horse on a consistent, level surface for accurate assessment.
Trust Your Gut, Trust Your Vet
Make observing your horse’s movement a part of your daily routine, watching for any change in rhythm or weight-bearing. Noticing signs your horse is overworked can signal a need for a steadier, more regular exercise plan. A careful, gradual increase in light, consistent work may help restore balance. The moment you see a problem, stop work and call your veterinarian-early intervention is the single most effective thing you can do.
Healing cannot be rushed, so let your horse’s comfort guide the timeline for return to work. True partnership is built on listening to those quiet whispers of discomfort before they become shouts of pain. During recovery from injury or surgery, supportive care and rehab help ease the process. Small, guided steps build resilience and trust for a safe return to function.
Further Reading & Sources
- Overview of Lameness in Horses – Musculoskeletal System – Merck Veterinary Manual
- Lameness in Horses – American College of Veterinary Surgeons
- Lameness (equine) – Wikipedia
- How to spot equine lameness | Petplan Equine
At Horse and Hay, we are passionate about providing expert guidance on all aspects of horse care, from nutrition to wellness. Our team of equine specialists and veterinarians offer trusted advice on the best foods, supplements, and practices to keep your horse healthy and thriving. Whether you're a seasoned rider or new to equine care, we provide valuable insights into feeding, grooming, and overall well-being to ensure your horse lives its happiest, healthiest life.
Health