
What Are the Best Practices for Storing Horse Tack and Blankets?
Published on: July 11, 2026 | Last Updated: July 11, 2026
Written By: Henry Wellington
Hello fellow equestrians! Pulling a damp, stiff saddle off the rack or unfolding a blanket that reeks of mildew is more than a nuisance-it signals wasted money and potential harm to your horse’s skin and comfort.
I will walk you through a straightforward storage system that protects your investment and your partner’s well-being. This guide covers:
- The critical cleaning and conditioning routine for leather that prevents costly damage
- How to thoroughly dry and fold blankets to stop mold spores in their tracks
- Selecting storage locations that naturally fight moisture and rodent invasions
- Establishing quick visual checks to spot wear before it becomes a safety issue
My advice is forged from a decade of barn management and training, where keeping tack for sensitive souls like Luna and hardy partners like Rusty in top shape became second nature.
Why Cleaning Comes Before Storing
Think of storage as tucking your gear in for a long nap; you wouldn’t put a muddy horse to bed without a good brush-down. Storing any tack, from a sweat-dampened saddle pad to a dusty bridle, without a proper clean is an open invitation for mold, mildew, and permanent damage. I learned this after a humid summer ruined a favorite headstall I’d hurriedly hung up after a ride—the smell was unforgettable, and not in a good way. Clean tack supports clean hooves and overall horse hygiene. That’s why regular cleaning and drying matter for both gear and horse health.
The Clean Gear Checklist
Start with a dedicated cleaning space. The ritual itself is calming; the scent of saddle soap and the sound of a damp cloth on leather is barn therapy. Always dry every item completely before it touches a storage rack. A sliver of dampness trapped in a folded blanket or under a billet strap can blossom into a fuzzy, smelly problem.
- For Leather Tack (Saddles, Bridles):
- Wipe down with a damp cloth to remove dirt and sweat.
- Apply a quality saddle soap with a sponge, working it into a lather to lift grime.
- Wipe off all soap residue with a clean, dry towel.
- Allow the leather to air-dry completely away from direct heat.
- Finish with a thin, even coat of leather conditioner to replenish oils.
- For Synthetic Gear (Nylon Girths, Neoprene Pads):
- Rinse off loose dirt with a hose or in a bucket.
- Wash with a mild liquid soap and a soft brush, focusing on sweat zones.
- Rinse thoroughly until water runs clear.
- Hang or lay flat in a well-ventilated area until bone-dry.
That final drying step is non-negotiable; I’ll often leave items overnight near a fan, especially for Pipin’s thick wool cooler that holds moisture like a sponge.
Choosing Your Cleaning Agents
Not all soaps are created equal. Leather is living material that needs nourishment. A pH-balanced leather conditioner after cleaning is mandatory-it prevents cracking and keeps the leather supple for years. Care needs differ between leather and synthetic gear. Understanding those differences helps you tailor routines for each material. For synthetic materials, avoid harsh detergents. A simple, mild dish soap or a cleaner made for technical fabrics works perfectly without breaking down the fibers. Using the wrong product can do more harm than dirt itself, like using a heavy oil on a synthetic dressage pad, which just attracts more grime.
Organizing Your Tack Room for Easy Access
A chaotic tack room costs you time and frays your patience when you’re trying to catch the last daylight for a ride. The golden rule is simple: get everything up and off the concrete floor. This prevents trip hazards, deters mice from nesting in your saddle pads, and stops moisture wicking into your gear.
Smart Storage Solutions
I use a mix of systems for my crew’s tack. Rusty’s sturdy trail saddle lives on a wall-mounted rack, while Luna’s more delicate close-contact saddle sits on a freestanding tree. Bridles and halters hang on individual hooks so leather doesn’t get kinked. Labeling is your quiet hero; mark shelves or clear bins for “clean polos,” “dirty leg wraps,” or “winter liners” to stop the morning scramble—especially when you need to polo wrap a horse’s legs for protection.
- Wall-mounted saddle racks: Save floor space and provide stable, long-term support for your saddle’s tree.
- Freestanding saddle stands: Offer flexibility to move them around, great for multi-use spaces or grooming aisles.
- Heavy-duty hooks: Use for bridles, hackamores, and lead ropes, ensuring each has its own spot.
- Shelving units with bins: Ideal for gloves, bits, and first-aid supplies, keeping small items from becoming clutter.
Seeing all your gear organized and airing properly brings a deep sense of order that makes daily chores smoother.
Rack Types and Hygiene Zones
Match your storage to your space and habits. Wall racks are permanent and sturdy, best for saddles used less frequently. Freestanding racks are portable, perfect for the saddle you use daily. Crucially, establish a “dirty” zone-a designated hook or bin for sweaty gear post-ride-and a “clean” storage area. This separation prevents oils and sweat from clean items, which is vital for horses with sensitive skin like Luna, who can react to residue on a supposedly clean blanket. A simple system prevents cross-contamination and makes your cleaning routine logical. Additionally, when you do clean and maintain horse tack blankets regularly, this zoning approach helps keep them fresh. It also protects sensitive skin like Luna’s by preventing cross-contamination.
Choosing the Right Storage Containers and Racks
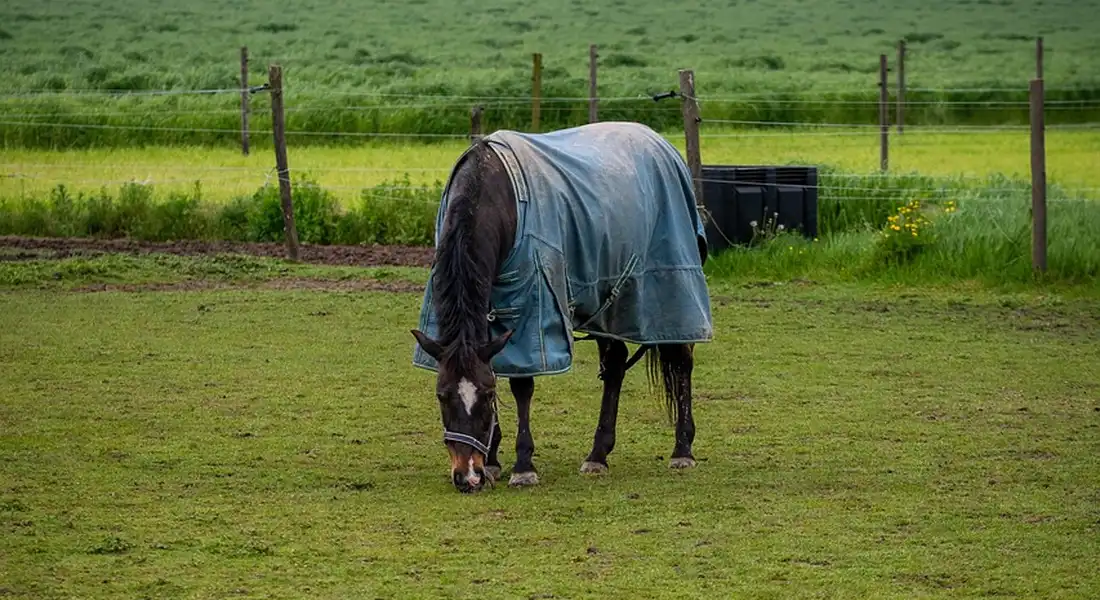
Think of your tack storage like your horse’s kitchen pantry-it needs to keep things fresh, organized, and safe from critters. The right container is your first defense against mold, mice, and moisture.
Tack Boxes, Bins, and Trunks: A Stable Comparison
Your main choices are heavy-duty plastic bins, traditional wooden tack trunks, and specialized saddle racks. I’ve used them all over the years, and each has its place.
- Plastic Storage Bins with Lids: These are my workhorses for blankets, saddle pads, and less-frequently used items. Look for bins with airtight gasket seals and clear sides so you can spot that winter blanket without a twenty-minute excavation. They’re affordable, washable, and mice can’t chew through them like cardboard.
- Wooden Tack Trunks: Beautiful and classic, they add a professional feel. A good trunk with a tight seal offers decent protection. The downside is cost and weight-they’re not easy to move. I keep Luna’s show gear in one, but it lives in a consistently dry feed room.
- Metal Lockers or Cabinets: Ideal for shared barns, these offer security and keep dust off your gear. Ensure they have ventilation holes to prevent a musty smell from building up on your leather.
- DIY & Cost-Effective Ideas: Don’t overlook repurposed items. A sturdy, clean kitchen base cabinet from a habitat store makes amazing tack storage. For a simple blanket rack, mount a length of thick PVC pipe horizontally on the wall. I built basic saddle racks from 2x4s and pool noodles for padding-it worked perfectly for Rusty’s first saddle.
Your Container Selection Checklist
Before you buy or build, run through this list. It will save you money and frustration.
- Is it moisture-resistant? Can it withstand the ambient humidity of a barn?
- Is it sealed against pests? Look for tight-fitting lids without gaps.
- Is it the right size? Measure your largest item (like a folded winter blanket) and ensure it fits with room to spare.
- Is it easy to clean? Surfaces should be wipeable.
- Does it fit your space? Will it slide under a bench or fit against a wall without becoming a tripping hazard?
- Is it durable? Can it hold weight without cracking if Pipin the pony decides to use it as a step stool?
Storing Saddles, Bridles, and Halters Correctly
Leather is living material, and how you store it between rides directly impacts its lifespan and your horse’s comfort. A poorly stored saddle can develop a twisted tree, and a crumpled bridle will crack at the bends, requiring repairs to make them usable again.
Step-by-Step: Saddles, Girths, and Stirrups
After cleaning, follow this routine. The goal is to support the saddle’s shape and let everything air out.
- Place your saddle on a rack with a wide, rounded bar that supports the full length of the tree. The bar should mimic the shape of your horse’s back.
- Always run your stirrups up on the leathers after riding. Leaving them down stretches the leathers and can warp the stirrup bars over time. I learned this the hard way with an old saddle that developed a permanent lean.
- Fold or drape your girth over the seat, never leave it tightly cinched under the saddle flap. This allows the sweat and hair on the girth to dry completely.
- Use a breathable cotton or fleece cover to keep dust off. Avoid plastic covers that trap moisture and create a perfect environment for mold.
Hanging Bridles and Halters with Care
Never, ever hang a bridle by its throatlatch or a single crownpiece loop. This distorts the shape of the cheekpieces and browband.
- Invest in proper bridle hooks with multiple arms. Hang the bridle by the crownpiece, letting the reins, bit, and noseband hang freely.
- For daily halters, a simple hook is fine. For leather halters, unbuckle them and hang them flat to prevent the leather from creasing and cracking at the buckle points.
- If you take the bridle apart for cleaning, reassemble it before storage. This prevents you from losing parts and keeps the leather in its natural, bent shape.
Common Storage Mistakes and Their Damage
A quick look around most barns will reveal these errors. Avoiding them saves you hundreds in repairs.
- Hanging a Western Saddle by the Horn: This puts immense strain on the tree and can pull it apart from the fork. The horn is not a load-bearing hook.
- Storing a Saddle Directly on a Concrete Floor: Concrete draws moisture and can warp the tree. It’s also an invitation for rodents to nest inside.
- Leaving a Saddle Cinched on a Stand: This compresses the panels and flocking unevenly, ruining the fit for your horse’s back.
- Dumping Dirty Tack into a Box: Dried sweat and mud attract moisture and accelerate leather rot. Always clean before storing, even after a quick ride.
Caring for and Storing Horse Blankets and Rugs
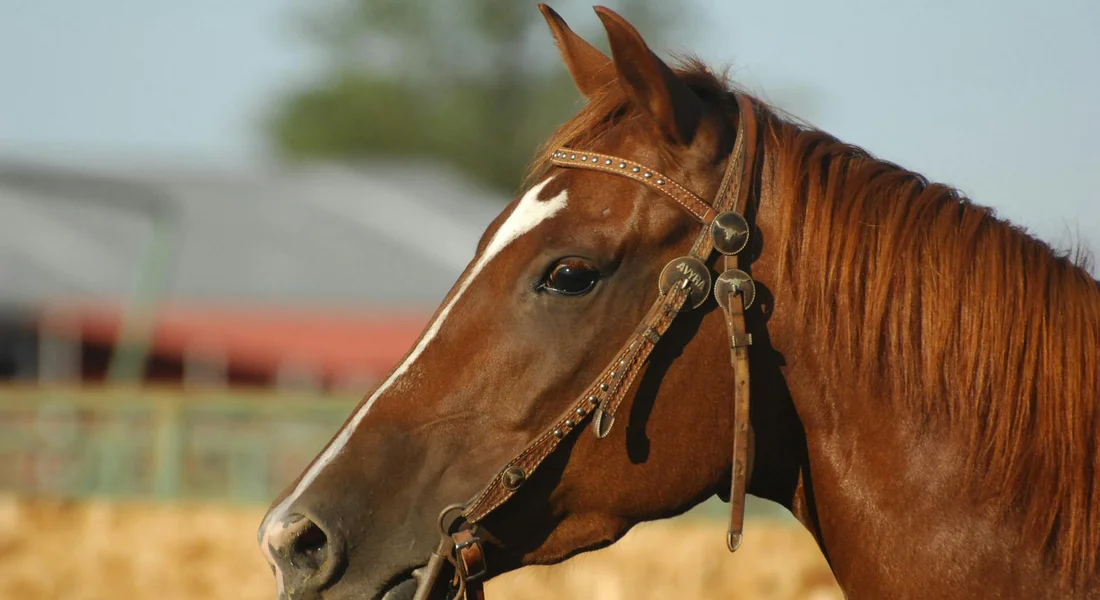
Your horse’s blankets are a significant investment in their comfort, and how you store them directly impacts their lifespan. Always, without exception, ensure every blanket is bone-dry before it goes into storage-a single damp spot is a welcome mat for mold and mildew. I once made the mistake of stowing Luna’s cooler sheet after a light rinse, and the musty smell that greeted me next season was a potent, expensive lesson. For longevity, fold horse blankets properly before storing, so they stack neatly and maintain their shape. This simple step makes seasonal swaps easier and helps your blankets last longer.
Tailoring Storage to Blanket Type
Not all blankets are created equal, and their storage needs differ slightly. Turnout rugs, with their waterproof membranes, must be cleaned of all dirt and sweat to prevent the lining from degrading. Stable blankets, which are meant for indoor dryness, often have more delicate fills that can clump if compressed while damp. Lightweight sheets, like coolers or fly sheets, are prone to tearing if handled roughly. The common thread is cleanliness: a thorough wash or professional cleaning at season’s end removes sweat and acids that eat at fabrics over time.
Folding is your next critical step. Avoid sharp, tight creases that can crack waterproof coatings or weaken fabric fibers. I fold blankets by laying them out flat, bringing the sides in, and then rolling them loosely from tail to neck, which prevents hard folds and makes for a compact bundle. For Pipin’s sturdy pony rug, I might fold it in thirds, but for Luna’s finer sheet, a gentle roll is always safer, especially after cleaning and washing horse blankets properly.
Choosing Your Storage Solution
Once clean and dry, pick a storage method that protects from dust, pests, and moisture. Here are the most effective options:
- Heavy-Duty Storage Bags: Canvas or vinyl zippered bags are fantastic for hanging in a closet or loft. They breathe better than plastic and keep blankets dust-free.
- Clean, Labeled Bins: Large plastic totes with secure lids are a barn staple. Place a layer of cedar chips or a silica gel pack at the bottom to absorb ambient moisture.
- Dedicated Blanket Racks: In a spacious tack room, hanging blankets on wide, padded racks allows for full air circulation, which is ideal if you live in a dry climate.
Before any blanket gets tucked away, give it a five-minute repair check. Run your hands over every strap, buckle, and seam, making a note of any tears or weak spots so you can fix them over the summer, not during the first autumn chill. Rusty’s old turnout rug gets this meticulous inspection every spring; catching a frayed leg strap early saves a panic later.
Controlling the Tack Room Environment
The tack room is the heart of your operation, and its climate dictates the health of your gear. Consistent, controlled conditions prevent leather from drying into brittle cardboard and stop mold from blossoming on your saddles pads. The goal isn’t perfection, but stability—wild swings in temperature and humidity cause the most damage, especially if it leads to improper care of leather goods.
Battling Humidity and Stagnant Air
Humidity is the silent enemy of tack and textiles. Aim to keep relative humidity below 60% to discourage mold spores and rust. If your tack room feels damp or smells earthy, you need more airflow. Cracking a window opposite the door creates a cross-breeze that sweeps out stagnant air, a simple hack that costs nothing but vigilance. For enclosed spaces, a small dehumidifier set to run intermittently can work wonders. I run mine in the corner where I store my saddles, and the difference in leather suppleness is noticeable.
Temperature matters, but consistency matters more. Ideally, keep the room between 50°F and 75°F (10°C to 24°C); avoid placing tack directly against exterior walls or under drafts where temperatures fluctuate wildly. Extreme heat can melt waxes and dry out natural fibers, while cold, damp conditions are a breeding ground for problems.
Practical Moisture-Control Hacks
Beyond big appliances, small, clever practices can shield your gear. Implement these to stay ahead of moisture:
- Tuck silica gel desiccant packs into your tack trunk, boot boxes, and blanket bins. They passively absorb moisture from the air.
- Use moisture-absorbing crystals (like those used in closets) on high shelves-they’re great for catching rising damp.
- Conduct a seasonal roof and wall inspection. A single, slow leak from a rusty nail hole can ruin a stack of saddle pads before you even notice the water stain. Fix leaks immediately.
- Elevate everything. Store tack boxes and blanket bins on pallets or shelves, never directly on concrete floors which seep cold and moisture.
Remember, your nose is a powerful tool. The smell of your tack room should be of clean leather and hay, not mildew or stagnation—if it’s off, your environment is off. A well-ventilated space protects your investment and ensures comfort and safety for you and your horse every time you ride.
Preventing Pests and Long-Term Damage
Letting tack sit unattended is an open invitation for trouble, and I’ve opened one too many blanket bags to a cloud of moths. Pests see your leather and wool as a five-star buffet.
Guidance: Outline pest control strategies for mice and insects. Recommend regular inspection of stored items. Discuss the use of natural repellents like cedar.
A multi-pronged defense works best. Start by never storing tack in plastic bags long-term; trapped moisture invites mold. Instead, use breathable cotton sheets or bags. For insects like moths and beetles, clean every item before storage-eggs hide in dirt and hair.
I keep cedar blocks in my tack trunk and blanket bins. The scent repels insects naturally without harsh chemicals. For mice, the goal is to eliminate their menu and hiding spots. Store all saddle pads and polo wraps off the floor in sealed bins, and never leave a single grain of sweet feed in your grooming tote.
Set a monthly reminder to peek into your storage areas. Lift saddle pads, open blanket bags, and check behind bridle racks. This two-minute habit catches problems before they become disasters.
Guidance: List signs of pest infestation or mold growth to check for during routine tack room tidying.
During your checks, look for these red flags:
- Fine, web-like silk or cocoons in the seams of blankets and pads.
- Uneven, gritty holes chewed in wool or felted items.
- Small, dark droppings in drawers or at the bottom of trunks.
- A musty, sour smell indicating mold or mildew growth.
- Chalky white residue or cracking on leather (mold).
- Brittle, strangely textured spots on leather where insects have laid eggs.
Finding any of these means it’s time for a deep clean and a review of your storage strategy. Catching a moth issue early saves hundreds in ruined blankets and the heartbreak of finding your favorite fleece liner full of holes.
Creating a Simple Storage Routine That Sticks
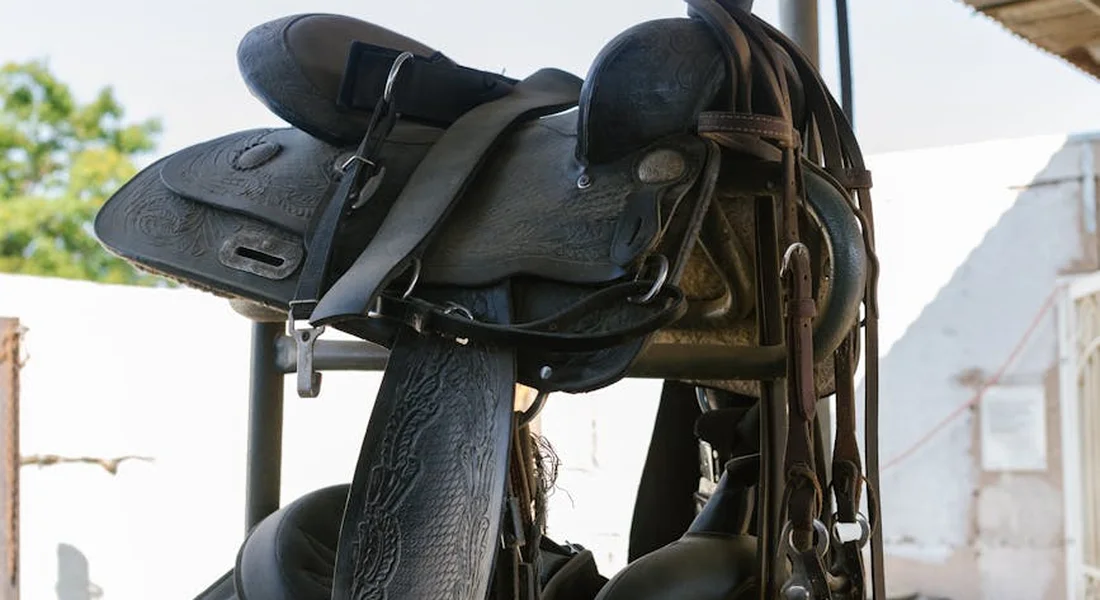
The most beautiful tack room I ever saw descended into chaos in one busy week. It started with a sweaty saddle pad tossed over a door, then a bridle left on a hook instead of its rack. By Saturday, we were ten minutes late for a lesson just searching for a girth.
Guidance: Advocate for a daily “put away” habit to maintain organization. Share a personal story from the barn about the chaos of neglected tack. Provide a quick, 5-point checklist for end-of-ride storage.
That mess taught me that perfection isn’t the goal-consistency is. Make “put away” part of your untacking ritual. It adds two minutes to your post-ride routine but saves twenty minutes of frantic searching later.
Here is my foolproof, five-point checklist for the moment you dismount:
- Wipe the bit with a damp cloth and return the bridle to its proper hook.
- Hang the saddle on its rack, with the girth draped over it, not left tightened.
- Shake out the saddle pad and place it in its designated bin or shelf.
- Return any boots, wraps, or specialty items to their specific storage tub.
- Do a final glance: is the aisle clear? Is the wash stall hose coiled?
This simple system works because it’s linked directly to a task you’re already doing, making it easier to become second nature. The barn stays tidy, and your gear stays in good condition, ready for the next ride.
Guidance: Suggest seasonal deep-cleaning and storage reviews. Emphasize how good habits save money and time.
Twice a year-during spring and fall blanket swaps-do a full storage review. Take everything out. Clean all your bins and trunks. Inspect each blanket for repairs, condition every leather item, and discard old, frayed items. This is when you rotate saddle pads and check for any hidden pest issues.
This habit pays for itself. Finding a small rub point on a blanket strap during your spring review lets you fix it with a needle and thread, preventing a massive tear that ruins the blanket come next winter. It saves you from buying replacements prematurely and saves your Saturday from being a marathon cleaning session. Your tack room becomes a place of calm efficiency, not a source of stress.
FAQ: Best Practices for Storing Horse Tack and Blankets
What should I look for when buying a horse tack storage box?
Prioritize boxes made from sturdy, moisture-resistant materials like heavy-duty plastic with a secure, gasketed lid to create a true seal. Opt for clear-sided models or diligently label solid ones to easily identify contents without rummaging. Ensure the box is large enough for your bulkiest items, like a folded winter blanket, and has no interior seams that could snag fabrics or leather.
What are the most useful accessories for organizing a tack storage area?
Beyond basic racks, consider specialized accessories like bit holders, wall-mounted boot racks, and clear, stackable bins for small items like gloves and vet wraps. A dedicated blanket drying rack or a dehumidifier for the room itself are excellent investments for climate control. Implementing a labeled system for “clean” vs. “dirty” gear using different colored hooks or bins will maintain hygiene and streamline your routine.
Are there any special considerations for horse tack storage in Australia’s climate?
Australia’s varied climate demands heightened vigilance against heat, humidity, and insects like bush moths. In humid regions, airtight sealed bins with silica gel packs are crucial, while in hot, dry areas, focus more on UV protection by storing tack away from direct sunlight. Regularly inspect for insect activity and consider using Australian cedar, a native natural repellent, in your storage containers.
From the Tack Room
Protect your gear by storing it in a consistent, climate-controlled space. Make it a rule: no piece of tack or blanket goes into storage without being clean and bone-dry first.
Take your time with these steps; rushed storage leads to damaged gear and unhappy horses. Always let your horse’s feedback be your guide—a rub or a sore spot often traces back to how we care for our equipment. It’s one of those grooming mistakes that can be easily avoided.
Further Reading & Sources
- Horse Tack Storage & Trunks | Horse Grooming Boxes for Sale
- Tack Room Organization | Schneiders Saddlery
- 6 Best Portable Tack Trunks From The Home Improvement Store – Farm House Tack
- The Martha Stewart Blog
At Horse and Hay, we are passionate about providing expert guidance on all aspects of horse care, from nutrition to wellness. Our team of equine specialists and veterinarians offer trusted advice on the best foods, supplements, and practices to keep your horse healthy and thriving. Whether you're a seasoned rider or new to equine care, we provide valuable insights into feeding, grooming, and overall well-being to ensure your horse lives its happiest, healthiest life.
Stable Management