
How to Clean and Maintain Horse Tack and Blankets: A Practical Barn-Side Guide
Hello fellow equestrians. That stiff, grimy girth or the damp, musty blanket folded in your tack room is more than a chore-it’s a direct threat to your horse’s skin and your safety in the saddle.
Left unchecked, dirty gear causes rubs, sores, and behavioral issues that stem from pure discomfort. I’ve spent too many hours and dollars treating preventable problems that started with a neglected sweat mark or a frayed strap.
This guide will fix that. I’ll walk you through my proven routine, covering the correct way to clean leather without stripping its natural oils, how to wash waterproof blankets without ruining the coating, and a fast weekly inspection to spot wear before it breaks.
My years as a barn manager and trainer, keeping horses like my trusty sorrel, Rusty, comfortable and sound, have taught me that consistent gear care is the foundation of gentle horsemanship.
Why Your Gear Deserves a Spa Day
Think of a saddle pad crusted with dried sweat and dirt. Now, imagine wearing that crusty t-shirt on a long, hot hike. Uncomfortable, right? Your horse feels that friction and irritation with every step. Regular cleaning isn’t just about vanity; it’s a direct line to your horse’s comfort and skin health. I learned this the hard way with Luna, whose dapple-grey skin would pink up under the slightest grime.
Grime acts like sandpaper, breaking down fibers in blankets and creating painful pressure points under tack. Salt from sweat is corrosive, eating away at leather stitches and metal fittings over time. Left unchecked, a dirty girth can cause girth galls, and a moldy blanket can lead to rain rot, turning simple chores into veterinary bills. A quick wipe-down after a ride prevents these issues from ever taking root.
Maintenance is also safety. A brittle, dry leather billet can snap. A rusted bit can develop sharp edges. A stiff rein can lose its communication feel. Cleaning is your chance to perform a hands-on safety inspection, catching small failures before they become big problems in the saddle. You’ll hear the difference in a well-oiled stirrup leather-it’s a quiet, confident creak, not a worrying crack.
Assembling Your Tack Room Toolkit
You don’t need a chemistry set. A simple, dedicated kit saves you from rummaging for supplies when motivation strikes. I keep mine on a shelf right by the tack room door where I can’t ignore it.
The Leather Care Cabinet
Leather is living skin, and it needs to breathe and be nourished. Think of this as a three-step process: clean, condition, protect.
- A quality saddle soap: Look for a glycerin-based bar. It lifts dirt without over-stripping natural oils.
- Soft sponges and a dedicated toothbrush: One sponge for applying soap, one damp for rinsing. The toothbrush gets into stitching and tooling.
- 100% pure neatsfoot or a leather conditioner: This replaces oils. I prefer a light oil for working tack and a heavier conditioner for dormant storage.
- Soft, lint-free cloths: For buffing and applying oil. Old t-shirts are perfect.
- A sturdy hoof pick: Your first tool for scraping off caked-on mud before you even bring the saddle to the rack.
Never dunk your entire saddle in water; saturated leather weakens and the tree can warp. Work in small sections, and always let tack dry naturally, away from direct heat, which causes cracking.
The Synthetic & Blanket Cleaning Caddy
For nylon, biothane, and turnout blankets, the game changes. Harsh leather products can damage these materials. Here’s what you need instead.
- A mild, detergent-free soap: A dedicated equine blanket wash or a plain dish soap like Dawn cuts grease without leaving residue.
- A large, soft-bristled scrub brush: Perfect for loosening mud and manure from blanket liners.
- A sweat scraper: Surprisingly effective for scraping heavy, wet mud off boots and blanket exteriors before washing.
- A hose with a spray nozzle and a large wash tub: For rinse-downs and spot cleaning.
- A blanket rack or drying line: Airflow is everything. A moldy blanket is a useless blanket.
- A handheld vacuum: My favorite stable hack for removing hay chaff, dust, and hair from blanket liners and saddle pads between washes.
Always check the manufacturer’s tag, but most modern synthetics air-dry faster and last longer than leather when cleaned with the right simple products. A clean blanket is a functional blanket, ready to keep Pipin dry without weighing him down.
The Leather Tack Cleaning Ritual
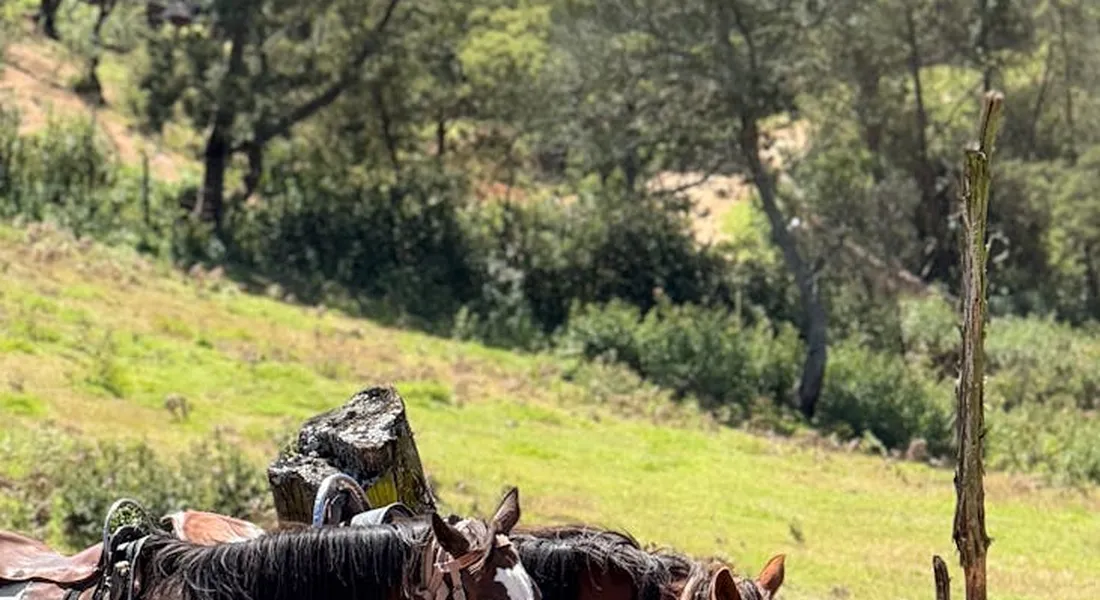
Cleaning leather isn’t just choreography; it’s a bond with the gear that keeps you and your horse safe. I spend my Sunday afternoons in the tack room, the smell of saddle soap mixing with fresh hay. Consistent care prevents the leather from becoming a safety hazard, ensuring every buckle and stitch supports your ride.
Step 1: The Tear-Down and Bilanket
Completely disassemble your bridle, saddle, and girth. Lay each piece on a clean towel. I inspect Rusty’s reins for wear every time, remembering the time a frayed stitch nearly gave way. Use a dry, soft brush to whisk away dried mud and hair. This initial wipe-down removes abrasive particles that grind into the leather during the scrub.
Step 2: The Soapy Scrub
Dampen a natural sponge and work a glycerine-based saddle soap into a rich lather. Apply it in small, circular motions, paying extra attention to areas that touch sweat. For Luna’s sensitive skin, I’m meticulous about the bridle’s cheekpieces. Gentle scrubbing lifts salt and grease without stripping the leather’s essential oils.
-
Clean the bit separately with water and a brush. A clean bit is a courtesy to your horse’s mouth, promoting soft acceptance.
-
Use a toothpick or tack pick for dirt packed into stitching. Neglected grime in crevices weakens threads over time.
Step 3: The Rinse and Nourish
Wipe off all soap residue with a barely-damp cloth. Then, massage in a quality leather conditioner. Let it soak in while you enjoy the barn’s rhythm—the thud of hooves from turnout, Pipin’s hopeful nicker for treats. Nourishing the leather after cleaning restores suppleness and water resistance.
Reassemble your tack only when it’s fully dry. I hang bridles by the crownpiece, not the throatlatch, to maintain their shape. Proper storage is the final act of the ritual, protecting your work until the next ride.
Caring for Synthetic Tack and Saddle Pads
Synthetic gear is a blessing for muddy days, but it demands its own routine. After a wet trail ride, I hose down Rusty’s synthetic girth right at the wash rack. Immediate rinsing prevents sweat and dirt from baking into a stiff, uncomfortable mess.
For a deep clean, follow these steps:
-
Shake out saddle pads vigorously to remove hair and dirt. This simple step drastically cuts down on washing machine wear and tear.
-
Wash items in a machine using cold water and a mild, non-biological detergent. Hot water can melt or warp synthetic fibers, ruining their fit.
-
Always air-dry away from direct sun. Line drying in the breeze preserves elasticity and prevents that dreaded stiff-board feel.
Inspect synthetic straps for signs of UV degradation or rubbing. I check Luna’s breastplate weekly because her energetic movement stresses the material. Proactive inspection catches small issues before they become big problems during a ride.
For wool or fleece saddle pads, hand-washing in lukewarm water with wool soap maintains loft. I squeeze, never wring, the water out. Gentle handling preserves the padding that cushions your horse’s back, promoting comfort and willing movement—much like the care required when cleaning sensitive areas on your horse.
Conquering the Horse Blanket Pile
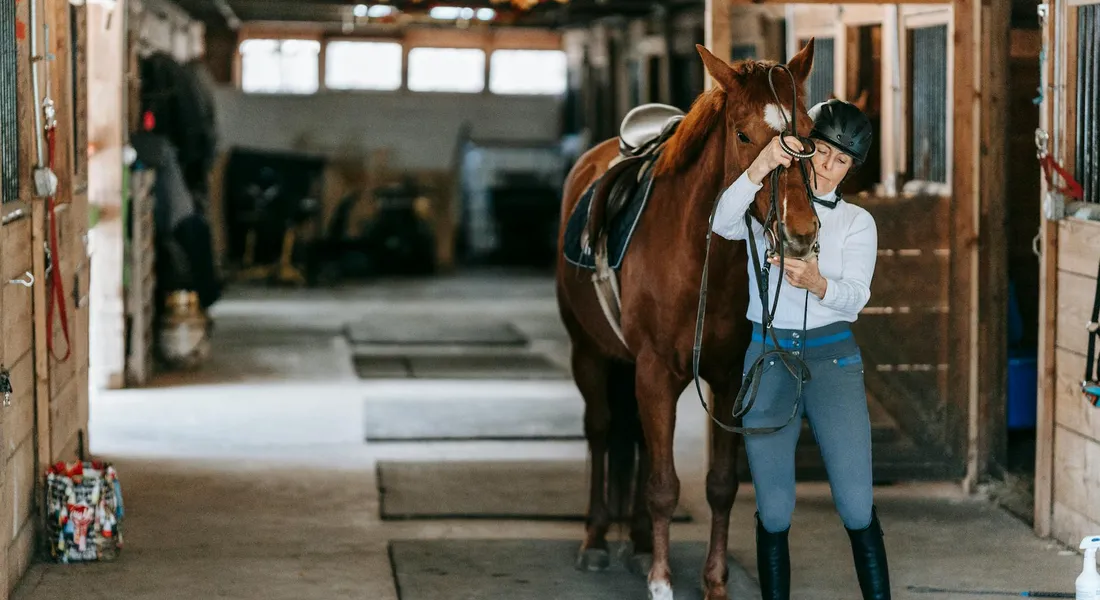
That stack of turnout sheets, stable blankets, and coolers in the corner can feel like a fortress. I’ve spent many afternoons with Rusty, after he’s found the one muddy spot in the pasture, staring down a blanket caked in what feels like concrete. Tackling blankets with a system turns a daunting chore into a satisfying stable ritual that directly benefits your horse’s comfort and skin health.
Pre-Wash: The Mud Removal Mission
Never toss a muddy blanket straight into a washer. That grit is brutal on machinery and won’t rinse clean. Let the blanket dry completely first-hang it over a fence rail in the sun for a few hours. Once dry, give it a good shake and use a stiff grooming brush or a rubber curry in circular motions to knock loose the big chunks. This dry-brush step saves your washing appliance and gets you halfway to clean before water even touches the fabric, especially when dealing with wet or damp blankets.
For stubborn, clay-like mud, I’ll sometimes take Luna’s blanket outside and use a gentle spray from the hose on the filthy areas. The key is to just loosen the deposit, not soak the entire liner. Think of it as giving the blanket a quick “pre-rinse” at the wash rack before the main event.
The Wash Cycle: Machine or Tub?
Your method depends on blanket size and your setup. For heavy turnouts, I trust my front-loading washer at home-it’s gentler than a top-loader. For lighter sheets or when I’m at the barn, a large tub or even a clean wheelbarrow lined with a tarp works perfectly.
Use a detergent made for technical equine wear or a clear, dye-free liquid soap. Powdered detergents can leave a residue that irritates skin. Always opt for a cold water cycle to preserve waterproof coatings and stitching. Washing in cold water prevents the heat from setting stains and damaging modern blanket materials.
- Machine Wash: Fasten all straps and closures. Use an extra rinse cycle to ensure all soap is out.
- Tub Wash: Fill with cool water and soap. Agitate by hand, then press the water out-don’t wring or twist, as this can harm the fibers.
Pipin’s tiny rug gets the tub treatment, and I swear he watches, hoping I’ll drop a treat in the suds. No matter your method, the goal is a thorough rinse; leftover soap attracts dirt and can cause rubs.
The Dry-a-Thon: Patience is Key
This is where haste makes waste. The best method is air drying over a blanket rack or a clean fence. Avoid prolonged direct sunlight, which can fade colors and weaken fibers over time. If you must use a dryer, choose the lowest heat setting and toss in a few clean tennis balls to help fluff the insulation. High heat is the enemy of waterproof seals and can melt binding or straps, ruining an expensive blanket in minutes.
Feel the lining thoroughly before storing. Any dampness left behind will breed mildew, and that sour smell is nearly impossible to remove. Patience during the dry-a-thon ensures your horse’s blanket is fresh, absorbent, and ready for the next chilly turnout. Once dry, fold the blanket properly for storage so it’s neat and ready for next season. Storing it folded helps prevent creases and extends its lifespan.
Smart Storage and Savvy Inspections

Clean gear is only safe gear if it’s in good repair. A quick inspection habit catches small issues before they become big problems-or dangerous situations. I learned this after a worn leg strap on a blanket gave Luna a minor rub; now, nothing gets used or stored without a once-over.
Your Pre-Ride Safety Check
Make this a non-negotiable part of catching your horse. Run your hands over every inch of the saddle pad, girth, and bridle. Look for cracked leather, frayed stitching, or stiff spots. On blankets, pay close attention to leg strap attachments, surcingle buckles, and the chest closure. This two-minute hands-on inspection is your best defense against a tack failure at the mounting block or a blanket rub that ruins your horse’s coat.
Listen for changes. The creak of leather should be smooth, not crackly. A thud of a buckle hitting the ground because a stitch gave way is a sound you want to hear in the tack room, not on the trail. Your fingers will often find tears and weak spots long before your eyes see them.
Off-Season Blanket Storage
When spring comes, don’t just shove damp, dirty blankets into a bin. Wash them as outlined, let them dry completely, and then fold them neatly. Store them in a breathable cotton bag or an old pillowcase in a cool, dry place-your attic or a damp garage is a poor choice. Proper off-season storage prevents mold, deters mice from nesting, and ensures your investment lasts for many winters to come.
I tuck a few cedar blocks or lavender sachets in with my stored blankets to keep things fresh. Every few months, I’ll unfold and refold them to prevent permanent creases. Taking the time to store blankets correctly means you’re greeted by ready-to-use gear when the first frost hits, not a project.
FAQ: How to Clean and Maintain Horse Tack and Blankets
What are the absolute essentials for a basic tack cleaning kit?
Your core kit needs just a few key items to start. Focus on a glycerin-based saddle soap, a soft sponge, and a pure neatsfoot oil or leather conditioner. A dedicated toothbrush for stitching and a lint-free cloth for buffing will handle most routine cleaning tasks effectively.
When should I consider using a professional tack cleaning service?
Consider a pro service for a deep restoration of severely neglected or antique leather that requires specialized knowledge. It’s also a smart option if you lack the time for a meticulous annual conditioning or need repairs you cannot perform yourself. Always choose a reputable service that understands the importance of preserving leather’s integrity.
How does a professional tack cleaning machine work, and is it worth it?
A commercial tack cleaning machine uses gentle, controlled agitation in a specialized solution to clean multiple pieces thoroughly. For an individual owner, the investment is rarely practical compared to consistent hand-cleaning. For a large barn or training facility, it can be a worthwhile tool for efficiently maintaining a high volume of tack to a uniform standard.
A Final Wipe-Down from the Saddle Room
Make a habit of cleaning tack after use with the right products for leather or synthetic materials, and always allow everything to dry completely before storage. The single most important step is to run your hands over every inch of leather and fabric, feeling for weak spots, before you put it on your horse.
This regular care is a quiet investment in safety and comfort that builds trust over time. Your horse’s comfort and movement are the ultimate test of your maintenance—listen closely to what they tell you, as well as to the signs of a healthy horse.
Further Reading & Sources
- Services | Tack Shack
- Home | Tack Shack
- How to Wash and Care for a Horse Blanket – Marys Tack & Feed
- Jennstackandblanket
At Horse and Hay, we are passionate about providing expert guidance on all aspects of horse care, from nutrition to wellness. Our team of equine specialists and veterinarians offer trusted advice on the best foods, supplements, and practices to keep your horse healthy and thriving. Whether you're a seasoned rider or new to equine care, we provide valuable insights into feeding, grooming, and overall well-being to ensure your horse lives its happiest, healthiest life.
Equipment